


Performance sway bars significantly improve a car's handling by reducing body roll, allowing tighter corners and enhanced driver control. To install them safely, gather necessary tools, refer to a repair manual, and follow steps for removal of old components and proper mounting of new bars. This upgrade, often paired with suspension modifications, offers better balance, responsiveness, and control for both track days and off-road use.
Looking to upgrade your car’s handling and stability? Consider installing performance sway bars—a simple yet effective modification that can transform your driving experience. This DIY guide breaks down the benefits of performance sway bars, tools needed for installation, and provides a step-by-step process to ensure a smooth upgrade. Boost your vehicle’s performance and control with this powerful addition.
- Understanding Performance Sway Bars: Their Role and Benefits
- Gathering the Necessary Tools and Materials for Installation
- Step-by-Step Guide to Upgrading Your Car with Performance Sway Bars
Understanding Performance Sway Bars: Their Role and Benefits
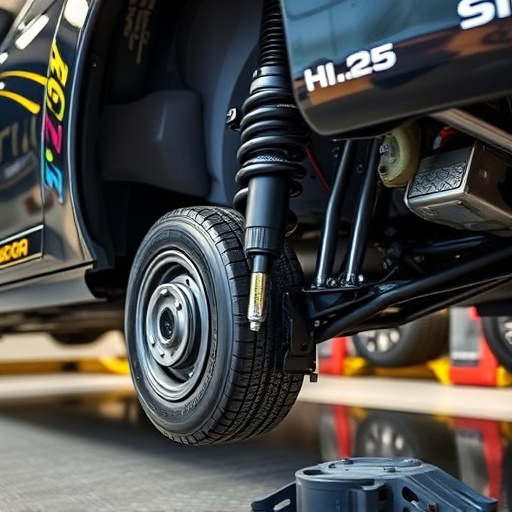
Performance sway bars are an essential component for anyone looking to enhance their car’s handling and overall driving experience. These sturdy metal bars act as a stabilizing link between the wheels, reducing body roll during cornering. By effectively managing the lateral motion of the vehicle, performance sway bars allow for tighter turns, improved balance, and increased driver control. This is particularly beneficial for those who enjoy track days or off-road adventures.
The benefits don’t stop there. Upgrading to performance sway bars often goes hand in hand with other suspension upgrades like coilover kits and performance air filters, allowing for fine-tuned adjustments to your car’s handling dynamics. These additional modifications can further enhance cornering capabilities, reduce body lean, and provide a more responsive driving experience. Whether you’re seeking better control or aiming to optimize your vehicle’s performance potential, integrating performance sway bars into your upgrade plan is a smart step towards achieving your goals.
Gathering the Necessary Tools and Materials for Installation
Before you begin upgrading your car with performance sway bars, make sure to gather all the necessary tools and materials. This includes a jack, jack stands, socket sets, wrenches, screwdrivers, and any specific tools required for your vehicle model. Don’t forget the new performance sway bars themselves, along with bushings and mounting hardware—essential components that ensure a secure and effective installation.
Additionally, consider having a set of protection gear on hand, such as gloves and safety glasses, to safeguard yourself from potential hazards during the installation process. It’s also beneficial to have a detailed repair manual specific to your car model for reference. With the right tools, materials, and knowledge, you’re ready to tackle this DIY project and enhance your vehicle’s handling with high-performance sway bars.
Step-by-Step Guide to Upgrading Your Car with Performance Sway Bars
Upgrading your car with performance sway bars is a straightforward process that can significantly enhance handling and stability, especially during high-speed cornering or driving on winding roads. Before you begin, ensure you have the necessary tools and safety gear to prevent any accidents. Here’s a step-by-step guide:
1. Identify Your Vehicle’s Needs: Research performance sway bars compatible with your car model. Consider factors like weight, suspension type, and intended use (daily driver or track car). Compare different brands and models to find the best fit for your needs.
2. Gather the Right Tools: You’ll need a jack, jack stands, wheel chocks, and basic tools like wrenches and screwdrivers. For more complex installations, consider a suspension aligner for precise adjustments. Don’t forget safety goggles and gloves for protection.
3. Remove the Existing Suspension Components: Start by lifting your car using the jack and securing it with jack stands. Carefully remove the wheels and any related suspension components that might get in the way. This step varies depending on your vehicle, so consult your owner’s manual or a detailed DIY guide for specific instructions.
4. Install the Performance Sway Bars: Align the new sway bars according to the manufacturer’s guidelines. Tighten the bolts securely but do not overtighten. Reattach any removed suspension parts and ensure everything is in place before lowering the car.
5. Test Your Work: Once your car is back on the ground, test drive it to ensure smooth operation and improved handling. Check for any unusual noises or vibrations, which could indicate improper installation. If necessary, make adjustments according to the manufacturer’s recommendations.
Remember, while performance sway bars can significantly enhance your driving experience, they should complement your existing suspension kit and exhaust mufflers for optimal results.
Upgrading your car with performance sway bars is a straightforward yet effective way to enhance handling and stability, especially during cornering. By investing in high-quality sway bars tailored to your vehicle’s make and model, you can achieve better control, reduce body roll, and enjoy an improved driving experience. With the right tools and this DIY guide, you can easily install performance sway bars and unlock your car’s full potential on the road.