


Performance sway bars are advanced tuning components that improve vehicle handling and stability during cornering by reducing body roll. They require proper installation and compatibility with your vehicle. The installation process involves removing stock bars, installing new ones, and reinstalling wheels while ensuring correct alignment. After installation, double-check fastenings and consider upgrading critical components for optimal safety and performance. Regular tire inspection and inflation further enhance handling on various road surfaces.
Looking to enhance your vehicle’s handling and stability? Install a performance sway bar! This DIY guide will walk you through the process, from understanding the benefits and compatibility of performance sway bars to a step-by-step installation process. Learn how to optimize your car’s cornering, reduce body roll, and boost safety on the road with these powerful upgrades.
- Understanding Performance Sway Bars: Benefits and Compatibility
- Step-by-Step Guide to Installing Performance Sway Bars
- Post-Installation Tips for Optimal Performance and Safety
Understanding Performance Sway Bars: Benefits and Compatibility
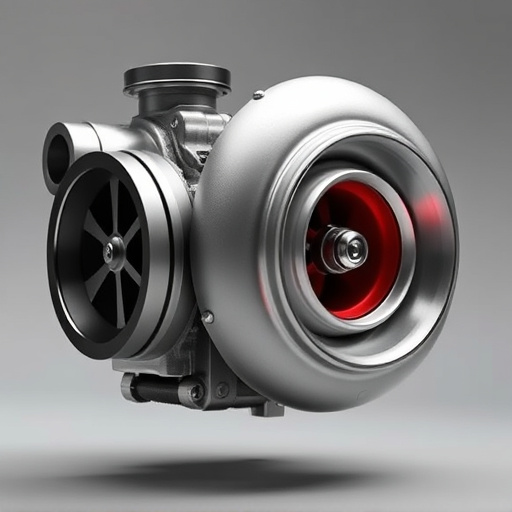
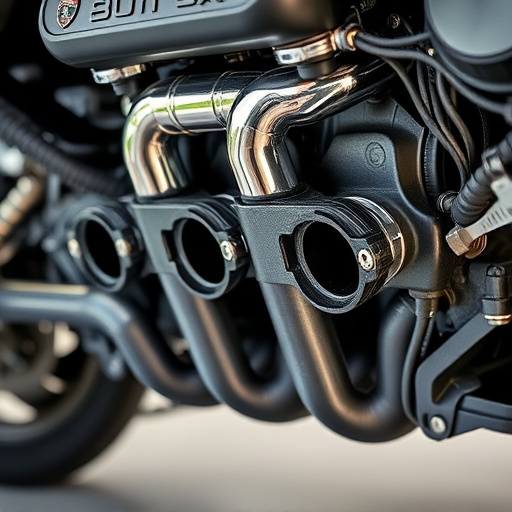
Performance sway bars are powerful tuning tools designed to enhance your vehicle’s handling and stability, especially during cornering. They work by reducing body roll, allowing for a flatter driving experience. This benefit is particularly noticeable in high-performance vehicles or those equipped with aggressive suspension kits. By controlling body movement, performance sway bars can also complement your exhaust systems and brake components, further improving overall vehicle dynamics.
The compatibility of performance sway bars depends on various factors, including your vehicle’s make, model, and year. It is crucial to ensure that the sway bars you choose are designed specifically for your car or truck. Different vehicles have unique suspension setups, and off-the-shelf sway bars may not fit correctly or offer the desired performance gains. Proper installation is also essential; it requires specialized tools and knowledge to ensure optimal alignment and safety.
Step-by-Step Guide to Installing Performance Sway Bars
Installing performance sway bars on your vehicle is a relatively straightforward process that can significantly improve handling and stability, especially during high-performance driving or racing conditions. Here’s a step-by-step guide to help you through the installation process:
1. Gather Tools and Parts: Before beginning, ensure you have all necessary tools like jack stands, wrenches, and sockets compatible with your vehicle. Obtain high-quality performance sway bars designed specifically for your make and model. Some kits may also include new bushings or mounting hardware.
2. Jack Up and Secure the Vehicle: Start by raising your car using a reliable jack and placing it on sturdy jack stands for safety. Ensure the surface underneath is clean and level. Remove the wheels at the ends of the axle you’re working on for easier access to the suspension components.
3. Remove Stock Sway Bars: Identify the stock sway bars and unbolt them from the vehicle using the appropriate tools. Take note of how they are connected, as this will help in reassembly. Clean the mounting points thoroughly to ensure a secure bond with new hardware.
4. Install New Performance Sway Bars: Align the performance sway bars with the mounting points. Use the included instructions or consult your vehicle’s service manual for proper alignment. Tighten the bolts securely, ensuring they are fitted snugly but not over-tightened to avoid damage.
5. Reinstall Wheels and Lower the Vehicle: Once the sway bars are in place, carefully reinstall the wheels and lower the car from the jack stands. Test the sway bar links for any loose or tight spots, adjusting as needed for a secure fit.
Remember, working on your vehicle requires caution and precision. If you’re unsure at any step, consult a professional mechanic or refer to detailed DIY resources specific to your vehicle model.
Post-Installation Tips for Optimal Performance and Safety
After successfully installing performance sway bars on your vehicle, there are several post-installation tips to ensure optimal performance and safety. Firstly, always double-check that all components are securely fastened and aligned according to the manufacturer’s specifications. Ensuring proper installation is crucial for both handling and structural integrity.
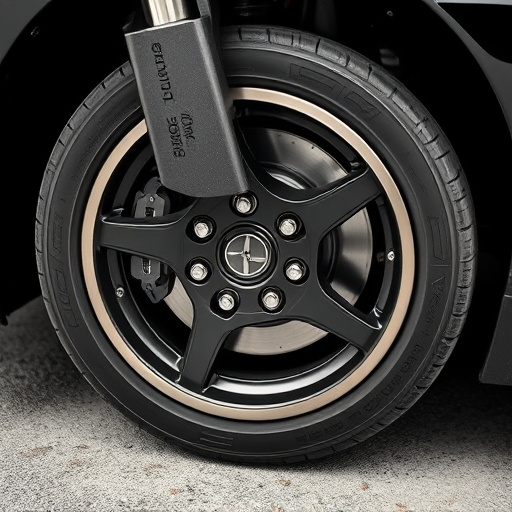
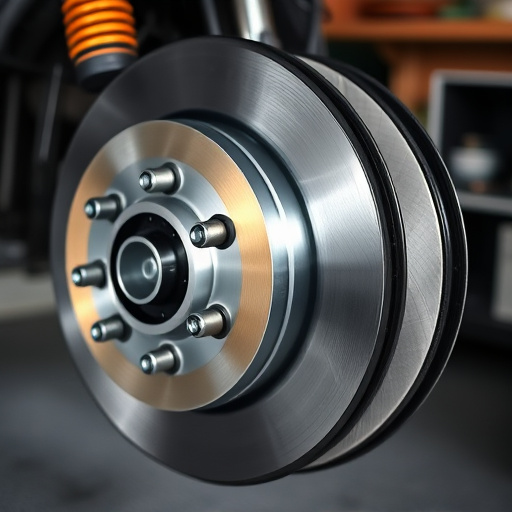
Next, consider upgrading other critical components like brake rotors and air filter kits. These upgrades can enhance overall vehicle performance and contribute to better control during cornering, which is further enhanced by the sway bars. Additionally, regularly inspect your tires and ensure they are properly inflated; this simple step can significantly impact how your vehicle handles on different road surfaces. Remember that a well-maintained vehicle not only performs better but also ensures a safer driving experience.
Installing performance sway bars can significantly enhance your vehicle’s handling and stability, particularly during cornering. By understanding compatibility and following a meticulous installation process, you can unlock better control and a smoother ride. Remember, proper alignment and regular maintenance are crucial for optimal performance and safety when using performance sway bars. Enjoy the improved dynamics of your car while staying safe on the road.