


To achieve optimal results when painting or staining wood siding, follow these steps: thoroughly clean with a pressure washer or detergent, inspect and repair damage, gently sand the surface, remove dust, ensure gutters and other exterior systems are in good condition. Before repainting or staining, sweep/vacuum to remove dirt, address mildew with a mild detergent solution, fill cracks and holes, replace damaged boards, and lightly sand for even paint/stain application, better adhesion, and enhanced visual appeal while preventing future issues like mildew and mold.
Revitalize your home’s exterior with a fresh coat of paint or stain on your wood siding! This guide offers expert advice and essential tips for a successful transformation. From preparing your wood siding, choosing the perfect finish, to application techniques that ensure long-lasting results, we’ve got you covered. Learn how to clean, repair, and sand your siding properly, select weather-resistant options, and achieve an even, professional finish. Transform your home with these simple steps and give your wood siding the update it deserves.
- Preparing Your Wood Siding for Repainting or Staining
- – Cleaning the siding: removing dirt, dust, and mildew
- – Repairing damaged areas: filling cracks, holes, and splinters
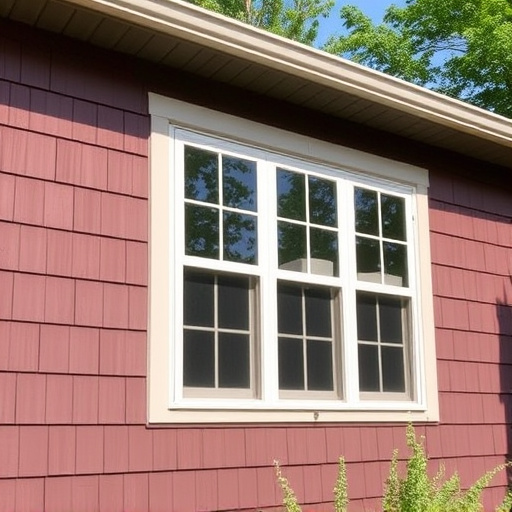
Preparing Your Wood Siding for Repainting or Staining

Before applying any paint or stain to your wood siding, it’s crucial to prepare the surface properly for optimal results. Start by thoroughly cleaning the siding using a pressure washer or a mild detergent and warm water solution. This step removes dirt, mold, and mildew buildup, ensuring an even finish. Next, inspect the wood for any damage, cracks, or peeling. Repair these issues with appropriate wood patches or replacements to create a smooth base.
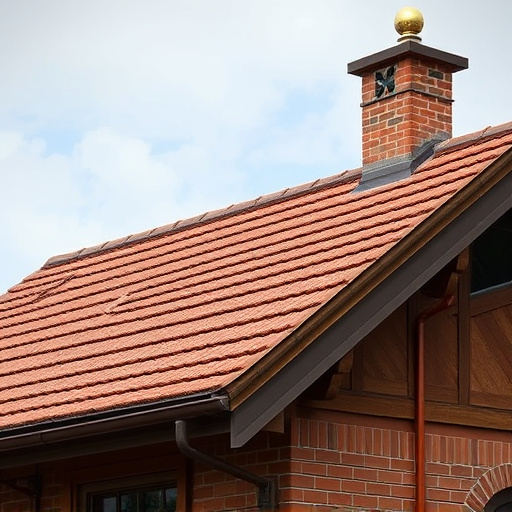
Once the repairs are made, sand the entire surface of the siding gently to roughen it slightly, allowing better adhesion for the new coat of paint or stain. Remove any dust with a damp cloth or vacuum to prevent it from interfering with the application process. Finally, check the condition of your siding and gutters and roofing and siding systems to ensure everything is in order, as exterior home improvements can depend on these elements working harmoniously.
– Cleaning the siding: removing dirt, dust, and mildew

Before repainting or staining your wood siding, it’s crucial to start with a clean slate. Begin by sweeping or vacuum-cleaning your exterior to remove any loose dirt, dust, and debris that have accumulated over time. For stubborn buildup, use a soft-bristled brush to agitate the surface gently. This initial step ensures an even application of paint or stain, promoting better adhesion and longevity.
Next, address any signs of mildew or mold. Mix a solution of mild detergent and water, and use a garden sprayer or bucket and sponge to thoroughly clean the wood siding. After washing, rinse with clear water to remove soapy residue. This process not only enhances the visual appeal of your wood siding but also prevents these issues from affecting the finish later on, complementing your efforts in maintaining a well-kept home, including any siding and gutters or roof repair needs.
– Repairing damaged areas: filling cracks, holes, and splinters
Before repainting or staining your wood siding, it’s crucial to repair any damaged areas. Start by filling cracks and holes with a suitable filler designed for exterior use. This step is essential to ensure an even and long-lasting finish. Once the filler dries, lightly sand the repaired sections to create a smooth surface that blends seamlessly with the rest of the siding.
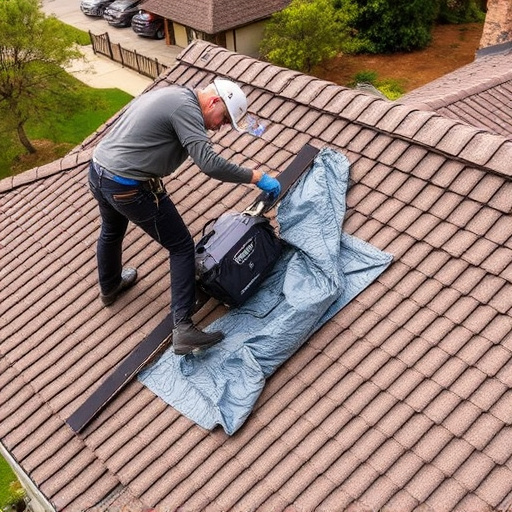
For splinters or loose boards, replace them to maintain the structural integrity of your wood siding. Consider seeking professional roofing services for guidance on siding installation if you’re unsure about handling these repairs yourself. Remember, addressing damage upfront not only improves the aesthetic appeal of your property but also prevents further deterioration and costly repairs in the future, especially when it comes to commercial siding.
Before tackling your wood siding project, ensure a fresh and lasting finish by thoroughly cleaning and repairing any damage. Start with removing dirt and mildew using a specialized cleaner, followed by filling cracks and holes with a suitable compound. These initial steps will create a smooth base for repainting or staining, ensuring your wood siding looks as good as new.