


Installing new siding over existing layers is a strategic, cost-effective, and time-saving renovation option that preserves unique architectural details and enhances curb appeal. Prepare by assessing structural soundness, addressing damage or rot, choosing the right siding type, and meticulous measurement. This method, ideal for homes with good old siding, involves removing damaged panels, inspecting underlayment, cleaning, cutting and installing new siding, applying sealer, securing with fasteners, and fastening from bottom up with expansion gaps.
Considering installing new siding over old layers? This comprehensive guide explores whether it’s a good idea, delving into the benefits and crucial considerations. From enhancing curb appeal to providing insulation, siding installation is a popular home improvement choice. However, navigating existing layers requires careful planning. This article guides you through understanding the process, preparing for success, and offers a step-by-step approach to ensure a professional result.
- Understanding the Benefits of Installing Siding Over Existing Layers
- Considerations and Preparations for a Successful Siding Installation Project
- Step-by-Step Guide to Installing New Siding Over Old Layers
Understanding the Benefits of Installing Siding Over Existing Layers
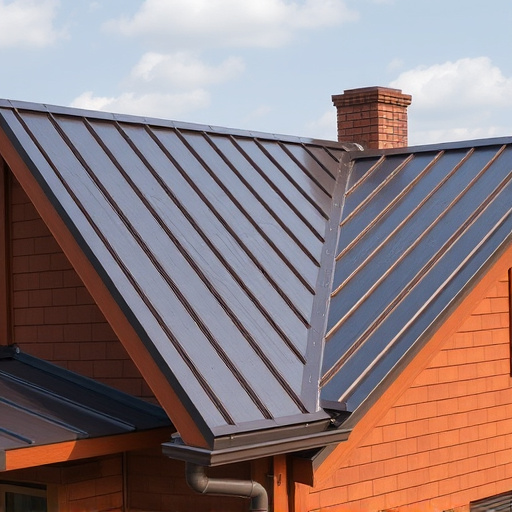
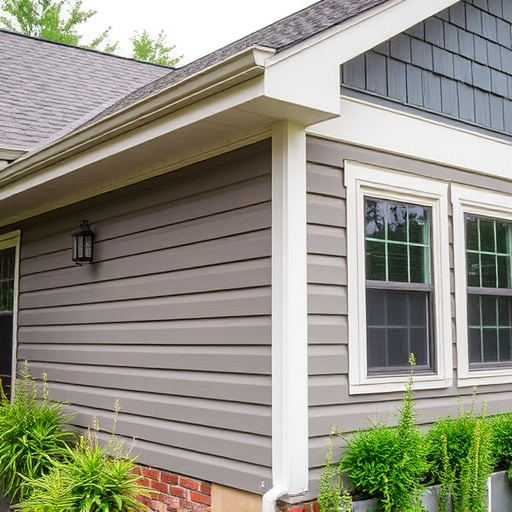
Installing new siding over existing layers can be a smart move for many homeowners. This approach offers several advantages, especially when compared to completely removing and replacing the old material. For one, it’s an efficient method that saves time and cuts down on project costs. Instead of labor-intensive removal, you simply add a fresh layer of protection to your home’s exterior. This is particularly beneficial for homes with unique architectural details or those looking to preserve their historic charm while enhancing curb appeal.
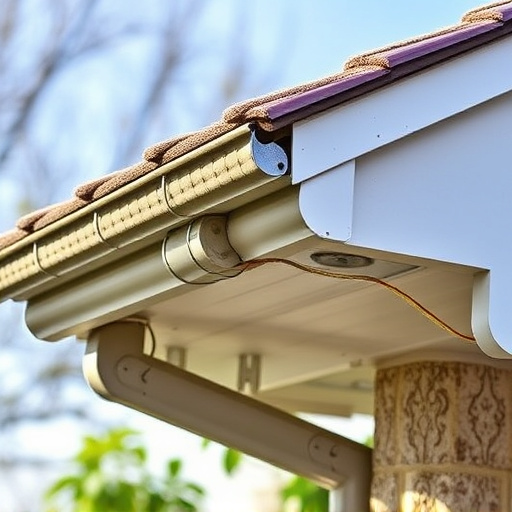
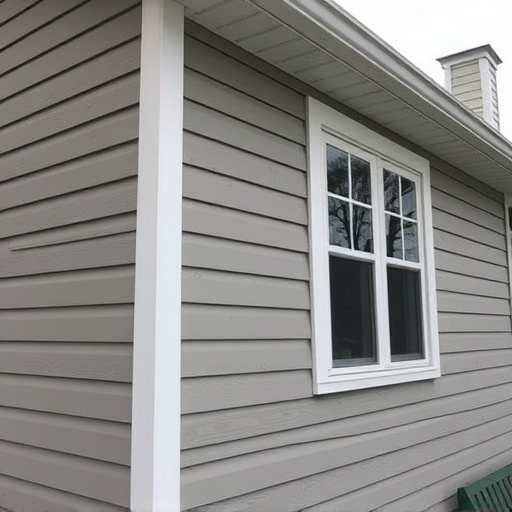
Moreover, this technique allows for better preservation of the structure beneath. Existing layers can provide insulation and protect against moisture penetration, ensuring that your roofing and siding work in harmony. It’s a seamless way to achieve a updated look without the hassle of complete renovation. Home service solutions offer professional installation, making it a safe and effective method for those considering a siding replacement or desiring to refresh their home’s exterior with minimal disruption.
Considerations and Preparations for a Successful Siding Installation Project
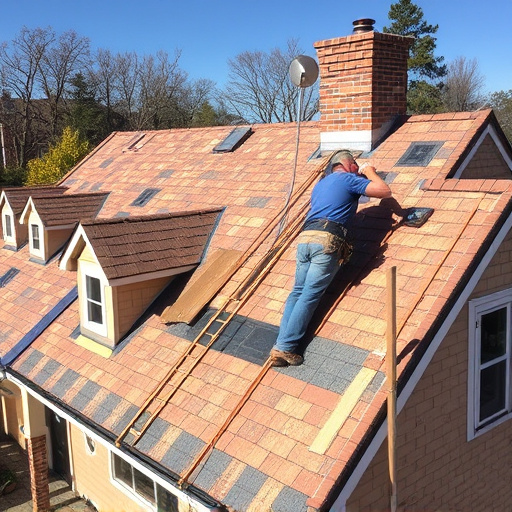
Before tackling a siding install project, there are several key considerations and preparations to ensure success. First, assess the condition of the existing structure—is it sound or does it require roof repair? Proper preparation is crucial for a seamless finish. If there are any signs of damage or rot, addressing these issues before installing new siding is essential. This might involve structural repairs or even replacing sections of the roof, especially in commercial roofing scenarios where robust, long-lasting solutions are paramount.
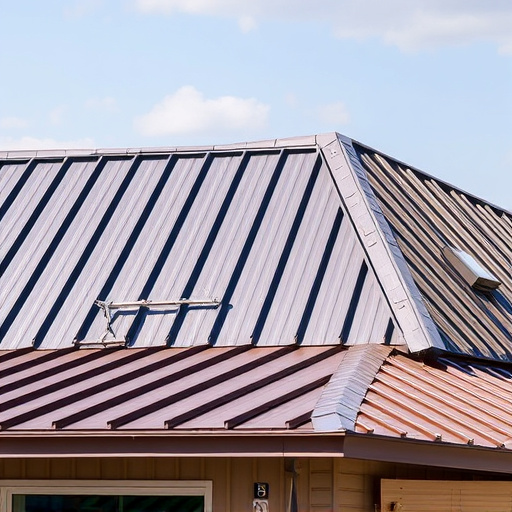
Next, determine the type of siding best suited to your needs and climate. Different materials offer varying levels of durability, aesthetics, and insulation properties. Consult with professionals for expert advice tailored to your region. Proper measurement and planning are also vital; create detailed layouts to ensure you have enough material and account for any unique architectural features that might impact installation. This meticulous approach will save time, money, and potentially prevent future issues, ensuring a beautifully upgraded exterior that enhances your property’s value—whether residential or commercial.
Step-by-Step Guide to Installing New Siding Over Old Layers
Installing new siding over existing layers can be a cost-effective way to refresh your home’s exterior. However, it requires careful planning and execution to ensure a durable and aesthetically pleasing finish. Before you begin, assess the condition of your current siding and underlayment. If the old siding is in good shape but simply outdated, this approach could be ideal. Start by gathering all the necessary materials: new siding panels, appropriate fasteners, and any sealing products recommended for your region’s climate.
Here’s a step-by-step guide to a successful installation:
1. Remove loose or damaged sections of the existing siding, taking care not to damage the underlying layers.
2. Inspect the underlayment for any signs of rot, water damage, or pest infestation that could compromise the new siding. Repair or replace as needed.
3. Clean and inspect the outer layer of the home to ensure it’s free from debris, dust, and mildew. This will promote better adhesion of the new siding.
4. Measure and cut the new siding panels according to your home’s dimensions using a utility knife or circular saw.
5. Apply a suitable sealer to the joints between existing and new siding for added protection against moisture intrusion, especially if your area experiences harsh weather conditions.
6. Secure the new siding with high-quality fasteners, ensuring they are correctly spaced according to the manufacturer’s instructions.
7. Fasten each panel from the bottom up, starting at the lowest point and working your way around the entire perimeter of your home. Leave a small gap between panels for expansion and contraction.
Installing new siding over existing layers can be a smart option, offering both cost-effectiveness and efficiency. By understanding the benefits, being aware of necessary preparations, and following a structured guide, homeowners can successfully update their homes’ exterior. This approach allows for a fresh look without removing the old, saving time and resources. With proper planning, installing siding over existing layers is a viable project that enhances curb appeal and property value.