


Door edge protection (also known as sills or jams) is a crucial component that guards vehicles from damage during entry/exit. Over time, weather and use can degrade it, requiring removal for maintenance or customization. To safely remove old door edge protection, use specific tools like screwdrivers, plastic scrapers, safety glasses, and work gloves. Proper preparation and safety measures ensure a smooth process in automotive services. Inspect the protection's condition before attempting to remove it. For stubborn cases, use heat with a hairdryer and insert a tool to create a gap for peeling.
Removing old door edge protection can be a necessary task, especially during home renovations or redecorating. This article guides you through the process safely and efficiently. We’ll first explore why removing this trim is often required and discuss the potential risks involved. Then, we’ll delve into essential tools and safety precautions to ensure a smooth experience. Finally, we’ll provide a step-by-step guide to securely removing door edge protection, helping you achieve a fresh, updated look for your space.
- Understanding Door Edge Protection and Why Removal is Necessary
- Tools and Safety Precautions for the Job
- Step-by-Step Guide to Securely Removing Old Door Edge Protection
Understanding Door Edge Protection and Why Removal is Necessary

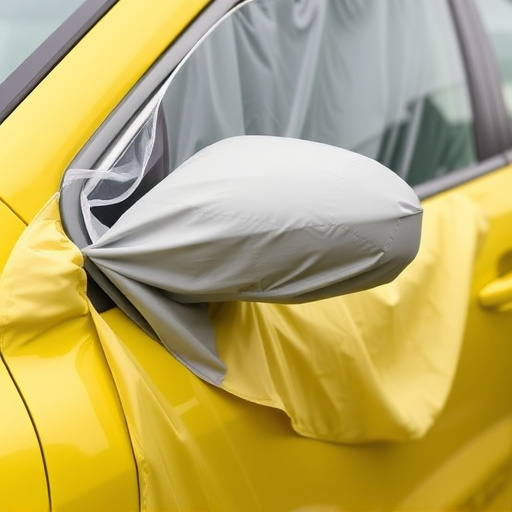
Door edge protection, often referred to as door sills or door jams, is a crucial component designed to safeguard both the vehicle and its doors from damage caused by objects like stones, curbs, or shopping carts during entry and exit. These protective strips are typically made of durable materials such as rubber or plastic and come in various styles, colors, and finishes to complement different vehicle aesthetics. While they serve their purpose effectively, there may be situations where removal is necessary for either maintenance or aesthetic reasons.
Removal of old door edge protection is required when the material degrades over time due to exposure to weather conditions, UV rays, or regular use, compromising its effectiveness and appeal. Deteriorated protection can lead to unsightly cracks, peeling, or fading, impacting the overall look of the vehicle’s lower doors. Moreover, damaged edges might not provide adequate coverage anymore, leaving the door vulnerable to potential scrapes and dents. In such cases, removing the old protection allows for a clean slate, enabling the application of high-quality finishes, custom graphics, or simply restoring the original beauty of the door edge.
Tools and Safety Precautions for the Job

To safely remove old door edge protection, you’ll need a few essential tools at your disposal. Start with a set of thin, flat-head screwdrivers for unscrewing any securing hinges or brackets. A plastic scraper or putty knife is ideal for gently prying off the old protection without damaging the door surface. Additionally, wear safety glasses to protect your eyes from flying debris, and consider using work gloves to avoid skin irritation when handling chemicals.
Safety precautions are paramount during this process. Ensure proper ventilation in the workspace by opening windows or using a fan to disperse any dust or chemical fumes. If you’re dealing with tough, adhesive door edge protection, a ceramic coating remover could be necessary—a product specifically designed for efficient, safe removal without leaving behind residue. Remember, proper preparation and safety measures will ensure a smooth process during this car customization step, ultimately achieving the desired result in your premium automotive services.
Step-by-Step Guide to Securely Removing Old Door Edge Protection

Start by inspecting the door edge protection to understand its condition. This step is crucial as it determines your approach. If the protective film is intact and not too old, you might be able to simply peel it off carefully. However, if it’s weathered or adhered tightly, a more thorough removal process is required.
Gather the necessary tools: a sharp knife or credit card for lifting edges, a hairdryer (optional) to loosen adhesive, and a clean cloth for wiping down the door after removal. Begin by heating the edge protection with the hairdryer if it’s stuck. This can help weaken the adhesive, making it easier to lift. Then, insert the knife or credit card between the protection and door, creating a gap. Slowly peel back the edge, working your way around the entire perimeter. Be patient; rushing this step could lead to damage or difficulty in reapplication later if needed. For vehicle wraps or automotive detailing enthusiasts, taking extra care ensures better results and preserves the appearance of the vehicle’s doors.
Removing old door edge protection doesn’t have to be a daunting task. By understanding the purpose of this component and implementing proper safety precautions, you can efficiently and safely remove it using the right tools. Following our step-by-step guide ensures a smooth process, allowing you to create a fresh, modern look for your doors while maintaining their integrity. Remember, proper removal is key to preserving the door’s value and ensuring a seamless finish for any upgrades or repairs.