

Custom DTF Transfers Ready to Press offer a cutting-edge printing solution for intricate designs on diverse fabrics. For optimal print quality, prepare designs with high-resolution (300 DPI or more) graphics in CMYK color mode, keeping important details away from edges and maintaining legible text. Select suitable fabrics like cotton or technical apparel, set correct printing software and machine settings, then carefully apply and heat press the transfers for durable results.
Discover the art of enhancing your designs with custom DTF (Direct to Fabric) transfers ready to press. This guide unravels the benefits of this innovative technique, perfect for creating vibrant, long-lasting prints on a variety of fabrics. From understanding the technology to preparing your design and achieving flawless application, we’ll walk you through each step. Elevate your fabric printing game with these custom DTF transfers, offering precision, versatility, and endless creative possibilities.
- Understanding Custom DTF Transfers: What They Are and Their Benefits
- Preparing Your Design for Transfer: Tips and Best Practices
- Applying Custom DTF Transfers: A Step-by-Step Guide to Achieving Perfect Results
Understanding Custom DTF Transfers: What They Are and Their Benefits
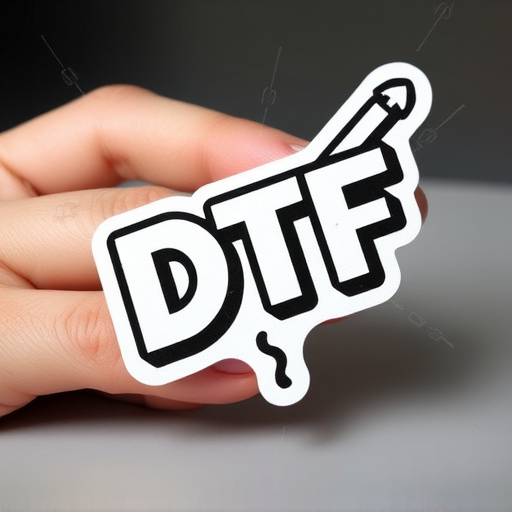
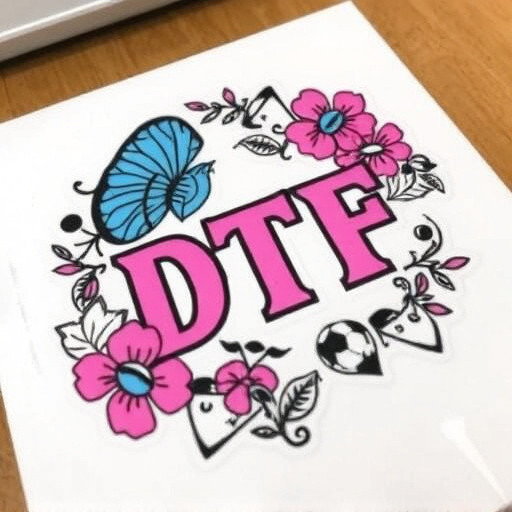
Custom DTF Transfers Ready to Press are advanced printing solutions that offer a unique and versatile approach to garment decoration. These transfers aren’t your typical heat-appliqué designs; they’re digitally printed, ready-to-press materials that provide exceptional quality and efficiency. By using DTF (Direct to Fabric) technology, you can achieve intricate patterns, vibrant colors, and a smooth finish on various fabric types.
One of the key benefits of Custom DTF Transfers is their adaptability. They can be applied to a wide range of fabrics, from cotton tees to hoodies and even technical apparel. The process involves digitally printing the design directly onto a special paper that acts as a carrier. Once the design is printed, it’s carefully transferred onto the fabric using heat and pressure during the curing process, ensuring a long-lasting and durable finish. This method allows for complex designs with fine details, making it an excellent choice for custom apparel and promotional products.
Preparing Your Design for Transfer: Tips and Best Practices

When preparing your design for a Custom DTF Transfers Ready to Press process, the goal is to ensure optimal print quality and prevent any potential issues. Start by checking the design file for any pixelation or low-resolution elements; all graphics should be at least 300 DPI (dots per inch) for crispness. Since DTF (Direct to Garment) custom apparel printing involves precision, it’s crucial to use the correct color mode—CMYK for print readiness. This is especially important when designing for DTF small orders or DTF printed shirts, where even minor variations can affect the final output.
Next, consider your design’s layout and elements in relation to the garment’s shape. Ensure that important design details aren’t too close to the edges, as this could lead to cutting or bleeding issues during the transfer process. Keep text legible and avoid fine lines or small details that might not reproduce well. A final check for compatibility with the printing software and machine is vital; some platforms have specific requirements for file types and sizes, so adhering to these guidelines guarantees a smooth transfer process.
Applying Custom DTF Transfers: A Step-by-Step Guide to Achieving Perfect Results
Applying Custom DTF Transfers: A Step-by-Step Guide to Achieving Perfect Results
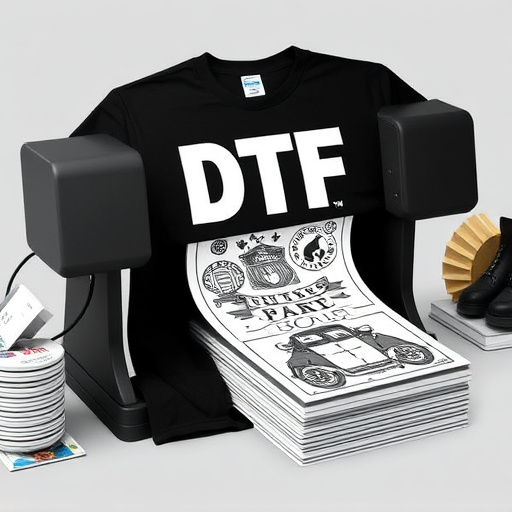
1. Prepare Your Design: Start by selecting your desired design, ensuring it’s in high resolution and compatible with DTF printing standards. Use graphic design software to adjust colors, text, and images as needed for optimal print quality.
2. Choose the Right Material: Select the appropriate fabric or material for your DTF custom apparel. Different materials absorb ink differently, so choose based on your desired outcome and the nature of your design. Pre-treat the fabric according to manufacturer instructions for best results.
3. Set Up Your Workspace: Ensure a clean, well-lit workspace with ample space to lay out your materials. Gather all necessary tools: a DTF printer, transfer paper, heat press or iron, and protective gear like gloves. Calibrate your printer and ensure it’s ready for printing.
4. Print the Design: Using graphic design software, print your custom design onto the transfer paper, following the specific settings recommended by your DTF printing services provider. Ensure precise placement of the design on the transfer paper.
5. Apply the Transfer: Carefully position the printed transfer onto the fabric, ensuring it aligns perfectly with your design vision. Use a squeegee or smooth, flat object to apply even pressure across the transfer’s surface. Remove any air bubbles and ensure good contact between the transfer and material.
6. Heat Press Process: Preheat your heat press or iron to the appropriate temperature as per your DTF bulk orders specifications. Apply heat for the recommended duration, allowing the design to transfer onto the fabric permanently. Monitor the process closely to prevent over-heating.
7. Cool and Inspect: Once heating is complete, carefully remove the transfer paper, leaving behind the vibrant, crisp design on your chosen material. Allow the printed piece to cool down before touching it. Inspect for any imperfections or missed spots, making adjustments as needed.
Custom DTF transfers ready to press offer a seamless and efficient way to bring your designs to life on various materials. By understanding their benefits, preparing your design with care, and following a simple step-by-step guide, you can achieve professional results. This method revolutionizes the way we approach custom printing, enabling us to create lasting impressions with ease.