


DTF Transfers Ready to Press are cutting-edge tools for custom apparel design, offering convenience and superior quality. They eliminate tedious cutting steps, ensuring consistent results during the heat press process. These thin films, pre-cut and prepared, produce vibrant, long-lasting prints on various fabrics, making them popular among businesses creating unique garments and accessories. For optimal results, prepare your workspace diligently, gather essential materials like DTF transfers and suitable fabric, and invest in quality tools. The guide provides a step-by-step process, emphasizing the accessibility of this method for both DIY projects and small businesses.
Discover the art of creating precise and vibrant designs with DTF (Direct to Fabric) transfers ready to press. This innovative technology allows for easy, on-demand printing on various fabrics, from t-shirts to tote bags. In this comprehensive guide, we’ll walk you through understanding DTF transfers, preparing your workspace, and mastering the step-by-step process. Learn how to achieve professional results with these user-friendly ready-to-press transfers, opening up a world of creative possibilities.
- Understanding DTF Transfers Ready to Press
- Preparing Your Workspace and Materials
- The Step-by-Step Process of Using DTF Transfers
Understanding DTF Transfers Ready to Press
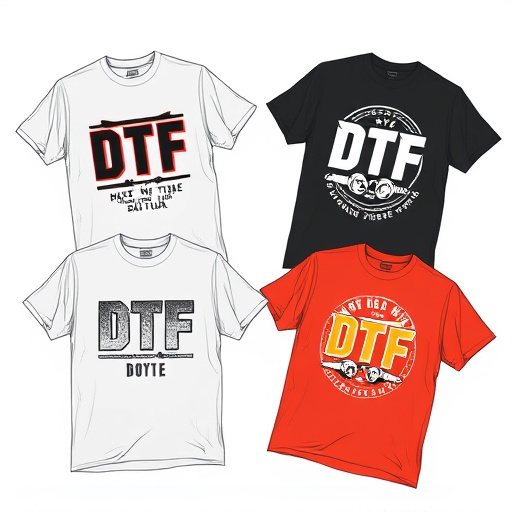
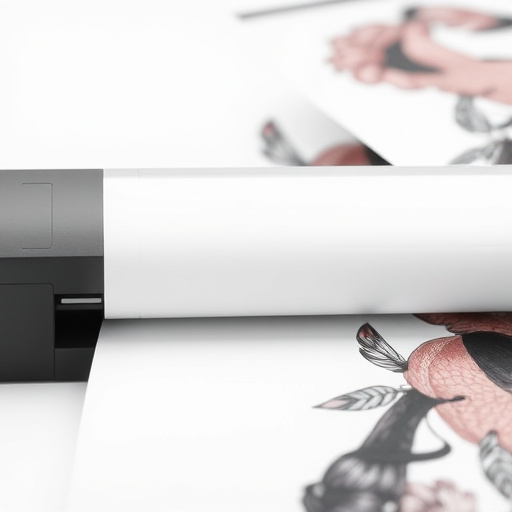
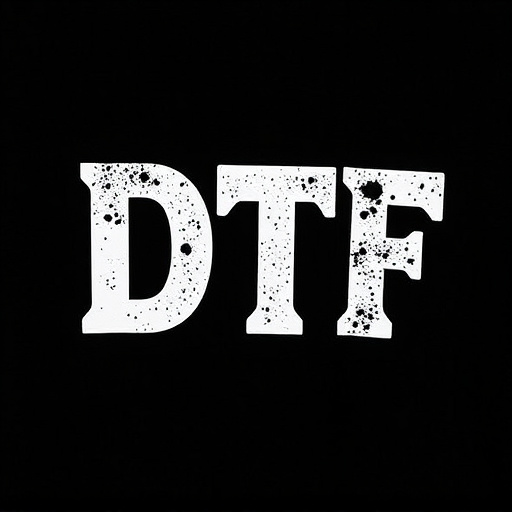
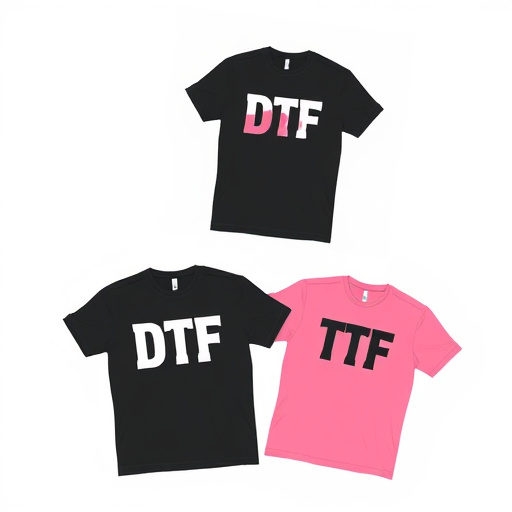
DTF Transfers Ready to Press are a game-changer for anyone looking to create durable prints on various materials. These transfers are designed with a unique technology that allows for precise application during heat press processes, making them ideal for custom dtf custom apparel. The term “ready to press” signifies their convenience; these transfers come pre-cut and prepared, eliminating the need for intricate cutting or preparation steps. This not only saves time but also ensures consistent and high-quality results.
Understanding how DTF Transfers Ready to Press work is essential. They are typically made from a thin film that carries the design or graphic. When heated during the press, the transfer adheres firmly to the substrate, creating long-lasting and vibrant prints. This method is particularly popular among businesses specializing in custom apparel, as it offers a cost-effective way to produce durable designs on a variety of fabrics. Whether you’re looking to create unique t-shirts, hoodies, or even accessories, these transfers provide an efficient and versatile solution for all your custom dtf transfer needs.
Preparing Your Workspace and Materials
Before you begin applying DTF Transfers Ready to Press, it’s crucial to prepare your workspace and gather all necessary materials. Start by clearing a well-lit area with ample space to work; this ensures precision during the transfer process. Gather your DTF heat transfers, high-quality dtf transfers, and dtf design transfers, along with your preferred fabric or surface for application.
Invest in good quality tools like heat presses, ironing boards, and cleaning solutions specific to DTF materials. Ensure your work area is organized, with each tool and transfer clearly labeled and within easy reach. Proper preparation not only streamlines the process but also guarantees optimal results for your DTF designs.
The Step-by-Step Process of Using DTF Transfers
Using DTF (Direct to Fabric) Transfers Ready to Press is a straightforward and efficient method for creating custom apparel and designs. Here’s a step-by-step guide to help you get started:
1. Prepare Your Design: Start by selecting or creating vibrant designs that you want to transfer onto your fabric. Ensure the design is high-resolution and optimized for DTF printing. You can use various graphic design software to create or edit your artwork.
2. Choose the Right Transfer Paper: Select a DTF transfer paper that’s compatible with your printer and fabric type. The market offers a range of options, each suitable for different materials. For instance, cotton, polyester, and blended fabrics require specific papers for best results.
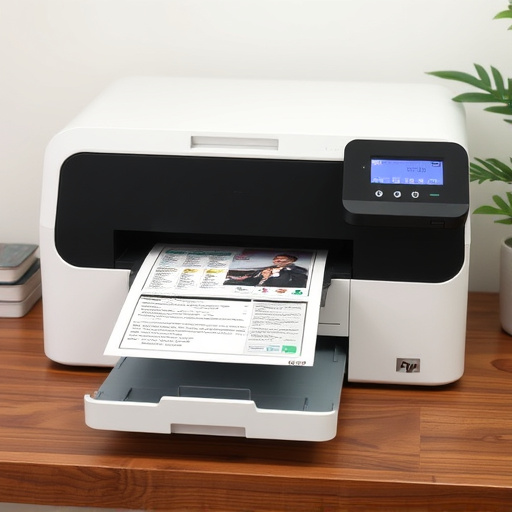
3. Print Your Design: Once your design is finalized, print it directly onto the transfer paper using your printer. Ensure the settings are correct to achieve sharp and accurate colors. After printing, carefully cut out the design, leaving minimal borders around each element.
4. Pre-treat the Fabric: Prepare your fabric by cleaning it and ensuring it’s free from any oils or contaminants. Pre-treating helps the transfer adhere better. Follow the manufacturer’s instructions for optimal results, as different fabrics may require specific treatments.
5. Press the Transfer: Heat up your iron to the recommended temperature for the transfer paper you’re using. Place the transfer, design-side down, onto the fabric and iron it firmly for a few minutes. The time and pressure can vary based on the paper and fabric, so always refer to the product instructions.
6. Cool and Check: After pressing, let the fabric cool down completely. Then, inspect the transferred design to ensure it’s crisp and vibrant. If needed, you can repeat the pressing process for better adhesion or to fix any issues.
With these simple steps, you can easily create DTF custom apparel, making it a cost-effective method for both personal projects and small businesses.
DTF Transfers Ready to Press offer a simple and effective method for achieving high-quality, precise designs. By understanding the process, preparing your workspace, and following the step-by-step guide, you can effortlessly bring your creative visions to life. These transfers are a game-changer for anyone looking to enhance their crafting or printing projects with speed and accuracy.