


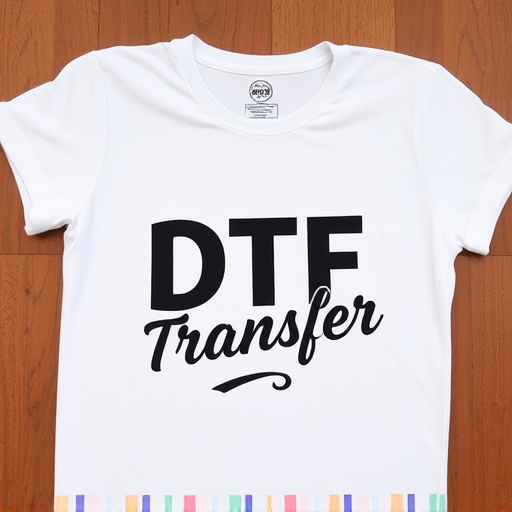
Direct-to-film (DTF) transfer and printing is a cutting-edge method for high-quality, vibrant prints on fabrics, plastics, and metals. The process involves digitally preparing designs to specific standards, transferring them onto film, and pressing the film against target surfaces for ink penetration. Right materials, printer technology, testing, and design specifications ensure optimal color accuracy and longevity. Key steps include file preparation in compatible formats, material selection, precise printing, cutting, curing with heat/UV light, cleaning, and protective coating application.
“Unleash your creativity with personalized direct-to-film (DTF) designs! This comprehensive guide explores the art of transforming your ideas into captivating DTF prints. From understanding the DTF transfer process and selecting the perfect materials to designing custom art and preparing your artwork, we’ve got you covered. Learn the step-by-step application process, then master the finishing touches. Elevate your skills with these expert instructions, and watch your unique DTF creations come to life.”
- Understanding Direct-to-Film (DTF) Transfer and Printing
- Choosing the Right Materials for Your DTF Design
- Designing Custom Art for DTF Prints
- Preparing Your Artwork for DTF Transfer
- Applying the DTF Transfer Process Step-by-Step
- Curing and Finishing Your Personalized DTF Prints
Understanding Direct-to-Film (DTF) Transfer and Printing
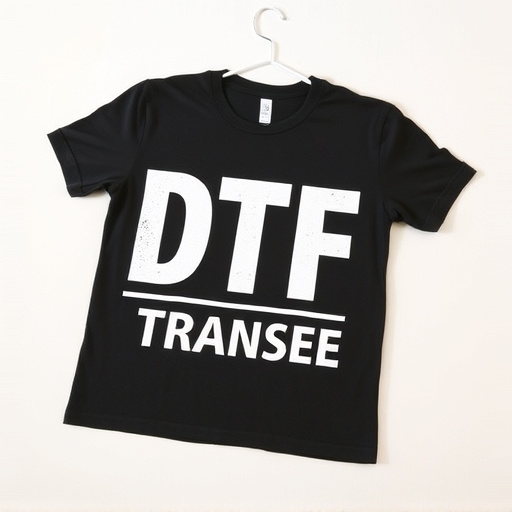
Direct-to-film (DTF) transfer and printing is a cutting-edge method that allows for precise and high-quality application of designs directly onto various surfaces, including fabrics, plastics, and metals. This innovative process involves using specialized equipment to apply inks or pigments onto the target material through a direct contact mechanism, eliminating the need for intermediate substrates. DTF Transfer ensures optimal color accuracy and vibrancy, making it ideal for creating personalized, eye-catching DTF prints.
Understanding the intricacies of DTF Printing is crucial for achieving exceptional results. The process begins with preparing the design digitally, ensuring it meets specific resolution and format requirements. Once finalized, the design is transferred onto a film or sheet, which acts as a carrier during the printing phase. This film is then carefully aligned and pressed against the target surface, enabling the ink to permeate into the material, resulting in durable and long-lasting DTF prints.
Choosing the Right Materials for Your DTF Design
When creating personalized direct-to-film (DTF) designs, selecting the appropriate materials is a key step in ensuring high-quality results. The right DTF transfer paper and ink compatible with your printer are essential. Look for papers that offer excellent color accuracy and opacity to prevent show-through on the final prints. Additionally, consider the material’s durability; it should withstand washing and everyday wear without fading or peeling.
For optimal DTF printing, choose a printer that supports direct-to-garment technology. Eco-friendly water-based inks are a popular choice due to their vibrant colors and soft feel on various fabrics. Ensure your design software is compatible with your printer’s capabilities, allowing for precise placement of graphics and text. Test prints can help you perfect your design before finalizing it for production, ensuring your DTF transfers turn out perfectly every time.
Designing Custom Art for DTF Prints

When creating personalized direct-to-film (DTF) designs, designing custom art for DTF prints is a crucial step in the process. Start by conceptualizing your unique artwork, considering the theme and message you wish to convey through your DTF transfer. Digital illustration tools or even traditional hand-drawn sketches can be used to create the base design. Ensure your artwork aligns with the dimensions and specifications of your chosen DTF printing service for seamless integration.
For optimal DTF prints, focus on high-resolution visuals with sharp lines and vibrant colors. Avoid intricate details that might lose clarity when scaled down for application onto various surfaces. Incorporate elements that resonate with your target audience, whether it’s bold typography, striking graphics, or meaningful symbolism. This personalized approach ensures your DTF transfer stands out, making it a captivating addition to films, merchandise, or any other media where DTF printing is utilized.
Preparing Your Artwork for DTF Transfer
Preparing your artwork for a DTF (Direct-to-Film) transfer is a crucial step in creating personalized and high-quality prints. The goal is to ensure that your design translates perfectly onto the final product, whether it’s a t-shirt, mug, or any other item. Start by saving your artwork in a compatible file format such as SVG or PNG. These formats allow for crisp lines and detailed images, which are essential for DTF printing.
Next, ensure that your design is vector-based. Vector graphics provide the flexibility to scale your image without losing resolution, making them ideal for various print sizes. Consider using graphic design software like Adobe Illustrator or Inkscape to create or edit your artwork. Remove any background elements and make sure your design is isolated, as this will facilitate the transfer process and result in cleaner DTF prints.
Applying the DTF Transfer Process Step-by-Step
Creating personalized direct-to-film (DTF) designs involves a precise process known as DTF Transfer. To initiate this, start by preparing your design file—it should be print-ready and in a format compatible with your printing software. Ensure high resolution and correct color settings for optimal DTF prints.
Next, select the appropriate material for your project. DTF films are designed to adhere to various surfaces, offering versatility for different creative needs. Feed the DTF film into your printer, ensuring proper alignment. Print your design directly onto the film using a high-quality, resolution-focused printing method. Once printed, carefully cut out the design elements with precision tools, such as scissors or a cutting plotter, to achieve clean and accurate shapes.
Curing and Finishing Your Personalized DTF Prints
After applying your personalized design using a DTF transfer, it’s crucial to follow specific curing and finishing steps to ensure optimal results. This process involves allowing the ink to set properly, which strengthens the bond between the design and the substrate material. Typically, this is done through exposure to heat or UV light, depending on the type of ink used in your DTF printing process.
Proper finishing includes cleaning the printed surface to remove any residual ink or transfer tape. This can be achieved using a soft cloth or brush, ensuring no abrasives are used to prevent scratching the delicate print. Once cleaned, a protective coating or sealer can be applied to enhance durability and protect against fading or damage, preserving your unique DTF prints for extended enjoyment.