


Direct-to-film (DTF) printing is a cutting-edge technique for transferring digital images onto various media with precision and vibrant colors. To start, gather essential materials like DTF transfer film, a compatible printer, heat press machine, ink, blank items, and cleaning supplies. Design preparation involves converting to vector or high-resolution raster format, optimizing for DTF, testing, and previewing. The printing process aligns the film with the substrate, applies heat (300-350°F/149-177°C), and peels off the backing. Heat pressing is crucial for a strong bond. Avoid common mistakes like incompatible materials, poor surface preparation, incorrect speed, misaligned film, and overlooked calibration settings. Calibrating these factors ensures high-quality DTF transfers and prints.
Discover the art of direct-to-film (DTF) transfers with our comprehensive guide. Learn how to transform your designs into vibrant, long-lasting prints on various substrates. From understanding the basics of DTF technology to mastering application techniques, we’ve got you covered. This step-by-step tutorial walks you through gathering materials, preparing your design, and achieving perfect results using heat pressing. Skip common mistakes and elevate your DTF printing game today!
- Understanding Direct-to-Film (DTF) Transfers: A Basic Overview
- Gathering Essential Materials for DTF Printing
- Preparing Your Design for DTF Transfer: Tips and Tricks
- Step-by-Step Guide to Applying DTF Prints to Substrates
- Heat Pressing Techniques for Optimal DTF Results
- Common Mistakes to Avoid During the DTF Transfer Process
Understanding Direct-to-Film (DTF) Transfers: A Basic Overview
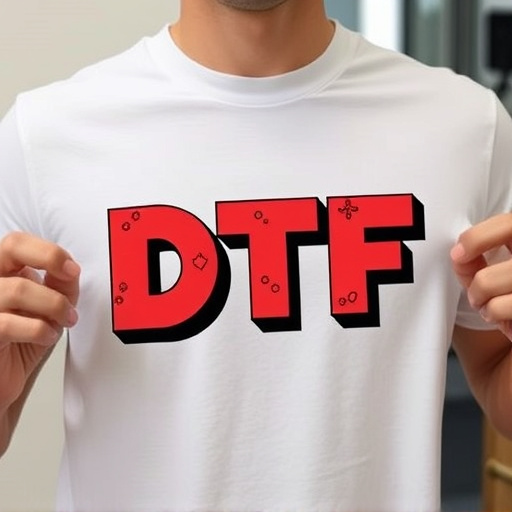
Direct-to-film (DTF) transfers are a cutting-edge printing technique revolutionizing the way we create and reproduce visual content. This method involves transferring digital images directly onto various media, including fabric, metal, wood, and even glass, using specialized printers. DTF offers unparalleled precision, vibrant colors, and high-resolution results, making it a favorite among artists, designers, and small businesses alike.
In the process, a digital design is sent to a DTF printer, which then uses ultrathin ink jets to precisely deposit pigment onto the surface. This technology allows for intricate details, sharp lines, and a wide color gamut. DTF prints are known for their durability and longevity, making them suitable for both indoor and outdoor applications. Whether it’s creating custom clothing designs, decorating items for events, or producing high-quality signage, DTF transfers provide an efficient and versatile solution for bringing digital art to physical surfaces.
Gathering Essential Materials for DTF Printing
Before you begin your journey into the world of DTF (Direct-to-Film) printing, ensuring you have all the essential materials is crucial. This process allows you to create high-quality prints directly on various surfaces, from t-shirts to mugs and more. Gather a DTF transfer film, a compatible printer, and a suitable heat press or iron. The transfer film comes in different types, each designed for specific applications; choose one that suits your project’s needs. A reliable printer is also key; ensure it supports the desired print resolution and has good color accuracy. For optimal results, a heat press machine is recommended, but a regular iron can also be used as an alternative.
Additionally, stock up on ink compatible with your printer, blank items like t-shirts, hats, or mugs (depending on what you plan to print), and a smooth, flat surface for pressing. You might also consider having spare parts like extra film rolls and cleaning supplies handy. With these materials at the ready, you’re well-prepared to embark on creating stunning DTF prints.
Preparing Your Design for DTF Transfer: Tips and Tricks
Preparing your design for a direct-to-film (DTF) transfer is a crucial step in achieving high-quality DTF prints. Start by ensuring your design is in a suitable format, such as vector graphics or high-resolution raster images. Vector formats like SVG or EPS allow for precise scaling without losing quality, while high-res raster images (at least 300 DPI) guarantee crisp details when printed.
Next, optimize your design for the DTF process. Remove any unnecessary elements or backgrounds to simplify the transfer. Consider the final placement of the design on the film; align and arrange objects accordingly. Keep in mind that DTF transfers require a transparent background, so ensure your design is designed with this in mind. Testing and previewing your design before finalizing it can help identify potential issues, ensuring a seamless DTF printing experience.
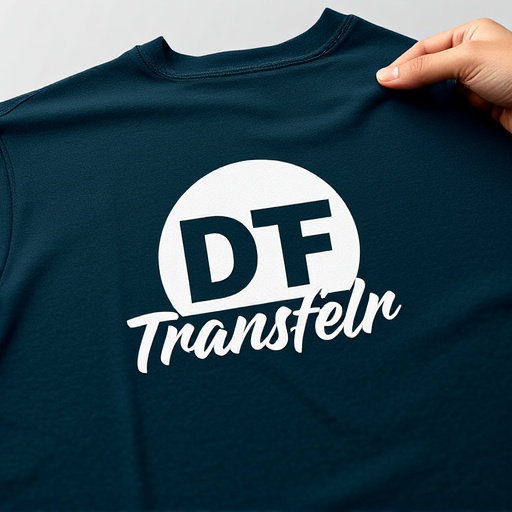
Step-by-Step Guide to Applying DTF Prints to Substrates
Applying Direct-to-Film (DTF) prints to substrates is a straightforward process that involves several precise steps. First, ensure your workspace is clean and free from dust or debris, as contaminants can affect the quality of the final transfer. Next, carefully remove the DTF film from its protective backing, taking care not to touch the print side of the film, which can cause smudging.
Position the substrate, whether it’s a t-shirt, mug, or other material, on a flat surface with the desired side facing up. Align the DTF film with the substrate, matching up the design or image you intend to transfer. Once aligned, apply heat using a heat press or iron, following the manufacturer’s guidelines for temperature and pressure. Maintain consistent pressure for several seconds until the DTF print adheres firmly to the substrate. After cooling, carefully remove the remaining backing film to reveal the vibrant, high-quality print on your chosen surface.
Heat Pressing Techniques for Optimal DTF Results
To achieve optimal results with direct-to-film (DTF) prints, heat pressing is a crucial step. The technique involves applying heat and pressure to the DTF transfer film, causing it to fuse with the substrate, typically a t-shirt or other fabric item. For best outcomes, preheat the press to the recommended temperature for your specific DTF material, usually between 300-350°F (149-177°C). The pressing time should be around 15-20 seconds, allowing enough heat to transfer while preventing overcooking.
A common mistake when using DTF printing techniques is not applying enough pressure. Ensure a firm press to create a strong bond between the film and the substrate. After pressing, let the item cool down before removing it from the press. This cooling period ensures that the DTF transfer sets properly, resulting in vibrant, long-lasting prints on your chosen fabric.
Common Mistakes to Avoid During the DTF Transfer Process
When using direct-to-film (DTF) prints, avoiding common mistakes can significantly improve the quality of your final products. One frequent error is using incompatible materials, ensuring that both the film and substrate are compatible to prevent delamination or ink bleeding. Additionally, improper preparation of the print surface, such as failing to clean and decontaminate it, can lead to poor adhesion and blurry prints.
Another mistake to steer clear of is exceeding recommended print speeds, which can cause misregistration and uneven ink deposition. Misalignment during film placement is also detrimental; taking the time to carefully position the film accurately ensures crisp, well-aligned prints. Lastly, overlooking calibration settings in your printer can result in color shifts and inconsistent image quality.