


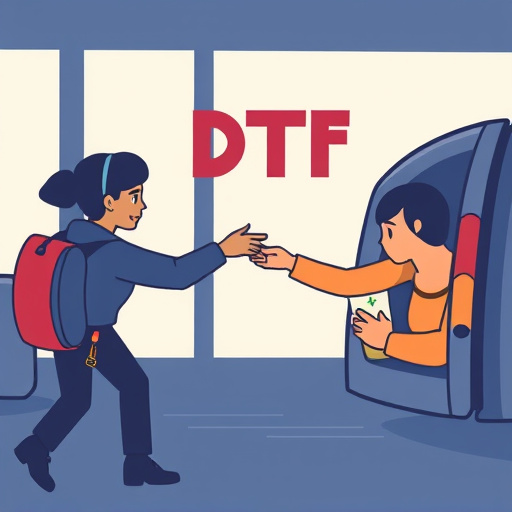
This text delves into the intricate process of removing carrier film after a Direct-to-Film (DTF) transfer, a cutting-edge printing technique for sign making and decorative arts. It outlines three primary methods: physical techniques like scrapers or heat guns, chemical solutions, and emphasizing proper preparation for successful transfers without residue or damage. Key considerations include workspace setup, tool quality, film inspection, application pressure, timing, curing, and tailored removal techniques based on film type.
“Uncovering a perfect transfer, free from carrier film residue, is paramount in achieving high-quality print outcomes with Direct-To-Film (DTF) technology. This article guides you through an extensive exploration of techniques for removing carrier films post-application. From understanding the fundamentals of DTF transfers and their unique challenges to mastering preparation steps and employing physical or chemical solutions, we offer practical insights. Learn how to navigate common issues and establish best practices for ensuring a clean, crisp, and professional transfer every time.”
- Understanding DTF Transfer and Carrier Film
- Preparation Steps for Efficient Removal
- Physical Techniques for Carrier Film Extraction
- Chemical Solutions for Softening the Adhesion
- Common Challenges and Their Solutions
- Best Practices for Achieving a Clean Transfer
Understanding DTF Transfer and Carrier Film

A DTF (Direct to Film) transfer is a printing technique that directly applies design elements onto a carrier film, which then serves as a temporary medium for subsequent application to a final surface. This method revolutionizes the way graphics are transferred, especially in industries like sign making and decorative arts. Understanding the role of the carrier film is paramount in successfully achieving a high-quality DTF transfer.
The carrier film acts as a protective layer during the printing process, shielding the underlying substrate from direct contact with ink or dye. Once the design is precisely printed onto this film, it becomes a flexible, portable medium. After careful application to the desired final surface, the film can be carefully removed, leaving behind the vibrant, indelible image. This meticulous process ensures that intricate details and fine lines are accurately reproduced, making DTF transfers a game-changer in creating visually appealing and long-lasting graphics.
Preparation Steps for Efficient Removal
Before attempting to remove the carrier film, proper preparation is key for a successful and efficient process. Start by ensuring your workspace is clean and well-lit to avoid any accidents or mistakes. Gather all the necessary tools, including a pair of fine-tipped tweezers, a smooth, flat surface, and a soft cloth or sponge dampened with distilled water. It’s crucial to work in a controlled environment to prevent smudging or damaging the recently applied DTF Transfer.
Additionally, allow enough time for the transfer to set and cure completely. Follow the manufacturer’s instructions regarding drying times to ensure optimal adhesion. Proper preparation ensures that the carrier film lifts off cleanly, leaving behind a crisp and clear image without any residue or damage to the substrate.
Physical Techniques for Carrier Film Extraction

Removing carrier film after a DTF (Direct-To-Film) transfer can be achieved through various physical techniques, each offering unique advantages and considerations. One common approach is using specialized tools designed for film extraction, such as scrapers or squeegees. These tools gently apply pressure to the film’s edge, allowing it to peel away from the substrate. This method is particularly effective when the film has been properly aligned and is not heavily adhered, ensuring minimal damage to the transferred image.
Another physical technique involves heating the carrier film to loosen its grip on the surface. Applying controlled heat with a heat gun or a hot air blow can cause the film to shrink slightly, making it easier to lift and remove. This approach requires caution to avoid overheating and potential harm to the transferred artwork or substrate. Proper ventilation is also essential when using heat to prevent the buildup of harmful fumes.
Chemical Solutions for Softening the Adhesion
Removing carrier film after a DTF (Direct to Film) transfer can be simplified by employing chemical solutions designed to soften the adhesion between the film and the applied surface. These solutions play a crucial role in breaking down the bond, making it easier to lift off the film without causing damage to the underlying material or design. The process involves immersing the transferred area in a specific chemical bath, which softens the adhesive without affecting the integrity of the transfer itself.
Chemical solutions for softening adhesion are particularly useful when dealing with intricate designs or delicate materials. By adjusting the composition and concentration of these chemicals, users can control the speed and effectiveness of the softening process, ensuring that the carrier film is removed efficiently without leaving behind any residue. This method not only streamlines the post-transfer cleaning process but also enhances the longevity of the transferred image by minimizing potential damage during removal.
Common Challenges and Their Solutions
After applying a DTF (Direct-To-Film) transfer, one of the primary challenges is effectively removing the carrier film without damaging the printed image. This process can be delicate, especially for intricate designs with fine details. A common solution involves using specialized solvents or chemicals that dissolve the adhesive binding the film to the substrate. These substances should be applied sparingly and with precision, following manufacturer guidelines to prevent over-saturating the area.
Another challenge arises from the varying types of carrier films used in DTF transfers. Different films have distinct properties, requiring tailored techniques for removal. Some may require a more aggressive approach, like using heat or scraping, while others might respond better to gentle methods such as steam or specific adhesive removers. Understanding these variations ensures a successful removal process, preserving the quality and integrity of the transferred image.
Best Practices for Achieving a Clean Transfer
To achieve a clean and successful DTF (Direct-to-Film) transfer, proper preparation is key. Begin by ensuring your work area is dust-free and clean to prevent any contaminants from affecting the final result. Use high-quality carrier films and application tools to guarantee precision during the transfer process. Before applying the film, carefully inspect it for any defects or air bubbles that could impact adherence.
When transferring the film, maintain a steady hand and slow, even pressure to avoid creases or misalignments. Follow the manufacturer’s instructions regarding temperature and time for optimal results. Post-application, allow the transferred film to sit for a brief period to cure completely before attempting to remove any carrier material. This careful approach ensures a flawless DTF transfer, free from residue or damage to the underlying surface.