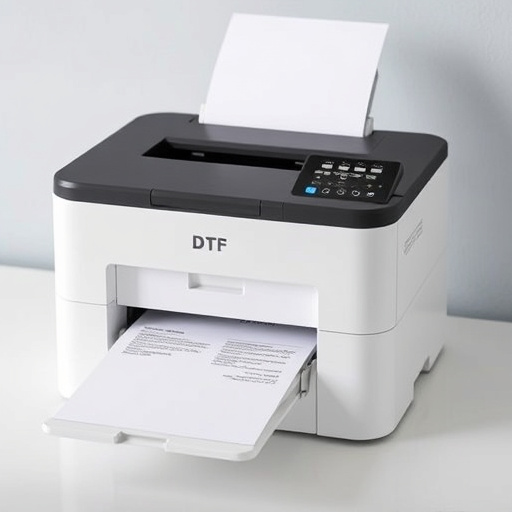

DTF (Direct to Film) transfer revolutionizes design application by directly printing high-resolution digital designs onto specialized films using advanced inkjet technology. This versatile method enables intricate, vibrant graphics on diverse materials like clothing, wood, and metal, offering a swift, cost-effective alternative to traditional printing. Key considerations include:
Design preparation: Using high-resolution (300 DPI+) vector graphics in CMYK color mode for optimal detail and color accuracy.
Material selection: Choosing films tailored to specific applications, considering adhesion, color accuracy, and desired finish based on ink compatibility and substrate type.
Printing precision: Employing high-quality printers with proper calibration, using suitable printer profiles and media types to prevent smudging or fading, and ensuring optimal color rendering.
Curing and application: Precise control of UV light or heat curing, followed by meticulous peeling and placement for a flawless finish on various surfaces.
“Unleash your creativity with the art of DTF (Direct to Film) transfer printing—a game-changer in the world of design. This innovative process allows you to print intricate designs directly onto special film, enabling easy application on various surfaces. From understanding the core concept to mastering post-printing techniques, this guide covers everything. Learn how to prepare your designs, select the ideal films, and execute flawless prints. Discover best practices for curing and applying transfers, ensuring long-lasting results. Elevate your craft with DTF Transfer.”
- Understanding DTF Transfer: An Overview of the Process
- Preparing Your Design for Printing: Key Considerations
- Choosing the Right Film and Materials for Optimal Results
- The Printing Phase: Techniques and Best Practices
- Post-Printing Steps: Curing and Applying the Transfer
- Tips for Achieving High-Quality, Long-Lasting DTF Transfers
Understanding DTF Transfer: An Overview of the Process

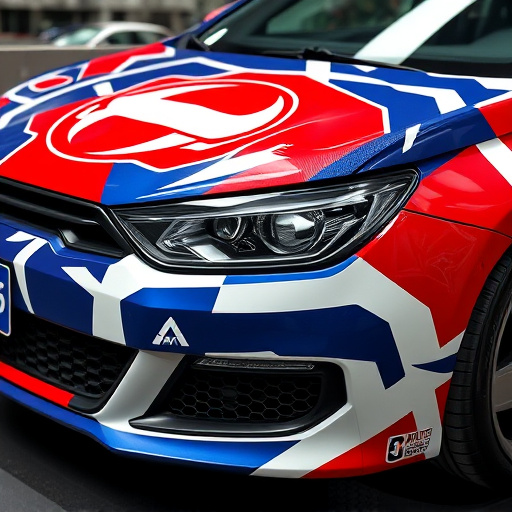
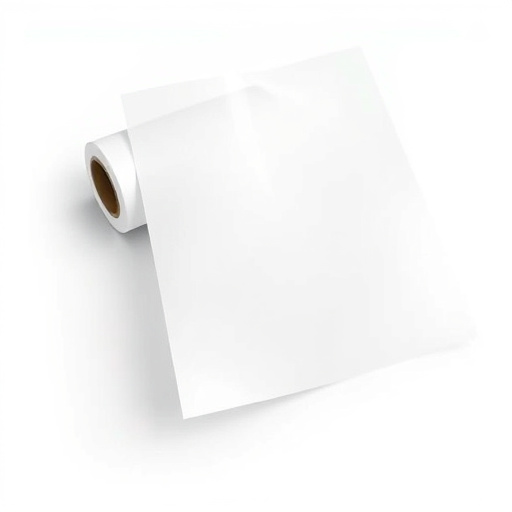
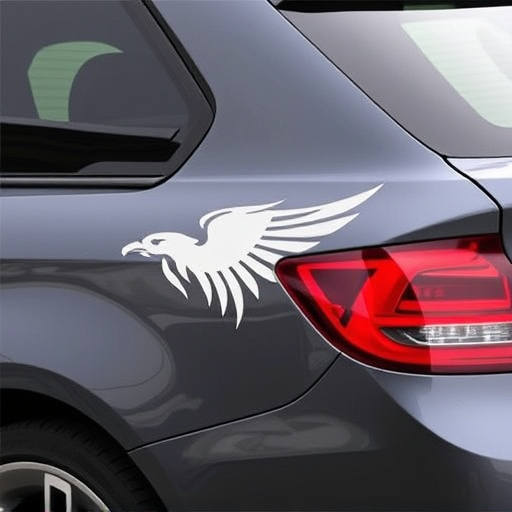
The Direct-to-Film (DTF) transfer process is a cutting-edge technique revolutionizing the way designs are printed and applied to various surfaces. It involves a precise, multi-step method where digital design files are directly transferred onto specialized film using advanced printing technology. This film acts as a temporary carrier for the design, allowing for seamless application onto a wide range of materials, from clothing to wood and metal.
In this process, high-resolution print heads deposit ink onto the film in exact patterns corresponding to the digital design. The film is then cured using UV light or heat, ensuring the inks set and become permanently fixed. This enables the easy transfer of intricate and vibrant designs onto the desired substrate, offering a fast, efficient, and cost-effective alternative to traditional printing methods.
Preparing Your Design for Printing: Key Considerations
When preparing your design for printing on special film for DTF (Direct to Film) transfers, several key considerations come into play to ensure optimal results. First, ensure your design is in a high-resolution format, typically 300 DPI or higher, as this guarantees crisp and detailed prints. Vector graphics are usually the preferred choice due to their scalability without any loss of quality, making them ideal for complex designs.
Another crucial aspect is color accuracy. Use CMYK color mode for printing as it’s the standard used in the print industry. This ensures that your colors translate accurately onto the film. Additionally, check for any potential issues like transparency, bleeding, or clipping objects to avoid problems during the transfer process. Lastly, test your design on a small scale before printing the full batch to verify its appearance and make adjustments if necessary.
Choosing the Right Film and Materials for Optimal Results

Choosing the right film and materials is paramount for achieving exceptional results in Direct to Film (DTF) transfers. The first step involves understanding your design requirements and the final application. Different films cater to various purposes, from vibrant graphics on t-shirts to intricate details on ceramics. High-quality DTF films offer superior adhesion, color accuracy, and durability, ensuring your designs transfer perfectly onto a wide range of surfaces.
When selecting materials, consider factors like ink compatibility, substrate type, and desired finish. Specialty inks designed for DTF printing ensure vibrant colors and precise detail reproduction. Substrate choices vary from fabric to metal, each demanding specific film characteristics for optimal bonding. Smooth, clean surfaces facilitate easy transfer, while textured or rough substrates may require specialized films for effective adhesion.
The Printing Phase: Techniques and Best Practices
The printing phase is a critical step in the DTF (Direct-to-Film) transfer process, requiring precision and an understanding of various techniques to achieve exceptional results. This method involves transferring designs from a digital source to a special film, which later serves as a template for applying graphics onto various materials. The first step is to prepare the design file, ensuring it meets the required specifications for printing on film. This includes setting the correct resolution, color mode, and using vector graphics where possible, as they offer better detail and scalability.
Best practices suggest using high-quality printing equipment with precise settings to minimize imperfections. For DTF transfers, inkjet printers are commonly used, offering excellent color accuracy and fine detail reproduction. The print head should be calibrated regularly to maintain consistent dot placement, ensuring sharp and accurate lines in the design. Additionally, using a suitable printer’s profile and media type is essential to optimize color rendering and prevent smudging or fading during the transfer process.
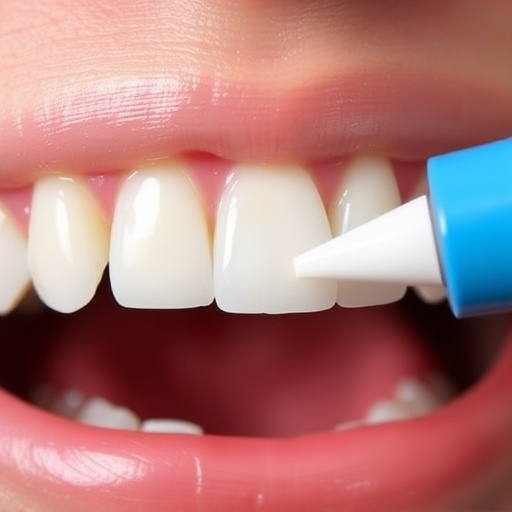
Post-Printing Steps: Curing and Applying the Transfer

After printing your design on special film, the next crucial step is curing, which involves setting the ink and making it durable. This process typically occurs under specific light conditions, such as UV or LED lighting, to ensure the design is long-lasting. The duration of curing depends on various factors, including the type of ink and film used, and must be precisely controlled to avoid smudging or fading.
Once cured, the DTF (Direct to Film) transfer is ready for application. This involves carefully peeling off the backing layer from the film and precisely placing the design onto the desired surface. The transfer process requires skill and precision to ensure the design aligns perfectly without bubbles or wrinkles. This step is critical in achieving a high-quality, long-lasting finish for your printed design on various materials.
Tips for Achieving High-Quality, Long-Lasting DTF Transfers

To achieve high-quality and long-lasting Direct to Film (DTF) transfers, precision is key throughout every step of the process. Begin with vector graphics or high-resolution raster images as your design source, ensuring all elements are clean, crisp, and free from any pixelation or blurriness. This foundation is crucial for a seamless transfer onto the film.
When preparing your design, consider color profiles to match your printing film accurately. Using the right color space (like CMYK for print) ensures vibrant and accurate colors on your final product. Additionally, maintain proper registration during the printing process by utilizing alignment tools and test prints. These practices prevent misalignment, ensuring every detail from your design is precisely transferred onto the film.