


Direct to Film (DTF) printing is an innovative method that enables precise design transfer onto various materials using UV ink and specialized film. The process begins with high-resolution artwork preparation, followed by DTF printer setup and the application of a thin coating on transfer film for optimal ink absorption. Designs are then transferred via UV exposure, developing into a negative stencil before final washing and drying. DTF offers speed, versatility, and excellent print quality, appealing to artists and DIYers for diverse projects from fashion to crafting.
“Unleash your creativity with the captivating world of DTF (Direct-to-Film) transfers! This article serves as a comprehensive guide for mastering the art of printing designs on special film. From understanding the fundamentals of DTF transfer to finalizing and utilizing your creation, we’ll explore each step meticulously. Learn about preparing your design, acquiring essential equipment, coating the film, exposing it, and developing it. Get ready to transform your ideas into tangible, high-quality DTF prints.”
- Understanding DTF Transfer: An Overview of the Process
- Preparing Your Design for DTF Printing
- The Equipment Required for DTF Prints
- Applying the DTF Coating to the Film
- Exposing and Developing the Film for DTF Transfer
- Finalizing and Using Your DTF Transfer
Understanding DTF Transfer: An Overview of the Process
The Direct to Film (DTF) transfer process is a cutting-edge technique revolutionizing the way designs are printed and applied to various surfaces. This method involves directly printing onto specialized film, which then acts as a temporary carrier for the design. Once the film is precisely positioned on the desired substrate, heat and pressure are applied to transfer the ink, creating a durable and high-quality print. DTF offers several advantages over traditional printing methods; it’s faster, more versatile, and suitable for a wide range of materials, from textiles to wood and plastic.
In the DTF printing process, designers create or import their artwork using specialized software, ensuring the design is optimized for transfer. The file is then sent to a printer that uses ultraviolet (UV) ink to precisely print the design onto the film. The film is carefully rolled or cut to match the required design size and shape. This meticulous step ensures accurate registration during the transfer process. Once prepared, the film acts as a stencil, allowing for precise control over where the ink adheres to the substrate.
Preparing Your Design for DTF Printing
Preparing your design for DTF (Direct-To-Film) printing is a crucial step to ensure optimal results and flawless transfers. The process begins with digitizing your artwork, ensuring it meets the required specifications for DTF transfers. This includes high resolution (typically 300 DPI or higher) and proper color profiles, as these factors directly impact the quality of the final prints.
For best outcomes, designs should be created or optimized using vector graphics whenever possible. Vector formats allow for precise scaling without pixelation, which is essential for maintaining detail during the printing process. Additionally, it’s important to consider the layout and positioning of your design on the film, as this will dictate how the final transfer is applied to the surface.
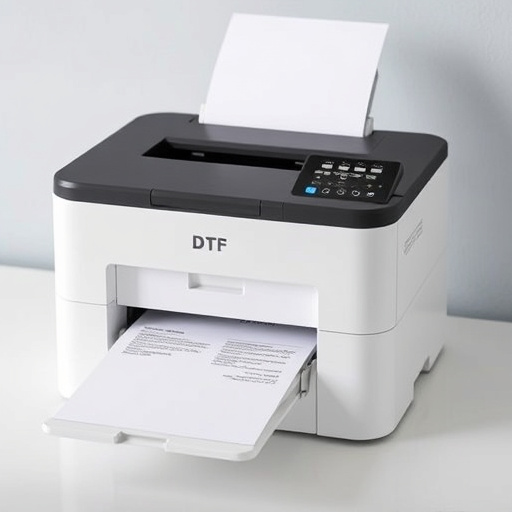
The Equipment Required for DTF Prints

To embark on the process of DTF (Direct to Film) printing, several specific pieces of equipment are essential. This includes a reliable DTF printer, capable of delivering high-resolution prints with vibrant colors and sharp details. A quality film roller is also necessary to ensure even application of ink onto the special transfer film. The film itself plays a crucial role; it should be selected based on the desired finish and compatibility with the printing inks. Additionally, a clean room environment or a well-ventilated area is vital to minimize dust particles that can compromise print quality.
For optimal results, consider investing in professional-grade inkjet printers designed specifically for DTF transfers. These machines offer precise control over ink deposition, enabling intricate design details and fine line work. A dedicated cutting plotter or vinyl cutter is another valuable tool to accurately trim the printed film and prepare it for application onto various surfaces. This equipment combination allows for the creation of stunning DTF prints, opening up a world of creative possibilities in the realm of custom transfers.
Applying the DTF Coating to the Film
Applying the DTF Coating to the Film is a meticulous process that sets the stage for exceptional print quality in DTF Transfers. This crucial step involves carefully spreading a thin layer of DTF (Direct to Film) coating onto the surface of the specialized transfer film. The DTF coating acts as a bridge, enabling the design to be precisely transferred from digital files onto various materials like fabric, wood, or metal. Its even distribution ensures optimal ink absorption for crisp and vibrant DTF prints.
Specialized equipment is employed to ensure the coating’s uniform thickness. This precision is vital, as it directly impacts the final transfer’s clarity and detail retention. Once applied, the DTF-coated film undergoes curing, where it hardens, preparing it for the subsequent printing stage. This meticulous preparation guarantees that every line, curve, and shade in the digital design is accurately reproduced on the physical medium, making the DTF Transfer process a true art form.
Exposing and Developing the Film for DTF Transfer
The process of exposing and developing film for a Direct to Film (DTF) transfer is a precise art. It begins with preparing the film emulsion side down on a flat surface, ensuring it’s perfectly aligned for accurate printing. Next, the design, whether created digitally or through traditional methods, is transferred onto the film using a specialized UV exposure unit. This unit shines intense light through a negative of the design, causing a chemical reaction that hardens the exposed areas of the film while leaving the unexposed parts soft and soluble.
Once exposed, the film undergoes a developing process where it’s submerged in a solution that removes the unexposed, still-soft layers, leaving behind a negative stencil of the design on the surface of the film. This staged development is crucial for achieving fine details and precise outlines in the final DTF print. After development, the film is carefully washed and dried, ready to be applied to various materials for a durable, high-quality finish.
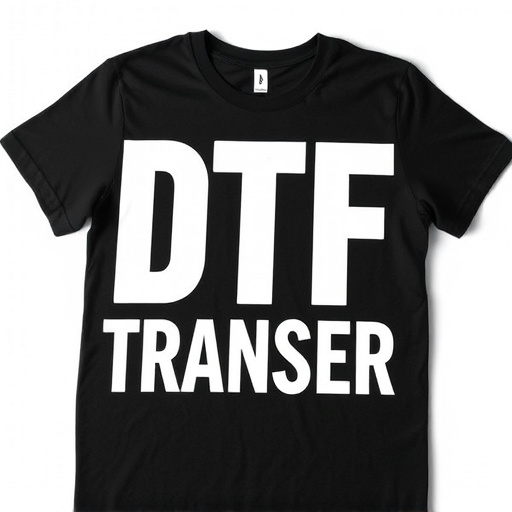
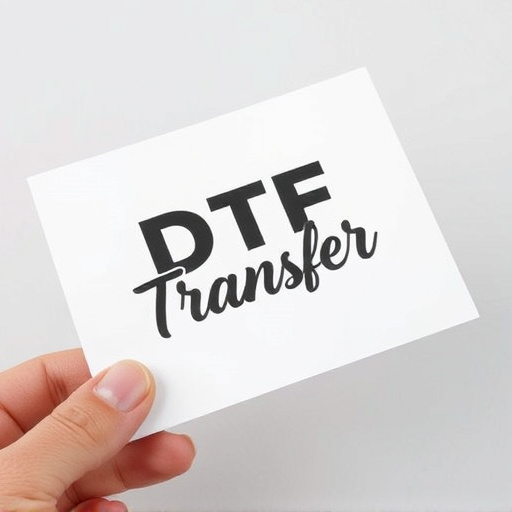
Finalizing and Using Your DTF Transfer
Once your design is perfectly aligned and ready on the special film, it’s time to finalize and use your DTF (Direct to Film) transfer. The process involves carefully peeling away the backing layer of the film, revealing the adhesive side that will make contact with your desired surface—be it fabric, wood, or even glass. This step requires precision and a steady hand to ensure the transfer adheres correctly and retains the vibrancy of your design.
After the transfer is in place, you can now enjoy the fruits of your labor. DTF prints offer a high-quality finish, allowing your designs to truly come alive. Whether for fashion, home decor, or crafting projects, the versatility of DTF transfers makes them a popular choice among artists and DIY enthusiasts alike.