


Inspect decorative window films for damage, discoloration, and UV protection before removal or replacement. Gather essential tools, cleaning solutions, and compatible films. Thoroughly clean windows, use precision techniques for removal, and consider professional services for custom graphics.
Planning a refresh? It’s time to prepare for the removal or replacement of your decorative window film! This DIY project can transform your space, letting in more natural light and updating your aesthetic. First, assess the condition and type of your existing film—is it faded, peeling, or simply outdated? Then, gather the right tools and materials, ensuring you have everything needed for a seamless process. With care and precision, you’ll be on your way to a stunning, new look.
- Assess Window Film Condition and Type
- Gather Tools and Materials Needed
- Remove and Replace with Care and Precision
Assess Window Film Condition and Type

Before diving into the removal or replacement process, it’s crucial to assess the condition and type of your decorative window film. This step is vital as different films require distinct care and removal techniques. Inspecting the film’s surface for any signs of damage, discoloration, or peeling is essential. Note that faded colors or a textured feel might indicate an older film needing replacement. Additionally, identifying the specific type of decorative film – whether it offers UV protection or is intended for automotive detailing – will guide your preparation process, ensuring optimal results and preserving the window’s integrity.
Understanding the characteristics of your decorative window film enables you to make informed decisions regarding its maintenance or complete overhaul. For instance, films with UV protective properties may require a more delicate handling approach during removal to prevent damage to the underlying glass surface. Conversely, automotive detailing films, known for their glossy finish, might demand specialized cleaning solutions to maintain their aesthetic appeal.
Gather Tools and Materials Needed
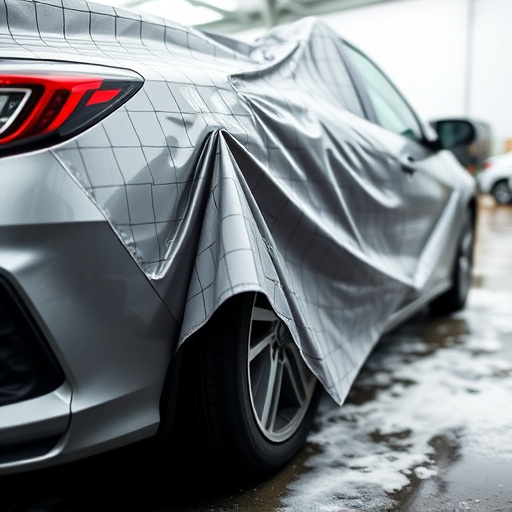
Before you begin preparing for decorative window film removal or replacement, it’s crucial to gather all the necessary tools and materials. This process requires a mix of specialized equipment and everyday items, each serving a specific purpose. Start by collecting safety gear like gloves and goggles to protect against debris and chemicals. Then, assemble a kit containing a scraper, hair dryer, and a solution of water and mild detergent for cleaning. For more intricate patterns or custom graphics, consider having precision tools like razor blades or applicator spoons on hand. The right materials are key to achieving a seamless finish without damaging the underlying surface.
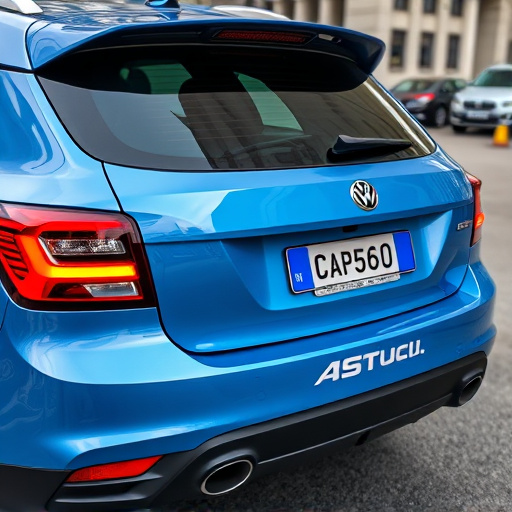
Additionally, think about what you might need for enhancing your vehicle’s appearance if that’s part of your plan. This could include decorative window films designed for UV protection, which not only blocks harmful rays but also adds a layer of privacy and style. Ensure you select products compatible with your vehicle’s make and model to achieve the best results. Whether you’re removing old decorative window film or preparing a surface for new custom graphics, having these essentials ready will streamline the process and ensure a professional-looking outcome.
Remove and Replace with Care and Precision

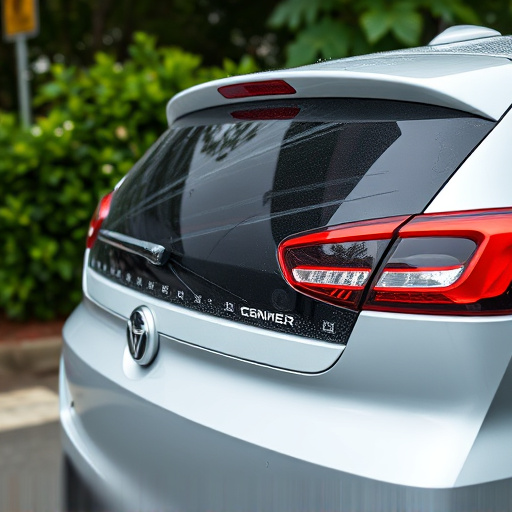
Removing and replacing decorative window films requires care and precision to ensure a professional finish. When it’s time to take down your existing decorative window film, whether it’s due to damage, fading, or simply wanting a change, it’s crucial to handle the process gently to avoid damaging the glass surface beneath. Start by cleaning the window thoroughly to remove any dirt or debris that might affect adhesion during installation.
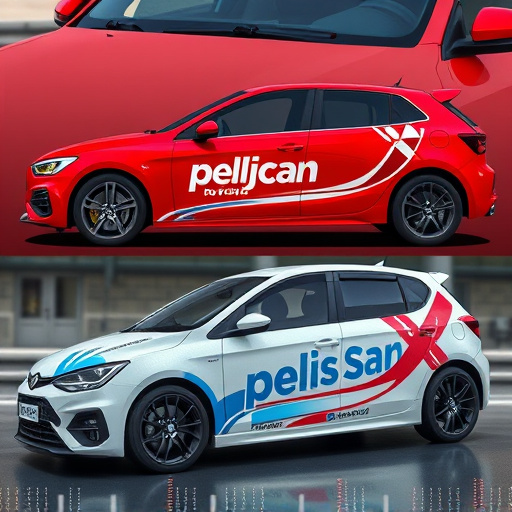
Use a sharp blade or specialized tools to slowly and carefully peel away the edges of the film, working from one corner to the other. This methodical approach minimizes the risk of tearing or leaving behind residue. For custom graphics or vehicle protection applications like custom vehicle wraps, precision is even more critical. Professional installation services often employ special techniques and equipment to ensure a flawless transition, preserving the integrity of the glass and enhancing the aesthetic appeal of your space or vehicle.
When preparing for decorative window film removal or replacement, a systematic approach is key. After assessing the film’s condition and type, gathering the necessary tools and materials, it’s time to execute with care and precision. By following these steps, you can ensure a smooth process that preserves surfaces and maintains the aesthetic appeal of your space, making it easier to enjoy the beauty of your windows once again.