


Electronic exhaust cutouts (ECUs) enhance vehicle performance and tuning by electronically controlling gas flow, offering customization options for power output and throttle response. For installation, gather tools, source quality ECUs for precise fitment, then follow a straightforward guide to remove existing components, install new cuts, connect wiring, test functionality, and make adjustments for smooth operation.
“Elevate your vehicle’s performance and sound with this comprehensive guide to installing electronic exhaust cutouts. These cutting-edge devices offer precision control over your engine’s noise, enhancing both driving experience and aesthetics. In this step-by-step tutorial, we’ll walk you through the process from start to finish. From understanding the technology behind electronic exhaust cutouts to gathering the necessary tools, you’ll master the installation process effortlessly. Get ready to transform your ride with a modern twist.”
- Understanding Electronic Exhaust Cutouts
- Gathering Necessary Tools and Materials
- Step-by-Step Installation Guide
Understanding Electronic Exhaust Cutouts
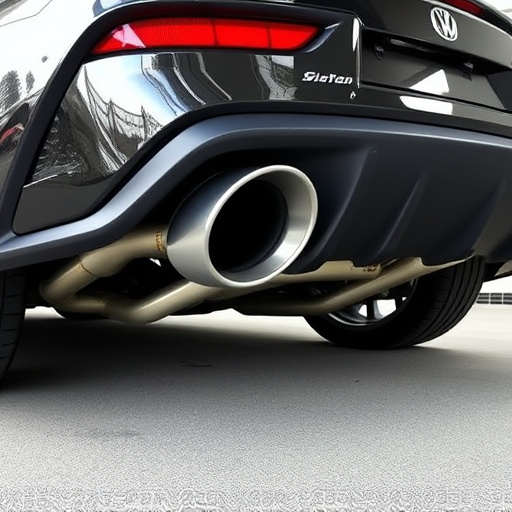
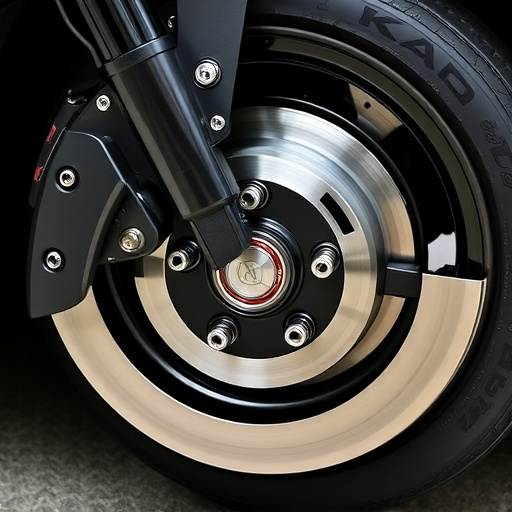
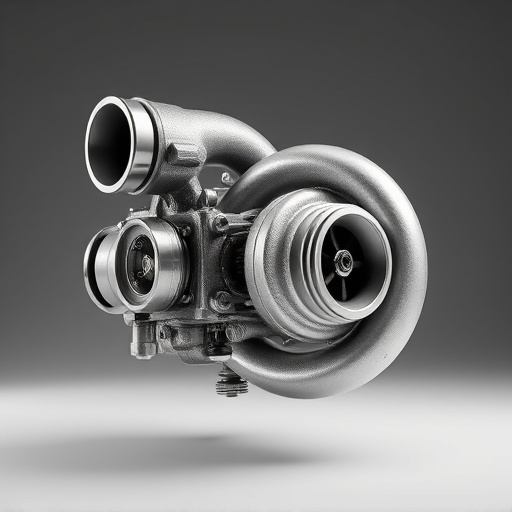
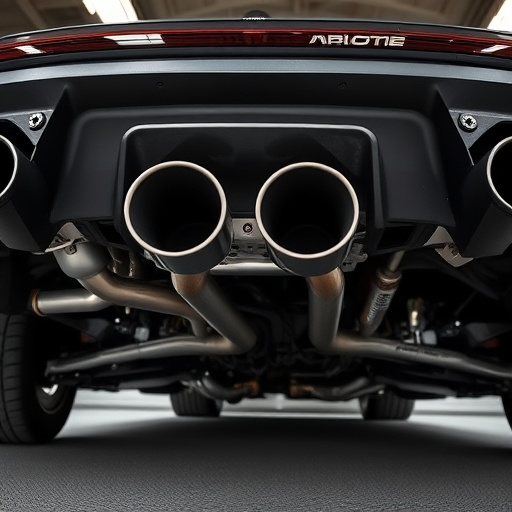
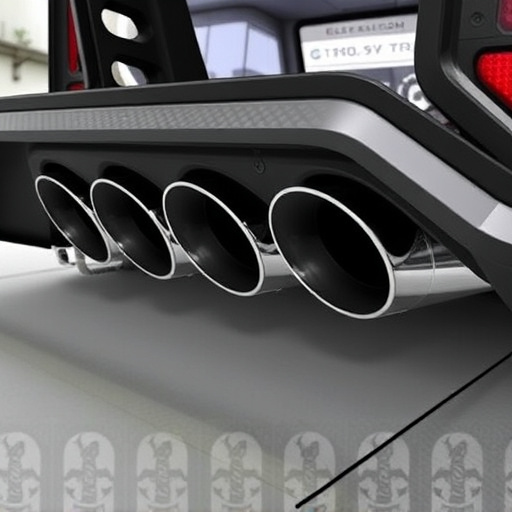
Electronic exhaust cutouts are advanced components designed to enhance vehicle performance and tuning. They work by electronically controlling the flow of exhaust gases, allowing for precise adjustments to boost power and torque. These cutouts differ from traditional mechanical systems as they offer more flexibility in terms of customization and fine-tuning. By integrating electronic control units (ECUs) with sensors, drivers can adjust settings on the fly, making them popular among car enthusiasts seeking optimal vehicle performance.
In many vehicles, particularly those equipped with cat back exhaust systems, electronic exhaust cutouts provide an efficient way to manage engine emissions while increasing power output. This technology is not just about aesthetics; it’s a crucial component of high-performance brakes and overall vehicle dynamics. With the ability to fine-tune exhaust settings, drivers can achieve better throttle response and a smoother driving experience without compromising on environmental regulations.
Gathering Necessary Tools and Materials

Before starting the installation process of electronic exhaust cutouts, ensure you have all the necessary tools and materials at hand. This includes a variety of wrenches, sockets, ratchets, and socket sets to accommodate different sizes found in your vehicle’s exhaust system. Additionally, you’ll need wire strippers, needle-nose pliers, and a multimeter for precise electrical work. For successful installation, gathering the right tools is half the battle won.
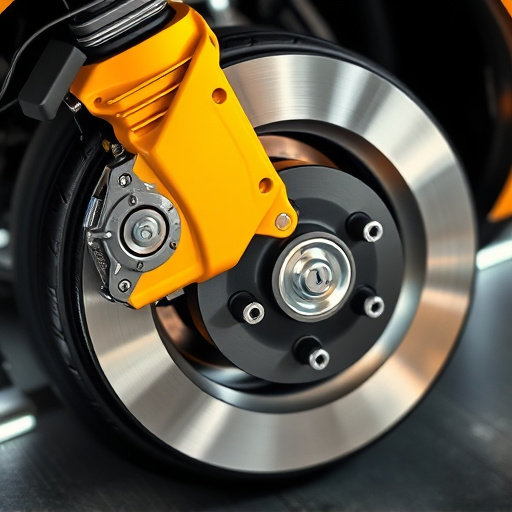
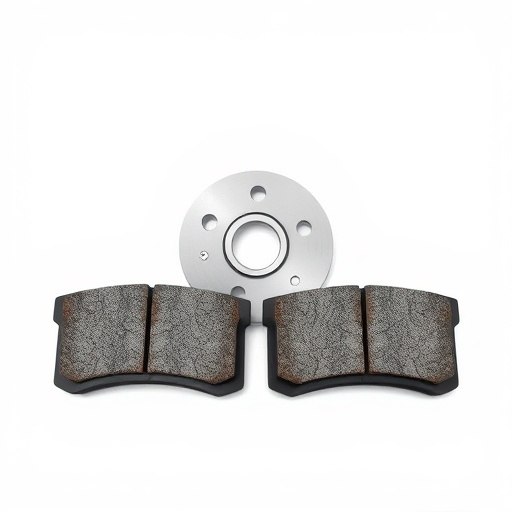
Remember to source high-quality electronic exhaust cutouts compatible with your vehicle’s make and model. These components interact closely with critical systems like brake rotors, intake components, and air intake systems, so ensure they are designed for seamless integration. The right fitment ensures optimal performance and prevents any potential damage or complications during the installation process.
Step-by-Step Installation Guide
Installing electronic exhaust cutouts is a straightforward process that can significantly enhance your vehicle’s performance and sound. Here’s a step-by-step guide to ensure a smooth installation:
1. Preparation: Begin by ensuring you have all the necessary tools, including wrenches, screwdrivers, and any hardware included with your electronic exhaust cutouts. Disconnect the battery to avoid short circuits while working on electrical components like the exhaust system. Next, locate the exhaust cutout assembly, which is typically near the engine bay or manifold area.
2. Removal of Existing Exhaust Components: Carefully remove the old exhaust pipes and brackets using the appropriate tools. Some models might require cutting or bending metal to access hard-to-reach areas. Once removed, inspect the mounting surfaces for any damage or debris. Clean the area thoroughly to ensure a secure bond with the new electronic exhaust cutouts.
3. Installation of Electronic Exhaust Cutouts: Align the new cutout assembly with the designated mounting points on your vehicle’s exhaust system. Secure it in place using the provided hardware, ensuring all bolts are tightly fastened. Connect any electrical wires or sensors according to the manufacturer’s instructions. For vehicles with advanced air intake systems or brake components, check for compatibility to avoid any potential issues.
4. Testing and Final Adjustments: After installation, test the electronic exhaust cutouts by starting the engine and checking for proper functionality. Ensure smooth operation and no leaks. Make any necessary adjustments to the mounting or wiring if issues arise.
Installing electronic exhaust cutouts can significantly enhance your vehicle’s performance while offering precise control over engine sound. By following these simple steps, you can enjoy a tailored driving experience with reduced noise pollution. Remember, proper tools and a thorough understanding of the process are key to a successful install. Now, you’re equipped with the knowledge to make informed decisions about upgrading your exhaust system with electronic cutouts.