


Before personalizing a raised deck, assess structural integrity, adhere to safety standards and local building codes, and consider aesthetic alignment with home exterior. Gather tools and materials including durable wood or modern metal options for railings. Measure deck perimeter, choose a railing style, create detailed plans, and install using concrete anchors. Seal and finish with professional siding services to protect against elements.
Elevate your outdoor space with a custom railing upgrade for your raised deck! This guide navigates the process from start to finish. First, evaluate your deck’s structure to ensure customization potential. Then, gather materials and tools tailored to your project, including railings, balusters, and hardware. Next, follow our step-by-step design and installation tutorial for a safe and stunning transformation. Discover how this simple upgrade enhances your raised deck’s aesthetic and functionality.
- Evaluating Your Deck's Structure for Customization
- Materials and Tools You'll Need for Railing Changes
- Step-by-Step Guide to Designing and Installing New Railings
Evaluating Your Deck's Structure for Customization
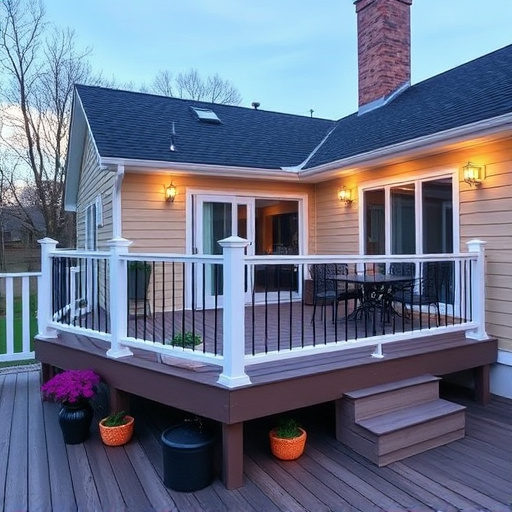
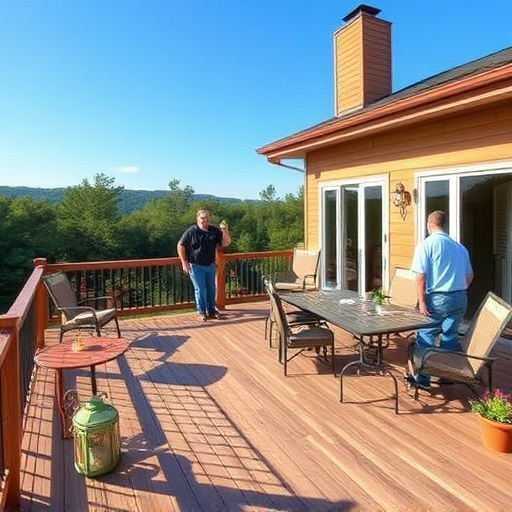
Before diving into the customization process, it’s crucial to evaluate your raised deck’s structure and determine what alterations are feasible. The structural integrity of a raised deck is a key consideration; any plans for modification should align with safety standards and local building codes. Start by inspecting the existing railings for signs of wear or damage, as these areas often present the best opportunities for customization without compromising stability. Note the materials used in construction, as this will guide your choice of custom railing elements, ensuring compatibility and long-term durability.
Consider the overall design and aesthetic you wish to achieve with your custom railings. The style of your home’s residential roofing and siding repairs can influence this decision. If you’re looking for a modern look, sleek metal or glass railings might be suitable, while a more traditional aesthetic may call for wooden railings that complement your home exterior services and overall design palette. Remember, customization is about enhancing the beauty and functionality of your raised deck while ensuring it remains a safe and sturdy feature in your outdoor space.
Materials and Tools You'll Need for Railing Changes
Before you start customizing your raised deck railings, it’s essential to gather the right materials and tools for the job. For any railing changes, you’ll need a mix of traditional carpentry tools and specific deck-related equipment. Start with basic hand tools like measuring tape, levels, hammers, screwdrivers, and saws, which are indispensable for any home improvement project.
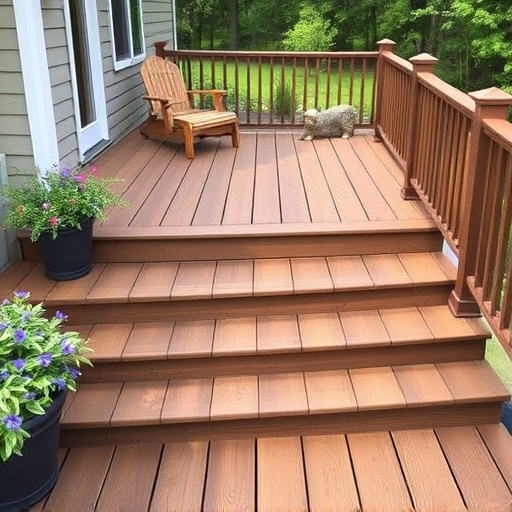
For a raised deck, consider materials that enhance both aesthetics and safety. This could include durable wood species such as cedar or treated pine, as well as metal options like aluminum or stainless steel. Additionally, don’t underestimate the importance of balusters—these vertical supports not only provide stability but also contribute to the overall design and style of your deck railings, offering a range of designs from classic to contemporary to suit any taste. Remember, the right home service solutions can make this project accessible for both DIY enthusiasts and those seeking residential siding or commercial roofing alternatives for their deck’s railings.
Step-by-Step Guide to Designing and Installing New Railings
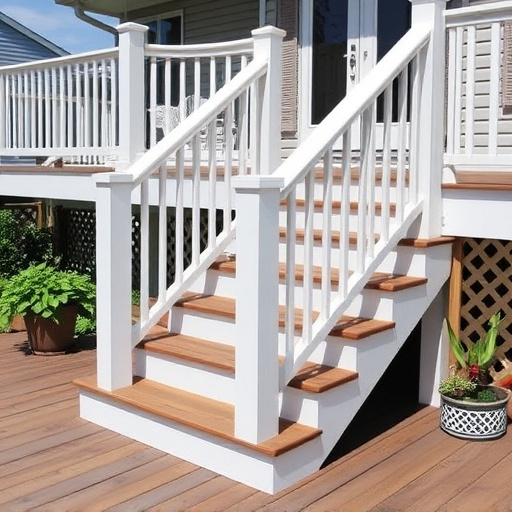
Designing and installing new railings for your raised deck is a rewarding DIY project that can enhance both safety and aesthetics. Start by measuring the perimeter of your deck to determine the length of railing required. Next, choose a style that complements your home’s exterior—vertical balusters, horizontal rails, or a combination?—and select materials suitable for outdoor use, like aluminum or vinyl. Create detailed plans, including measurements and layout, before sourcing supplies from reputable home exterior services or hardware stores.
Gathering the necessary tools and materials, mark the rail locations on your deck using a level to ensure precise alignment. Cut posts to the required height and drill pilot holes for brackets. Install the posts securely using concrete anchors, then attach the rails and balusters according to your design. For added durability, consider professional siding services to seal and finish the railings, protecting them from the elements and ensuring a long-lasting, safe, and visually appealing deck environment.
Customizing your raised deck’s railings not only enhances aesthetics but also adds safety. By evaluating your deck’s structure, gathering the right materials and tools, and following a step-by-step guide, you can design and install new railings that perfectly suit your space. Elevate your outdoor living experience with these simple yet effective modifications to your raised deck.