


Before and after siding install, conduct thorough inspections. Check for damage, rot, color consistency, and proper sealing. Examine panels, corners, gaps, and details for defects. Ensure alignment, fastening, and sealing to prevent water intrusion. Regular maintenance prevents costly repairs and preserves exterior appeal.
After a successful siding install, meticulous inspection is crucial to ensure top-quality workmanship. This comprehensive guide equips homeowners with the knowledge to conduct a thorough assessment. Begin by preparing an inspection checklist tailored to your project’s scope. Next, perform a visual scan for defects like cracks or misalignments. Ensure proper fitting and waterproofing to prevent moisture intrusion. By following these steps, you’ll verify the durability and aesthetics of your newly installed siding.
- Prepare for Comprehensive Inspection Checklist
- Visual Assessment: Look for Signs of Defect
- Ensure Proper Fit and Waterproofing After Installation
Prepare for Comprehensive Inspection Checklist
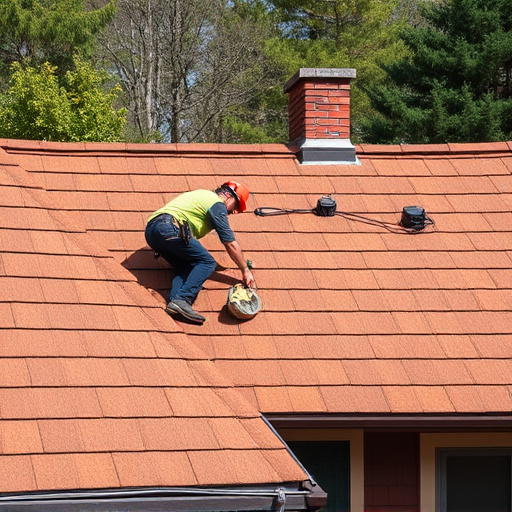
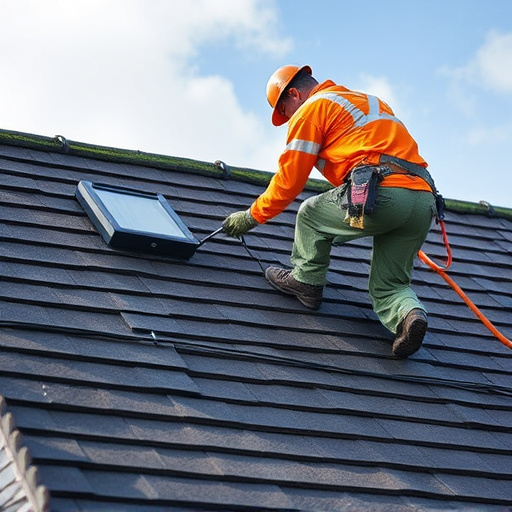
Before beginning any siding install or siding repairs, it’s crucial to prepare a comprehensive inspection checklist. This ensures that no detail is overlooked and helps maintain the quality of the work. Start by assessing the overall condition of the existing roofing services, looking for signs of damage, rot, or deterioration. A thorough examination of the structure’s integrity is essential before proceeding with any new installations or repairs.
Next, focus on visualizing the final product. Consider factors like color, texture, and style to ensure they align with your expectations. Verify that all materials are properly secured and sealed, checking for gaps or misalignments. A professional siding should be seamless, so pay close attention to corners, edges, and overlaps. This checklist will serve as your guide throughout the process, guaranteeing a successful siding install without any costly mistakes.
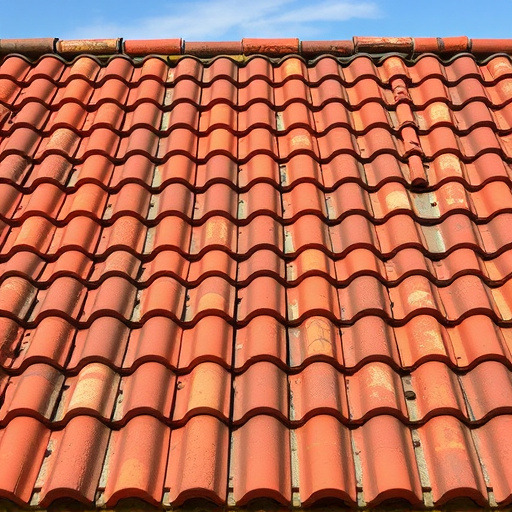
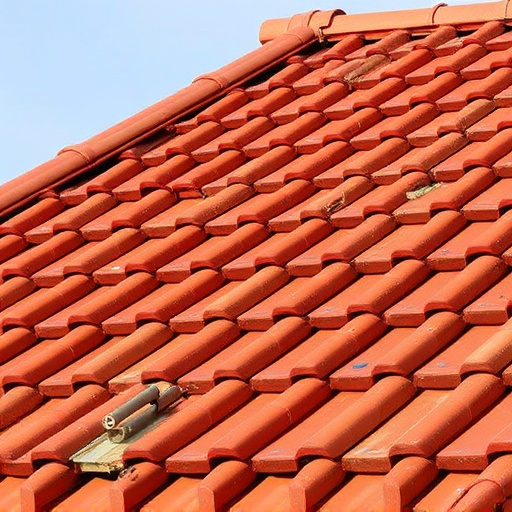
Visual Assessment: Look for Signs of Defect
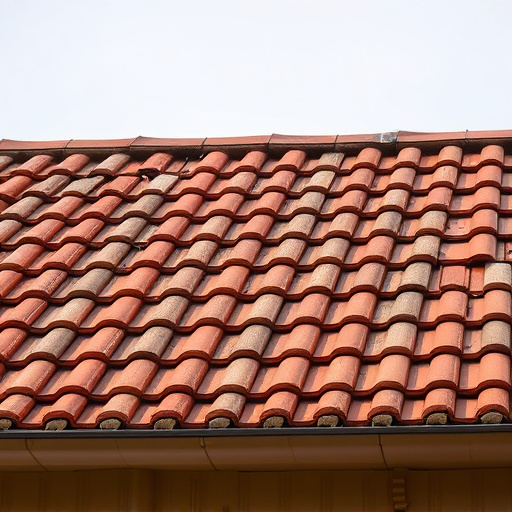
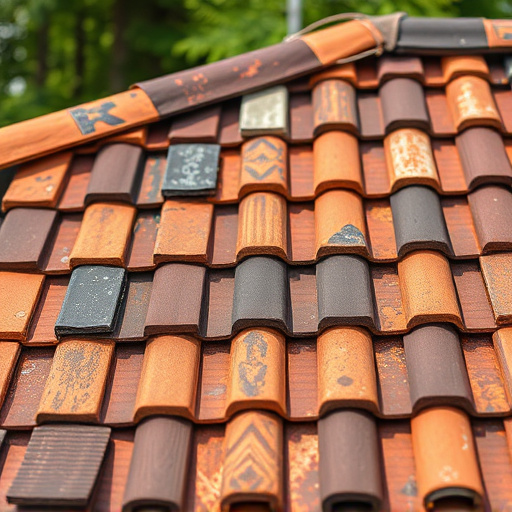
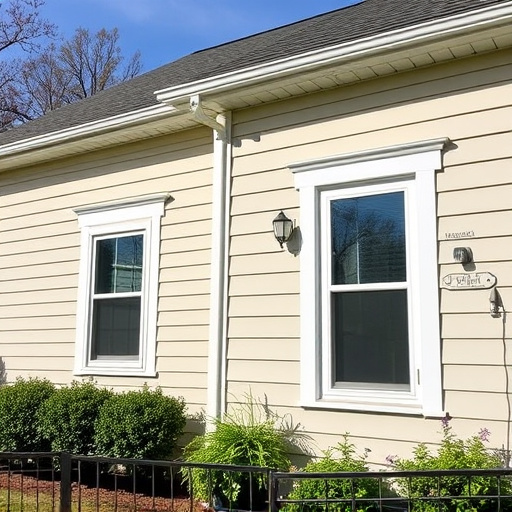
During your visual assessment, meticulously inspect the newly installed siding for any signs of defects. This includes checking for uneven surfaces, gaps between panels, or any visible damage like cracks and chips. Defects might indicate poor installation or subpar materials used during the siding install process.
Pay close attention to details such as how the siding meets window frames, doors, and corners. Ensure these areas are sealed properly without any signs of exposure. A thorough visual check will help you identify potential issues early on, allowing for prompt addressing before they escalate into more significant exterior home improvements or necessitate costly repairs from home service solutions.
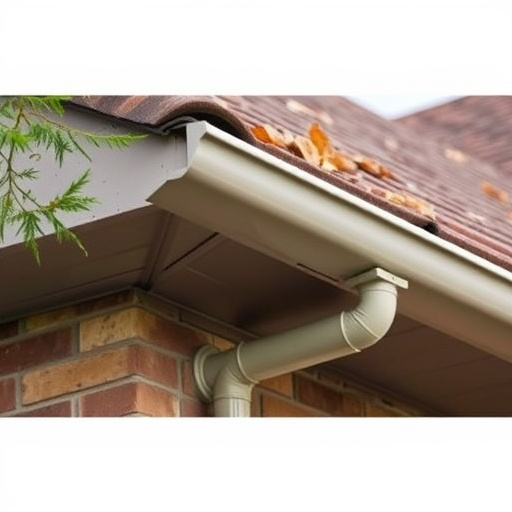
Ensure Proper Fit and Waterproofing After Installation
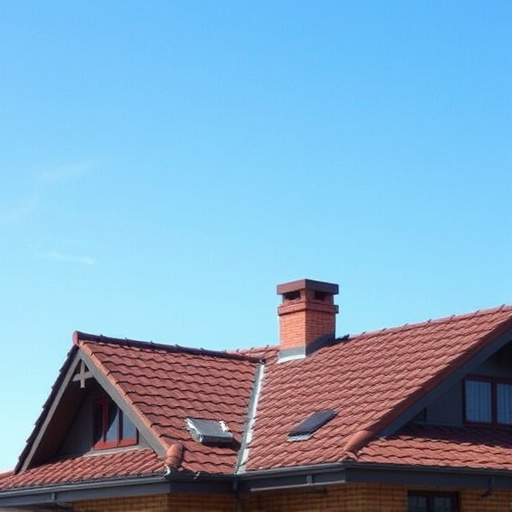
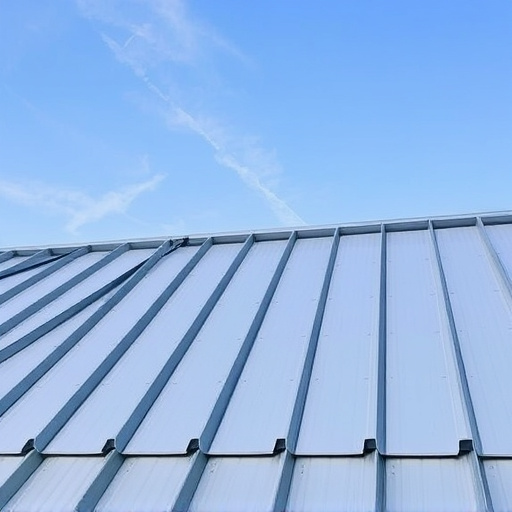
After the siding install is complete, one of the critical aspects to verify is the proper fit and waterproofing. Check that each piece of residential siding or commercial siding is securely fastened and aligned, ensuring no gaps or overlaps that could compromise the integrity of the installation. All corners and edges should be sealed tightly to prevent water intrusion, which is essential for long-lasting roofing solutions.
Inspect the joints and seams for any signs of damage or misalignment. Sealant should be applied along these critical areas to create a watertight barrier. This step is vital to ensure that your siding—whether for a residential or commercial property—can withstand the elements, preventing water damage and maintaining the overall aesthetic appeal of your building’s exterior.
After meticulously preparing your checklist, conducting a visual assessment, and verifying proper fit and waterproofing during a siding install, it’s crucial to take a final step: a comprehensive inspection. This ensures that all defects are identified and addressed promptly, guaranteeing the durability and aesthetics of your newly installed siding for years to come. Remember, attention to detail at this stage is key to a successful and long-lasting siding install.