


Before deciding on removal or replacement, evaluate clear paint protection for wear, damage, or fading. Gather essential tools and materials, including automotive tools, safety gear, and high-quality films or custom vehicle wraps. Strategically plan by assessing chips, cracks, or shielding effectiveness, then carefully remove or replace the film using heat guns or knife tools and manufacturer instructions to protect and enhance your vehicle's aesthetics.
Planning to remove or replace your clear paint protection? It’s a crucial step for maintaining your vehicle’s finish. Before you begin, assess the current condition of the clear coat—inspect for chips, cracks, or discolouration. Gather the right tools and materials, including specialized solvents, abrasives, and replacement components. Plan your process meticulously: from masking off sensitive areas to applying new protection with precision. A well-prepared approach ensures a flawless finish and extends the life of your vehicle’s clear paint protection.
- Assess Current Clear Paint Protection Condition
- Gather Necessary Tools and Materials
- Plan and Execute Replacement or Removal Process
Assess Current Clear Paint Protection Condition
Before deciding to remove or replace your clear paint protection, it’s crucial to assess its current condition. This involves closely examining the protective layer for any signs of wear, damage, or diminishing quality. Look for chips, cracks, fading, or loss of gloss—all indicators that the clear coat might need refreshing or replacing. The goal is to ensure you’re making an informed decision based on the actual state of your vehicle’s paintwork.
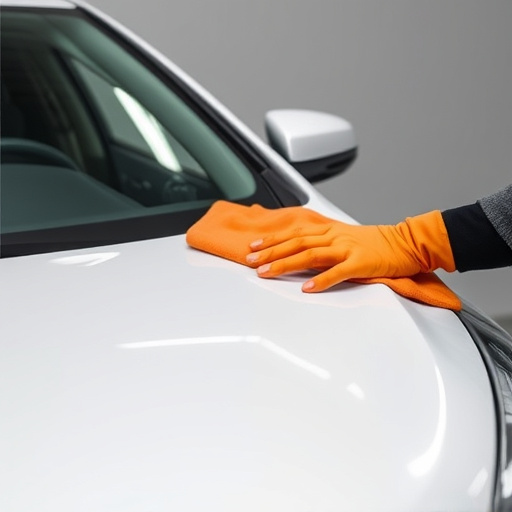
Regular maintenance, such as washing and waxing, can help prolong the life of your clear paint protection, including ceramic coatings, which offer superior scratch protection compared to traditional clear coats. If your clear coat still has significant life left but shows signs of cosmetic issues, a simple reapplication of a topcoat or a detailed repair might be all that’s needed. Conversely, if it’s severely damaged or no longer provides adequate protection, replacement may be the best course of action, thereby guaranteeing optimal scratch and UV damage prevention with premium automotive services.
Gather Necessary Tools and Materials
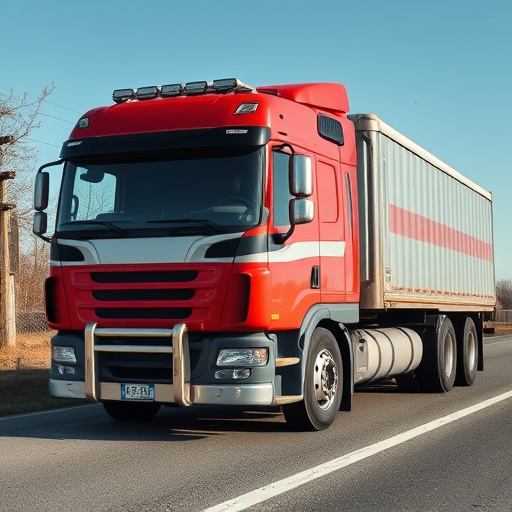
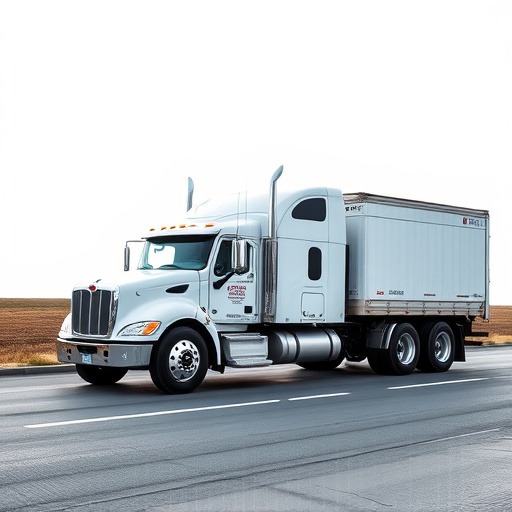
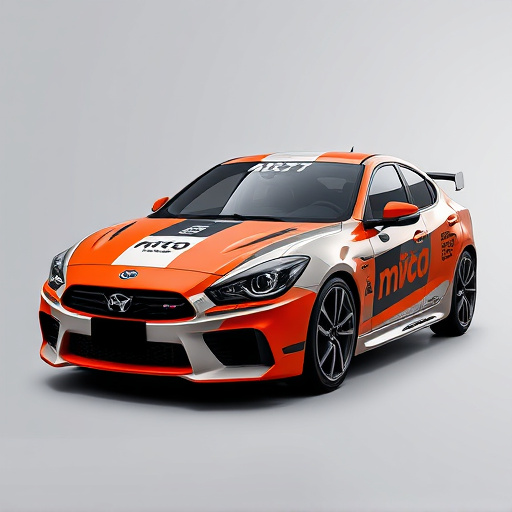
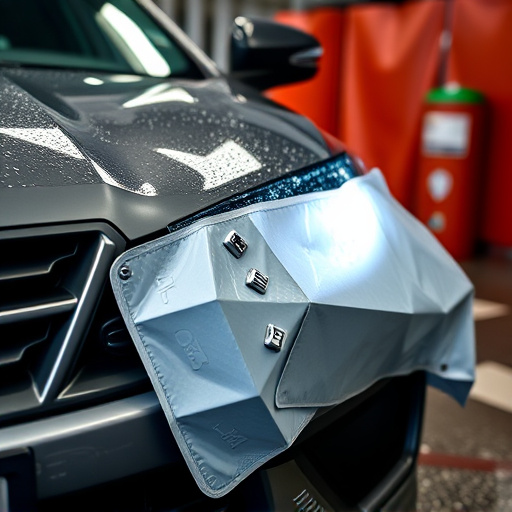
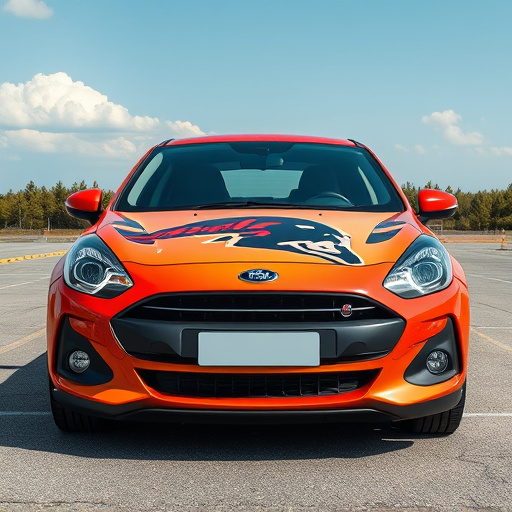
Before tackling clear paint protection removal or replacement, it’s crucial to gather the right tools and materials. This process requires a combination of physical labor and precision work. You’ll need basic automotive tools like squeegees, knives, and sandpaper, along with specialized protective gear such as gloves and safety goggles to shield you from debris and chemicals. Additionally, secure a high-quality clear paint protection film or custom vehicle wraps suitable for your car’s make and model, ensuring they provide robust defensive barriers against environmental damage.
Complementing these essentials are protective coatings designed to safeguard the paint beneath. These can range from topcoats to base layers, each playing a vital role in preserving your vehicle’s finish. Remember that proper preparation is key; having the right tools and understanding how to apply them effectively will ensure a seamless transition between removing old protective layers or installing new ones, enhancing the longevity of your car’s exterior.
Plan and Execute Replacement or Removal Process
When preparing to replace or remove clear paint protection, a well-organized plan is key. Begin by assessing the current state of your vehicle’s protection—is it chipped, cracked, or simply no longer providing adequate shielding? This evaluation guides your decision to replace or remove the film entirely or make targeted repairs. For a complete overhaul, gather all necessary tools and materials, including a paint protection film (PPF) replacement specific to your vehicle model if removal is not an option.
Execute the process methodically. If removing PPF, start by identifying the edges of the film and carefully peeling it back from one corner, using heat guns or knife tools for assistance. For replacements, clean the surface thoroughly, apply a new layer of PPF, and ensure proper adhesion before curing it according to manufacturer recommendations. This meticulous approach ensures optimal results in protecting your vehicle’s paint job, enhancing its aesthetic appeal, and preserving its value through effective car customization.
When preparing for clear paint protection removal or replacement, a systematic approach is key. By assessing the current condition of your clear paint protection, gathering the right tools and materials, and meticulously planning the process, you ensure a successful outcome. Whether it’s time for a much-needed refresh or a complete overhaul, this guide has equipped you with the knowledge to navigate the task effectively, restoring your vehicle’s original luster.