A cat back exhaust system enhances performance and sound by replacing the post-catalytic converter portion, maintaining factory components for reliability and warranty coverage. It allows increased gas flow, transforms engine sound, and pairs well with performance brakes. To install, gather tools, materials, and model-specific parts, carefully align new components, ensure proper connections, and follow manufacturer instructions for sealing and reassembly for optimal performance and emissions control.
Looking to enhance your vehicle’s performance and sound with a cat back exhaust? This step-by-step guide will walk you through the process, ensuring a smooth and efficient installation. First, understand the cat back exhaust system, its components, and benefits. Next, gather the necessary tools and materials, including pipes, hangers, and gaskets. Finally, follow a detailed installation guide that covers everything from disconnection to reattachment, for a tailored and powerful driving experience.
- Understanding Your Cat Back Exhaust System
- Gather Tools and Materials Needed
- Step-by-Step Installation Guide
Understanding Your Cat Back Exhaust System
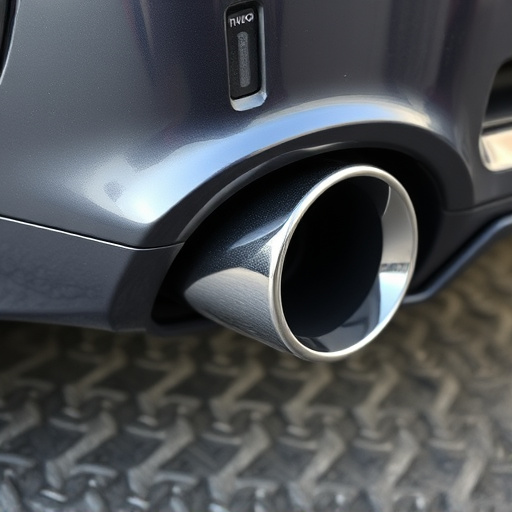
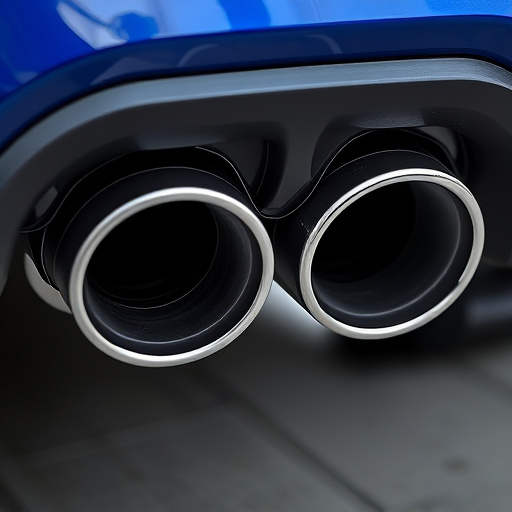
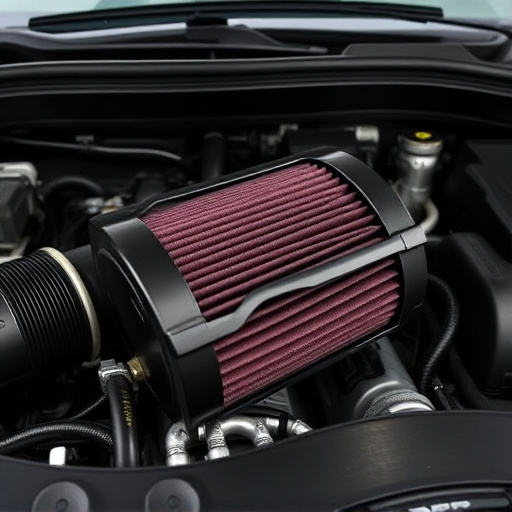
A catback exhaust system is a popular modification for car owners seeking to enhance their vehicle’s performance and sound. Unlike complete exhaust systems that replace every component, a catback only replaces the portion after the catalytic converter (or “cat”) all the way to the tip of the exhaust pipe. This design keeps the factory-installed components intact, ensuring reliability and retaining any warranty coverage. By removing restrictions in the exhaust flow, a catback allows for increased gas flow, which can lead to improved engine performance, especially when combined with other upgrades like cold air intakes.
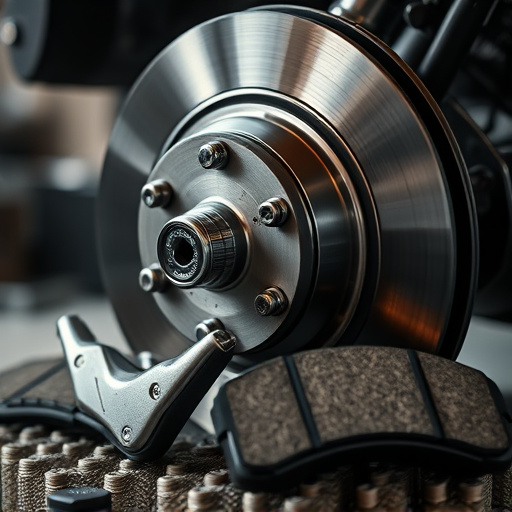
Additionally, installing a catback exhaust system can significantly impact your vehicle’s sound, transforming it from a quiet hum to a deeper, more aggressive rumble, particularly noticeable at higher RPMs. This modification is popular among car enthusiasts who want to customise their ride’s personality without going for an entirely custom exhaust system. Moreover, performance brakes often complement catback upgrades, as they work together to enhance overall vehicle dynamics, providing better control and a more responsive driving experience.
Gather Tools and Materials Needed
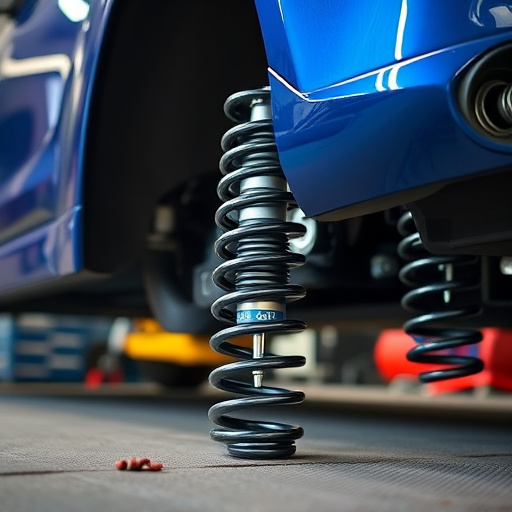
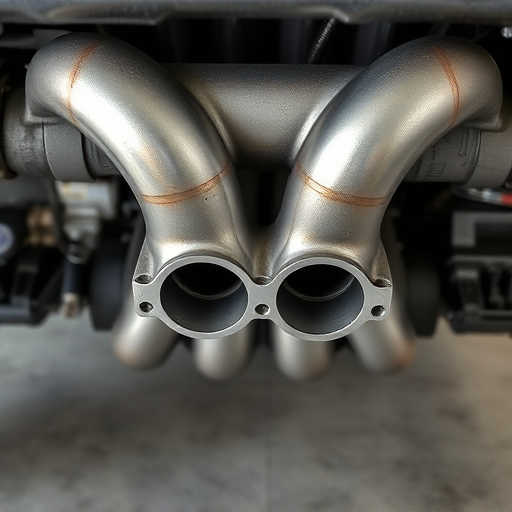
Before starting your cat back exhaust installation project, ensure you have all the necessary tools and materials. For a successful DIY job, gather the following items: wrench sets for various sizes (to tighten or loosen bolts), socket wrenches, pliers, a jack, jack stands, and a new cat back exhaust system, which typically includes a catalytic converter, muffler assembly, and pipe connections. Additionally, you might need gaskets, seals, and hangers specific to your vehicle model. Don’t forget to wear protective gear, such as gloves and safety glasses, for a safe working environment.
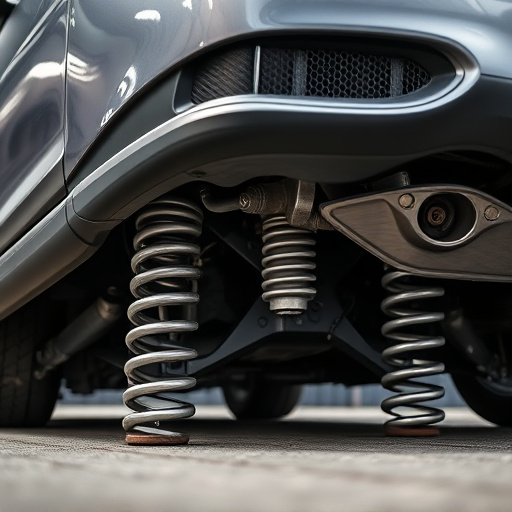
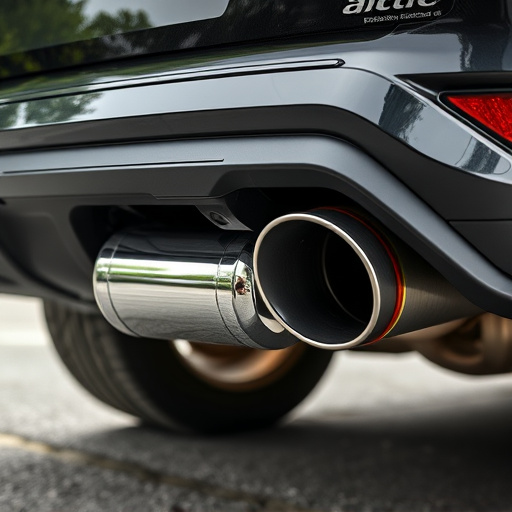
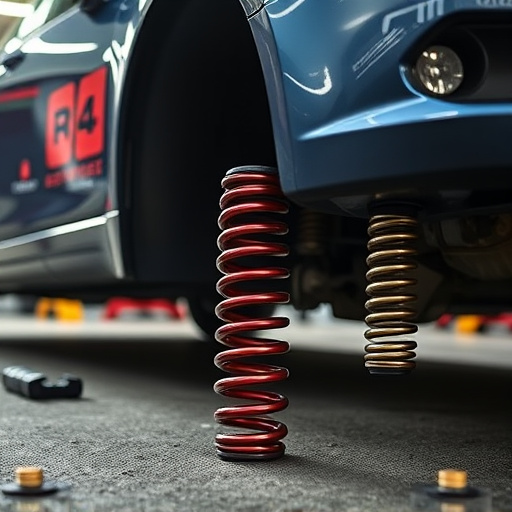
The cat back exhaust system will replace the stock exhaust pipes extending from the engine to the rear of the vehicle. This upgrade not only enhances the sound of your car but also improves performance by reducing backpressure in the exhaust system. While installing, pay close attention to aligning the new exhaust components with the existing suspension components and brake rotors for a seamless fit. Ensure proper connections to the muffler tips and catalytic converter for optimal gas flow and emissions control.
Step-by-Step Installation Guide

Installing a cat back exhaust is an excellent way to enhance your vehicle’s performance and upgrade its sound. This step-by-step guide will walk you through the process, ensuring a successful DIY project. Begin by gathering all necessary tools and high-performance parts, including your chosen cat back exhaust system, gaskets, and any required hardware. Next, locate the existing exhaust system and carefully remove the old components, taking note of connections and routes. This involves unbolting and detaching various pipes and sensors.
Once the old system is removed, prepare the new cat back exhaust by following the manufacturer’s instructions. This typically includes assembling the exhaust components, ensuring proper fitting, and sealing with gaskets to maintain a tight connection. Then, carefully reinstall the exhaust system into its designated position, securing it with bolts and ensuring all connections are secure. With the right tools and attention to detail, you’ll have successfully installed your cat back exhaust, unlocking not just better performance but also a more aggressive and sporty sound for your vehicle.
Installing a cat back exhaust system can significantly enhance your vehicle’s performance and sound. By following these simple steps, you can enjoy the benefits of improved flow and a tailored exhaust note without breaking the bank. Remember, safety first – ensure proper tools and materials are used, and always refer to your vehicle’s manual for specific details. With a bit of patience and know-how, you’ll have a new cat back exhaust system in no time, elevating your driving experience.


