


A turbo heat shield protects turbocharged engines from extreme heat (up to 500°F/260°C), preventing overheating of turbine wheels and enhancing vehicle efficiency. Choosing right materials for DIY installation is key. Installation involves locating fitment area, removing existing shields, mounting new one precisely, testing performance, and checking for leaks.
Upgrade your vehicle’s performance with a DIY turbo heat shield installation. This guide provides essential insights into enhancing engine cooling efficiency, crucial for turbocharged engines. By understanding the functionality of a turbo heat shield and selecting the right materials, you can effectively manage heat dissipation. Follow our step-by-step instructions for a successful DIY project, ensuring optimal engine health and boosted power output. Discover the benefits of a well-installed turbo heat shield today!
- Understanding Turbo Heat Shield Functionality
- Choosing the Right Materials for Installation
- Step-by-Step DIY Guide: Installation Process
Understanding Turbo Heat Shield Functionality
A turbo heat shield is a crucial component that plays a vital role in any high-performance vehicle equipped with a turbocharged engine. Its primary functionality lies in protecting the turbocharger from excessive heat generated by the combustion process, which can be as high as 500°F (260°C). By acting as a barrier between the hot exhaust gases and the turbo, it prevents the turbine wheel and other internal components from overheating, ensuring optimal performance and longevity.
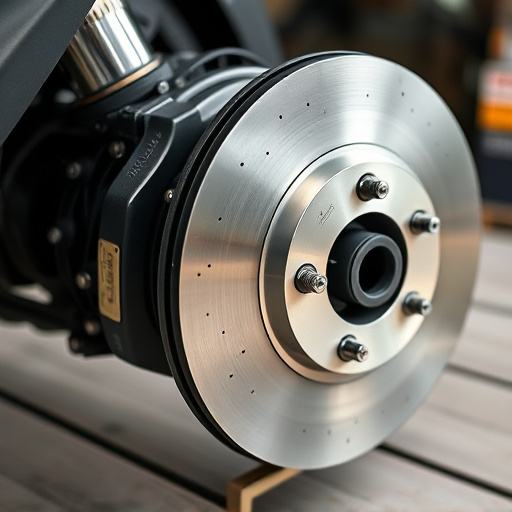
This shield also contributes to maintaining the efficiency of air intake systems by keeping the surrounding areas cool. In addition, it helps in reducing the transfer of heat to nearby components like brake rotors, enabling them to function at their best. For car enthusiasts looking to upgrade their vehicles with high-performance parts, understanding and installing a turbo heat shield is an essential step in enhancing engine performance and overall driving experience.
Choosing the Right Materials for Installation

When it comes to DIY turbo heat shield installation, selecting the appropriate materials is half the battle won. The primary goal of a heat shield is to redirect heat away from vulnerable components, so opt for products designed specifically for this purpose. Look for durable materials like high-temperature resistant fabrics or metal meshes that can withstand intense heat without compromising structural integrity.
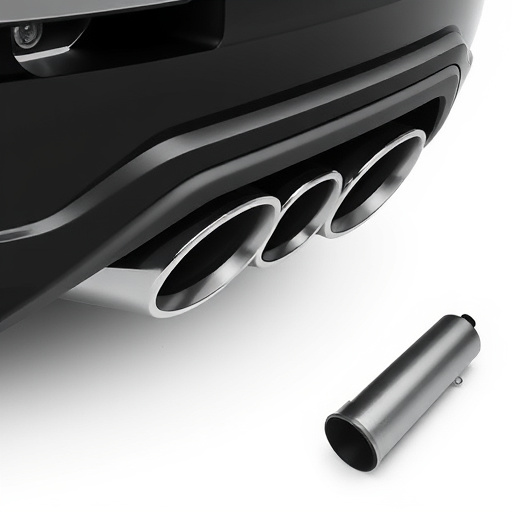
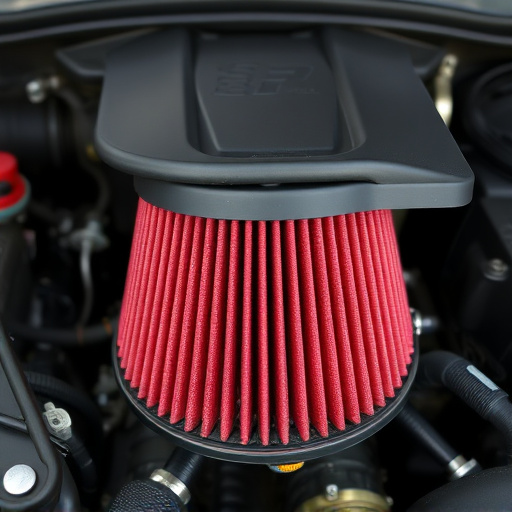
Consider factors such as the shape and size of your engine bay when choosing your turbo heat shield. Some models come pre-cut for specific vehicle types, making installation a breeze. Additionally, ensure compatibility with other components like exhaust tips, air filter kits, or coilover kits to maintain optimal performance and airflow.
Step-by-Step DIY Guide: Installation Process

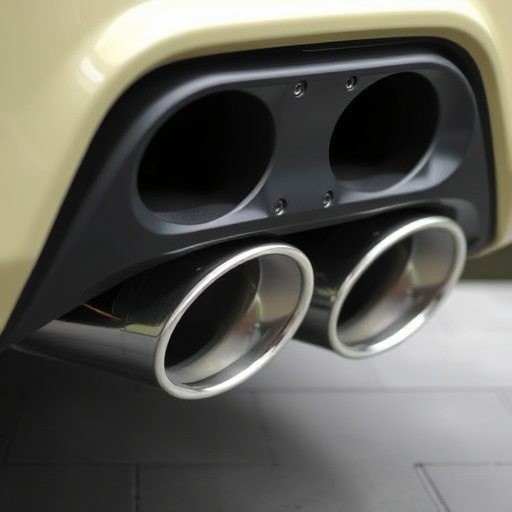
Installing a turbo heat shield is a great way to enhance your vehicle’s performance and protect its engine. Here’s a step-by-step guide to help you through the process. Begin by identifying the location where the heat shield will be fitted; typically, it covers the exhaust mufflers and routes hot gases away from sensitive suspension components. Ensure proper clearance for easy installation and access to all necessary bolts and brackets.
Next, gather your materials: a turbo heat shield designed specifically for your vehicle model, tools like wrenches and screwdrivers, and possibly some sealing compound for a secure fit. Remove any existing heat shields or exhaust systems carefully. Follow the manufacturer’s instructions for mounting the new heat shield, securing it in place with bolts and ensuring all connections are tight. This process involves precise alignment to avoid gaps that could compromise its effectiveness. Once installed, test your vehicle’s performance and check if there are any leaks around the heat shield’s edges.
Upgrading your vehicle with a DIY turbo heat shield is an excellent way to enhance engine performance and longevity. By understanding the functionality of this component, selecting appropriate materials, and following a structured installation guide, you can achieve optimal results. Remember, a well-installed turbo heat shield is key to keeping your engine cool under pressure, ensuring a smoother driving experience. Now, armed with knowledge and the right tools, it’s time to take on this project and unleash the power of your turbo!