


Meticulously prepare wall surfaces for wall graphics installation by assessing and rectifying issues, removing old decorations and residue using appropriate tools. For painted walls, gentle methods like scrapers or hair dryers are suitable; delicate surfaces require soft cleaning combined with heat application. Proper preparation ensures optimal adhesion, a seamless fit, and long-lasting results for your wall graphics.
Looking to refresh your space with new wall graphics? Removing old decorations is a crucial step in ensuring a seamless, long-lasting install. This guide breaks down the process into three simple yet effective stages: preparing your wall, safely removing old graphics for various surface types, and cleaning up for your new wall graphics installation. Discover expert tips and techniques to make the transition smooth and successful.
- Prepare the Wall: Stripping Old Decor
- Safe Removal Techniques for Various Surfaces
- Cleaning and Preparing for New Graphics Installation
Prepare the Wall: Stripping Old Decor
Before you begin installing your new wall graphics, it’s crucial to prepare the wall by stripping old decor and removing any traces of previous art or stickers. Start by assessing the condition of your wall, identifying areas that require paint correction or repair. A smooth, clean surface is ideal for achieving the best adhesion for your wall graphics during installation.
Use appropriate tools like scrapers, putty knives, and sandpaper to carefully remove old paint, wallpaper, or any lingering debris. For stubborn residue, consider automotive detailing techniques or a vehicle enhancement approach, ensuring you have the right materials to avoid damaging the wall. Once the wall is prepared, it’s ready for the next step in your wall graphics installation process.
Safe Removal Techniques for Various Surfaces
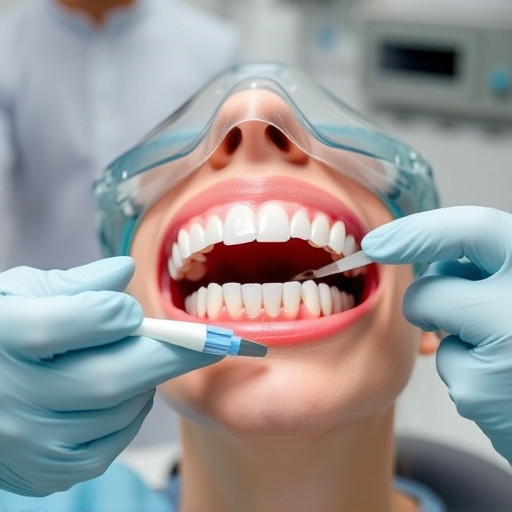
When preparing a surface for wall graphics installation, understanding safe removal techniques is key to preserving the underlying material and ensuring a seamless new application. For painted walls, gently peeling away the old graphics with a plastic scraper or hair dryer can be effective, as long as the paint is in good condition. It’s crucial to avoid using harsh chemicals or tools that could damage the surface.
For more delicate surfaces like wood paneling or glass (including windows and vehicle windshields treated with window tinting or paint protection film), a more meticulous approach is required. Soft cloth or sponge cleaning followed by a gentle application of heat from a hair dryer can help loosen adhesive residue without damaging the finish, which offers UV protection. In some cases, specialized tools designed for safe removal are available, especially for surfaces prone to scratches or those treated with protective films like paint protection film.
Cleaning and Preparing for New Graphics Installation
Before installing new wall graphics, proper cleaning and preparation are essential for a successful and long-lasting result. Start by thoroughly cleaning the surface to remove any dust, dirt, or grease that might hinder the adhesion of the new graphics. Use a soft cloth and mild detergent to wipe down the area, ensuring it’s dry and free from any residue. This step is crucial in achieving a smooth finish and ensuring the graphics stick securely.
For optimal wall graphics installation, consider the surface’s condition. If there are existing graphics or markings, use appropriate tools like scrapers or solvents recommended for the material to carefully remove them. This process involves some precision, especially when dealing with intricate designs, to ensure the new graphics align perfectly without any disruptions or bubbles. Proper preparation, including patching any holes or cracks and ensuring a clean, smooth base, will make the installation of your desired wall graphics seamless and impactful, whether for artistic expression or enhancing your automotive detailing with custom vehicle wraps.
When preparing for a successful wall graphics installation, removing old decor is an essential step. By following safe removal techniques tailored to various surfaces, you can ensure your new graphics adhere properly and enhance your space. After stripping old decorations, proper cleaning and preparation are crucial to achieving optimal results. With these steps in mind, you’re ready to transform any surface into a captivating canvas for your next wall graphics installation.