


Custom air intake installation offers significant engine performance upgrades for cars, enhancing power, torque, and fuel efficiency through optimized airflow. These systems, using high-flow filters and strategic positioning, complement other modifications while improving aesthetics. DIY installation involves removing stock intake, mounting new components, installing filters, reconnecting sensors, and testing for leaks to ensure optimal performance.
Looking to boost your performance car’s power and efficiency? Consider a custom air intake installation—a direct path to enhanced performance. This article explores the benefits of upgrading your vehicle’s air intake system, from improved engine response to increased fuel efficiency. We break down the process with a step-by-step guide, ensuring you’re equipped to make this transformative modification. Discover how a tailored air intake can unlock hidden potential under your hood.
- Understanding Custom Air Intake Systems
- Benefits of Upgrading Your Car's Air Intake
- Step-by-Step Guide to Installation
Understanding Custom Air Intake Systems
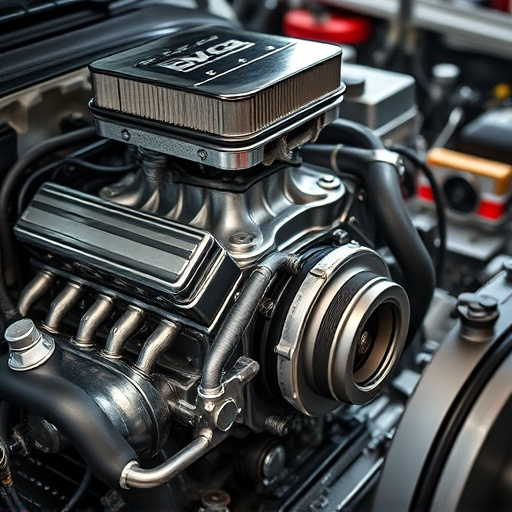
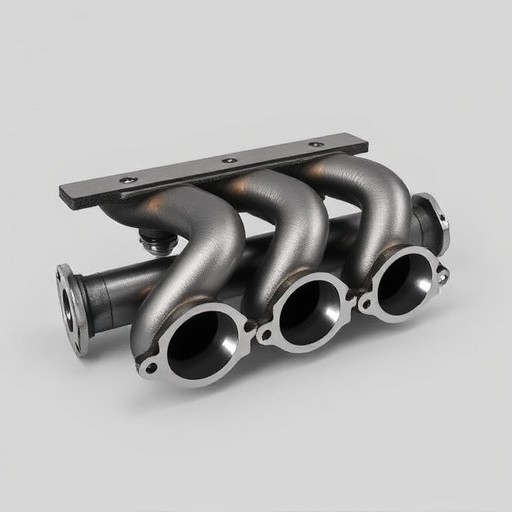
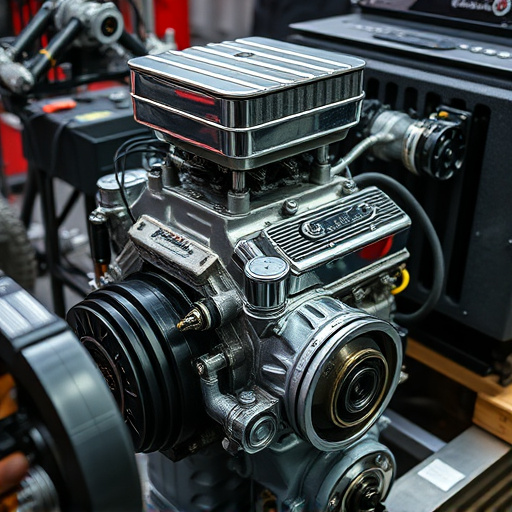
Custom air intake systems are a popular upgrade for performance cars, offering a direct path to enhanced engine power and efficiency. Unlike stock air intakes that rely on the vehicle’s existing design, custom setups are tailored to optimize airflow, providing a colder, denser supply of air to the engine. This is crucial as it allows for better combustion, resulting in increased horsepower and torque.
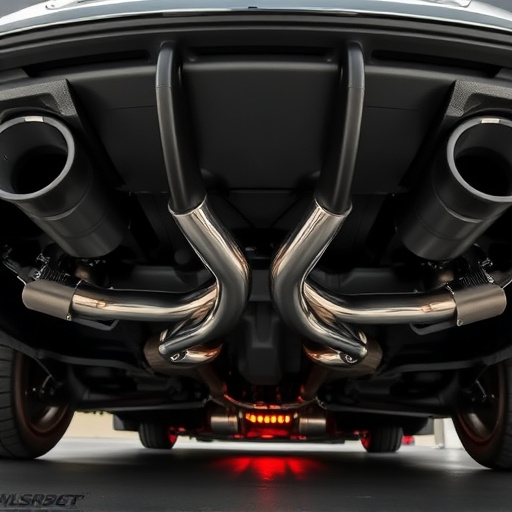
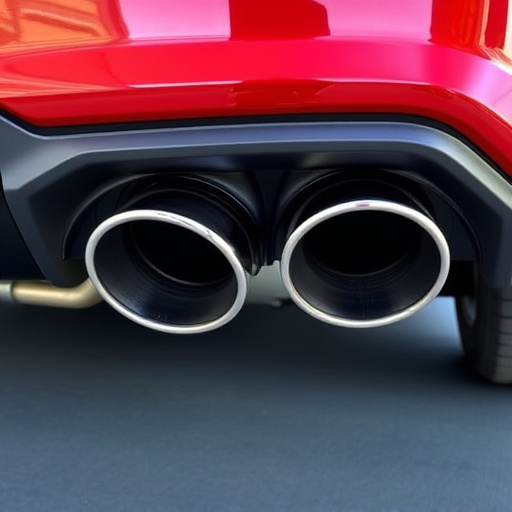
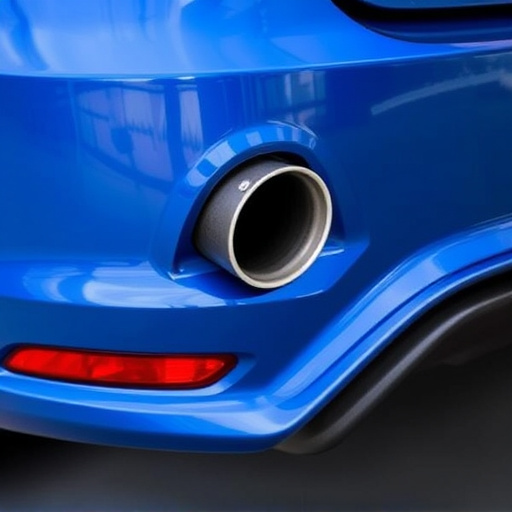
By replacing the stock air filter with a high-flow performance air filter, and strategically positioning the intake manifold to take advantage of negative pressure zones, these systems can significantly improve engine performance. Additionally, some custom setups incorporate visible components like striking muffler tips or sleek suspension kits, not only enhancing aesthetics but also serving as a subtle hint to the vehicle’s upgraded capabilities.
Benefits of Upgrading Your Car's Air Intake

Upgrading your car’s air intake with a custom installation offers a plethora of benefits for performance enthusiasts. One of the key advantages is enhanced engine performance; by allowing more cool, dense air into the engine, it can increase power and torque output, leading to better acceleration and overall driving dynamics. This simple modification can unlock hidden potential in your vehicle, transforming it from a mere transportation tool into a true driving machine.
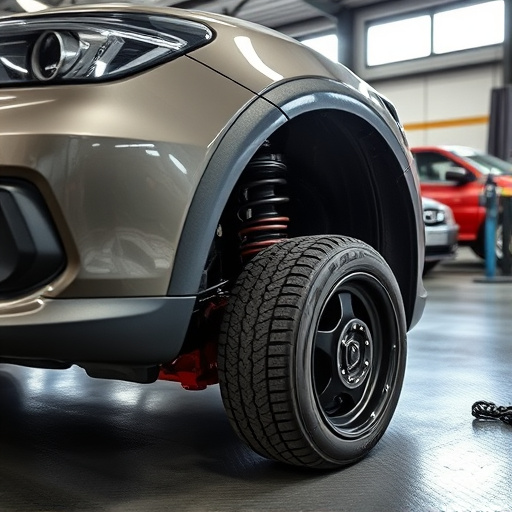
Moreover, a high-flow air intake system contributes to improved fuel efficiency, as it optimizes the engine’s airflow, leading to more efficient combustion. Unlike stock air intakes that often restrict airflow, custom installations can be tailored to fit your vehicle’s unique requirements, ensuring maximum efficiency and performance. This upgrade is also an excellent complement to other modifications, such as high-performance exhaust systems and upgraded suspension components, enhancing the overall driving experience without compromising reliability.
Step-by-Step Guide to Installation
Installing a custom air intake system is a great way to enhance the performance and efficiency of your car’s engine. Here’s a straightforward guide for DIY enthusiasts looking to take on this project:
1. Prepare Your Workspace: Start by ensuring you have all the necessary tools and parts, including the new custom air intake, mounting hardware, and a set of high-quality performance air filters. Clear a dedicated area in your garage or workshop, laying out the components to familiarize yourself with each piece.
2. Remove the Stock Intake: Next, locate the stock air intake and begin the disassembly process. This may involve removing the plastic or metal housing, disconnecting wires, and detaching any sensors or brackets. Take note of how these components are secured and the routing of the existing air lines. Once removed, inspect the engine bay for any debris or obstructions that might interfere with the new intake’s installation.
3. Mount the Custom Air Intake: Position the custom air intake carefully, ensuring it aligns with your engine’s airflow requirements. Secure it in place using the provided mounting hardware, following the manufacturer’s instructions. This could involve bolting or clamping the intake to the engine block or existing components. Make sure all connections are tight and secure.
4. Install Performance Air Filters: Fit the high-performance air filters into the new intake system according to the kit’s instructions. These filters are designed to maximize airflow while keeping contaminants at bay, ensuring your engine gets only the cleanest air possible.
5. Reconnect and Test: With everything in place, reconnect any wires or sensors you removed earlier and double-check all connections. Start the engine and check for leaks around the intake. Adjust any clamps or gaskets as needed to ensure a secure fit. Once satisfied, you’re ready to hit the road and experience the improved performance of your cold air intake system!
Upgrading your performance car with a custom air intake system can significantly enhance its overall performance and efficiency. By optimizing airflow, you enable a stronger engine response and improved fuel combustion. Following the step-by-step guide in this article, you can successfully install a custom air intake, allowing your vehicle to reach new heights of power and control. Remember, proper installation is key, so ensure you have the necessary tools and knowledge or seek professional assistance for optimal results.