


Sway bar bushings, critical for stable cornering, wear over time, affecting vehicle control. Regular inspection and replacement, alongside other suspension parts, ensures optimal safety and performance. Gather tools, prepare workspace, and prioritize maintenance for improved handling and stability through DIY sway bar bushing replacement.
Are you ready to enhance your vehicle’s handling? It’s time to explore the often-overlooked component, sway bar bushings. This article is your comprehensive guide to preparing and replacing these essential parts. Understanding their role in improving stability and cornering precision is key. We’ll walk you through the process, from gathering the right tools to ensuring safety. Get ready to install new bushings with ease and experience a smoother, more controlled ride.
- Understanding Sway Bar Bushings and Their Function
- Tools and Safety Precautions for Replacement
- Step-by-Step Guide to Installing New Bushings
Understanding Sway Bar Bushings and Their Function
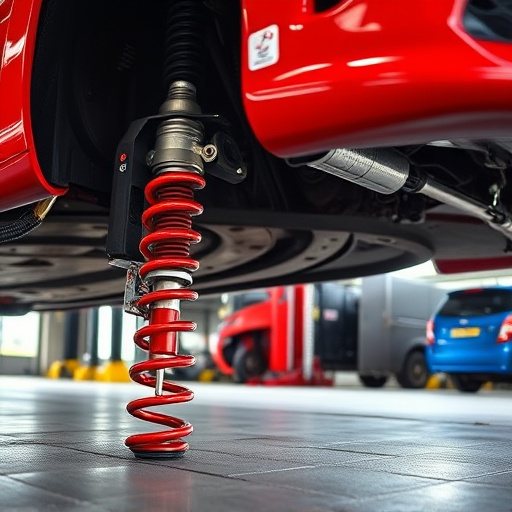
Sway bar bushings play a pivotal role in your vehicle’s handling and stability. These components are part of the sway bar, which connects the left and right wheels, allowing for coordinated movement during cornering. Bushings act as cushions, absorbing the forces generated when navigating turns, and preventing excessive body roll. They ensure that power is evenly distributed between the wheels, enhancing both steering precision and overall vehicle control.
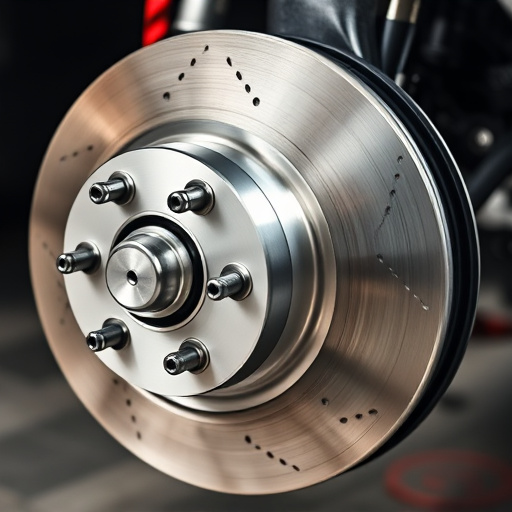
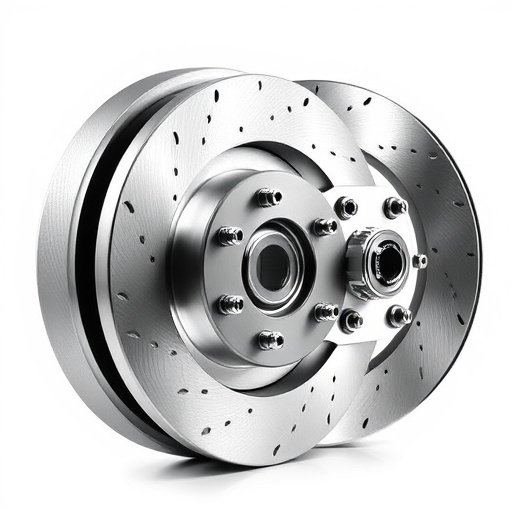
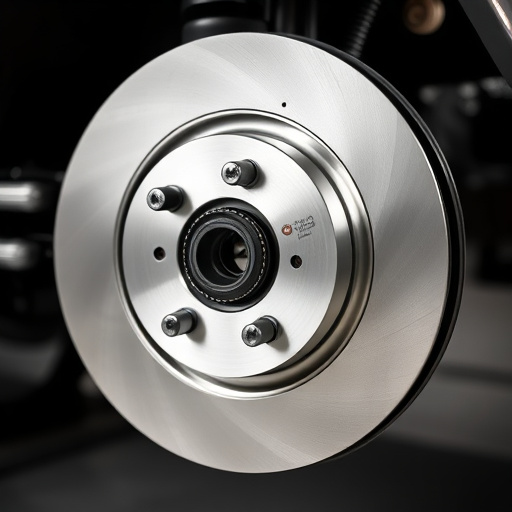
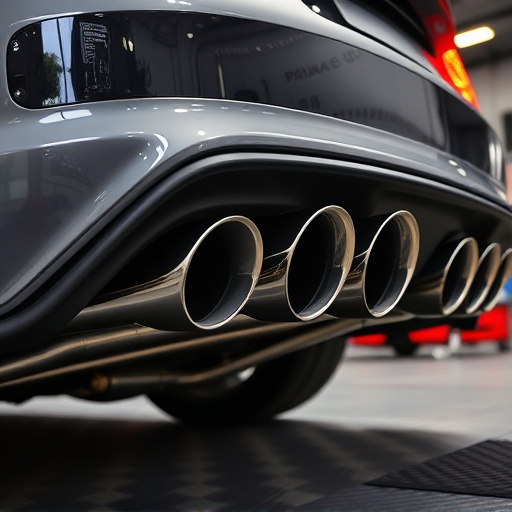
Understanding how sway bar bushings function is crucial when preparing for their replacement. Over time, these bushings can wear out due to constant use, causing a loss of effectiveness. Worn-out bushings may lead to unpredictable handling characteristics, such as excessive body lean or unusual wheel movement. Regularly inspecting your vehicle’s suspension components, including sway bar bushings, brake rotors (for balanced braking), and exhaust tips (for noise reduction), is essential for maintaining optimal performance and safety.
Tools and Safety Precautions for Replacement
Before beginning the replacement process, gather the necessary tools and safety equipment to ensure a smooth and secure job. You’ll need a jack, jack stands, a new set of sway bar bushings, socket wrenches, ratchet sets, and possibly an impact gun, depending on your vehicle’s make and model. Safety goggles and gloves are essential as they protect against debris and potential injuries during the disassembly and reassembly stages.
Additionally, consider having an air filter kit and suspension kits readily available if you anticipate needing to replace these components in the near future. Regularly checking and replacing parts like brake pads can also contribute to overall vehicle safety and performance. Remember, proper tools and a proactive approach to maintenance are key to successfully replacing sway bar bushings and maintaining your vehicle’s stability and control.
Step-by-Step Guide to Installing New Bushings
Replace old sway bar bushings with new ones to ensure optimal handling and stability. Here’s a step-by-step guide for an easy DIY installation:
1. Gather Your Tools: Before starting, gather all necessary tools including jack, jack stands, socket wrenches, ratchets, and any other tools specific to your vehicle. Place them within reach for a smooth process.
2. Lift and Secure the Vehicle: Use a jack to lift the front end of your car or truck, ensuring it’s stable. Install jack stands for safety while you work. Remove the wheels if necessary, especially if they interfere with access to the sway bar components.
3. Access the Sway Bar Bushings: Locate the sway bar, usually found between the front wheels. Identify the bushings, which are the soft rubber or plastic parts that connect the sway bar to the suspension.
4. Remove Old Bushings: Using suitable tools, carefully pull out the old bushings from their sockets. Take note of their orientation for proper installation later. Clean the areas where the bushings were mounted to ensure no debris remains.
5. Install New Bushings: Position the new bushings in the sockets, ensuring they fit correctly and are aligned as per your vehicle’s manual. Tighten them securely with a socket wrench or ratchet.
6. Reassemble and Test: Replace wheels (if removed) and lower the vehicle from the jack stands. Test drive to ensure smooth handling and no unusual noises, confirming successful installation of new sway bar bushings. Remember, proper maintenance of brake components and suspension parts, like sway bar bushings, is crucial for safety and optimal vehicle performance.
Replacing your vehicle’s sway bar bushings is a crucial task for maintaining optimal handling and safety. By understanding the part they play in your car’s suspension system, you can efficiently perform this maintenance with the right tools and precautions. With our step-by-step guide, you’ll be able to install new sway bar bushings like a pro, ensuring a smoother ride and enhanced vehicle control. Remember, well-maintained bushings contribute to better handling and overall vehicle performance, so don’t neglect this important task!