


Gloss finish wraps enhance vehicle aesthetics but require careful handling due to potential damage. Prepare by inspecting and cleaning surfaces. Consider professional applications for easier removal. Use specific tools and techniques: heat gun, scraper, isopropyl alcohol. Repeat heating and scraping for tough cases, taking care around edges and corners.
Removing a gloss finish wrap without damaging the surface is an art. This comprehensive guide tackles the common dilemma of handling these delicate materials, focusing on understanding different types of gloss wraps and potential damage sources first. We then offer pre-care tips for safe removal preparation. Subsequently, we provide a step-by-step guide detailing effective techniques to ensure successful, damage-free wrap removal. Learn how to approach this task with confidence, preserving both the wrap and the surface underneath.
- Understanding Gloss Finish Wraps: Types and Causes of Damage
- Pre-Care: Preparing for Safe Wrap Removal
- Step-by-Step Guide: Techniques to Remove Without Damaging Surfaces
Understanding Gloss Finish Wraps: Types and Causes of Damage

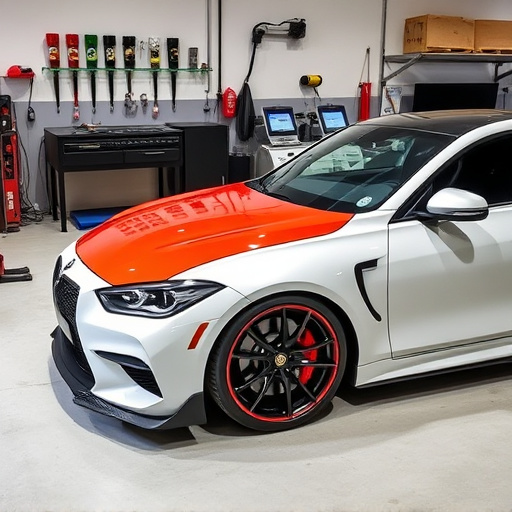
Gloss finish wraps, a popular choice for enhancing vehicle aesthetics, are known for their shiny, smooth appearance. These wraps come in various types, each with unique characteristics and potential damage causes. Common types include vinyl, polyester, and polycarbonate, each offering different levels of durability and resistance to environmental factors. While they can significantly improve a car’s look through window tinting or provide superior heat rejection, proper handling is crucial during application and removal to prevent damage.
Damages can arise from several factors, including incorrect installation techniques, exposure to harsh weather conditions, and improper cleaning methods. For instance, using aggressive cleaners or scrubbers can scratch the surface, while inadequate sealing might lead to peeling over time. Understanding these intricacies is vital when considering premium automotive services, ensuring that both the initial application and subsequent removal are carried out with care to preserve the gloss finish wraps’ integrity and appearance.
Pre-Care: Preparing for Safe Wrap Removal
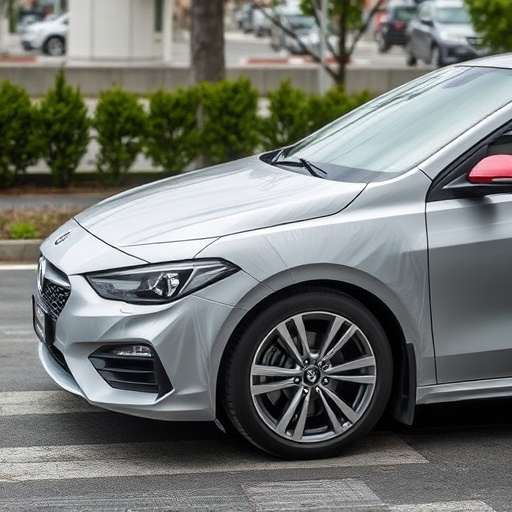
Before attempting to remove any gloss finish wraps, proper preparation is key to ensuring a safe and successful process. Start by inspecting the wrap carefully; understand its type, quality, and condition. Different gloss finishes can vary in adhesiveness, so identifying the specific material will help guide your removal approach. Remove any loose debris or dirt from the surface of the vehicle using gentle cleaning methods to avoid damaging the underlying paintwork.
For optimal results, consider the professional application of a protective film like PPF (Paint Protection Film) or ceramic coating before wrapping. This extra layer can act as a buffer between the wrap and the car’s finish, making removal easier and reducing the risk of scratches or scrapes during the unwrapping process. Additionally, window tinting is another option that can simplify the removal stage by providing a space for grip when peeling off the gloss finish wraps.
Step-by-Step Guide: Techniques to Remove Without Damaging Surfaces
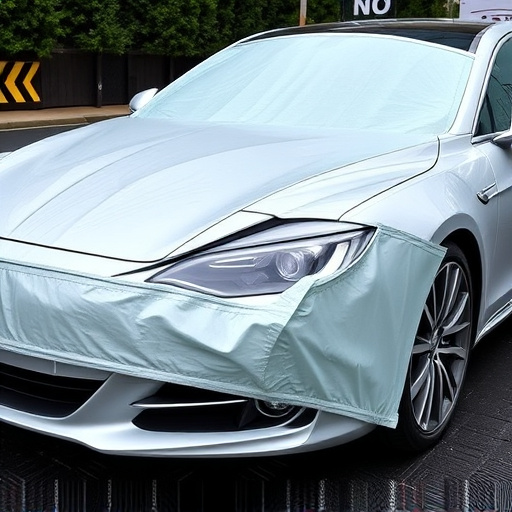
Removing gloss finish wraps from surfaces requires a delicate touch to prevent damage. Start by gathering your tools: a plastic scraper, a heat gun (set at a low temperature), and isopropyl alcohol. Begin by inspecting the wrap carefully to identify any weak points or seams where the adhesive might be weakest. Using the heat gun, apply gentle, even heat to the wrap for about 30 seconds, allowing the adhesive to soften slightly. Then, insert the plastic scraper between the wrap and surface, gently lifting a corner to create a gap.
Work slowly and carefully, expanding the gap along the seam or weak point. Soak a cloth with isopropyl alcohol and wipe down the area to dissolve any remaining adhesive. Continue this process in sections until the gloss finish wrap is completely removed, ensuring you work methodically to avoid rushing and causing damage. For tougher cases involving ceramic window tinting or vehicle protection films, repeat the heating and scraping process, taking extra care around edges and corners to prevent tearing or chipping of the surface underneath.
Removing gloss finish wraps without causing damage is achievable with the right preparation and techniques. By understanding different types of gloss wraps and potential causes of harm, you can prevent unwanted scratches or stains. Pre-care involves gathering necessary tools and preparing the surface. Following a step-by-step guide ensures safe removal, preserving the integrity of both the wrap and underlying surfaces. With careful navigation, you can successfully tackle gloss finish wrap removal projects without causing a single mark.