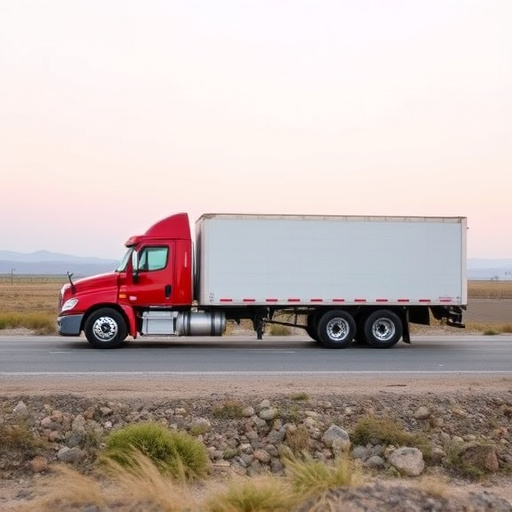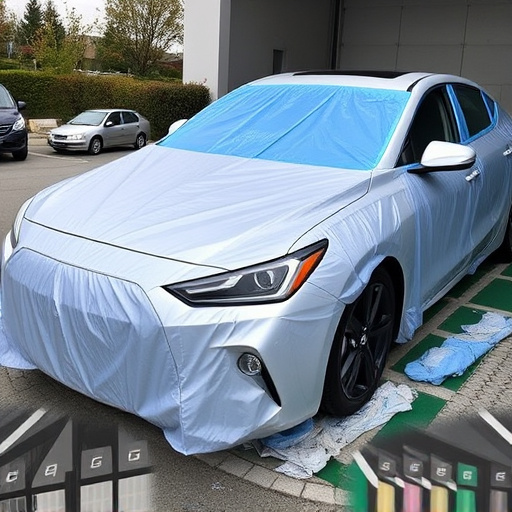


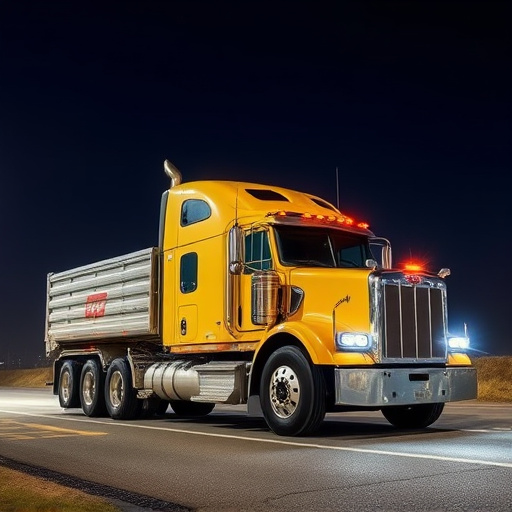
Vehicle wrap installation enhances brand visibility for businesses with large fleets, offering durable, scratch-resistant protection and vibrant prints compared to traditional painting. Installation requires meticulous preparation, including surface cleaning, primer application, and precise material placement by skilled installers. Regular cleaning and proper removal techniques ensure longevity, making wraps a cost-effective, adaptable branding solution for fleet management.
“Elevate your fleet’s visual appeal and marketing impact with professional vehicle wrap installation. This comprehensive guide explores the world of vehicle wraps for fleets, trucks, and vans. We delve into the benefits of these eye-catching graphics, from enhanced branding to increased visibility. Learn about the step-by-step process, ensuring top-notch results. Discover best practices for maintenance and removal, extending the lifespan of your wraps. Optimize your fleet’s image and drive more effective marketing with expert vehicle wrap installation tips.”
- Understanding Vehicle Wrap Materials and Their Benefits
- The Process of Effective Fleet Wrap Installation
- Maintaining and Removing Vehicle Wraps: Best Practices
Understanding Vehicle Wrap Materials and Their Benefits

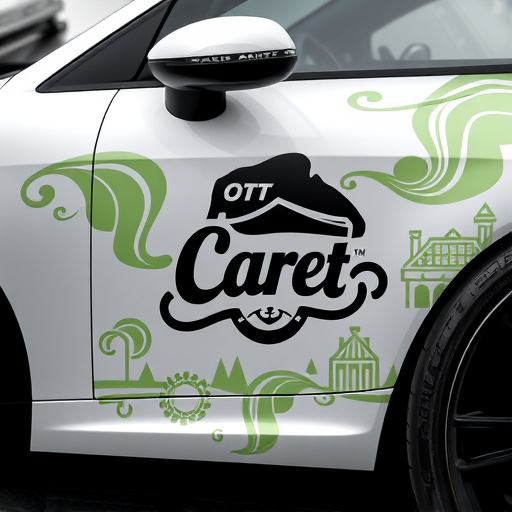
Vehicle wrap installation is a popular choice for businesses looking to brand their fleet, trucks, and vans effectively. Understanding the materials used in this process is key to unlocking the full potential of your vehicle’s advertising space. Modern vehicle wraps are made from advanced materials like vinyl or more durable options such as ceramic coatings, offering superior durability and scratch resistance compared to traditional painting methods.
These innovative materials provide numerous benefits for businesses. Firstly, they allow for vibrant, long-lasting prints that can enhance brand visibility on the road. Secondly, wrap installation is a cost-effective solution, especially for larger fleets, as it’s more affordable than repainting each vehicle individually. Moreover, unlike paint, wraps can be easily removed or updated, making them ideal for companies looking to change their branding or marketing strategies over time, thereby ensuring your fleet remains dynamic and eye-catching.
The Process of Effective Fleet Wrap Installation
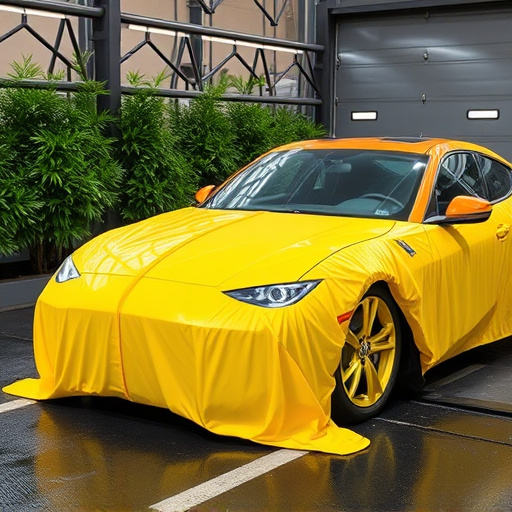
The process of effective vehicle wrap installation for fleets involves several meticulous steps to ensure a durable and visually appealing finish. It begins with thorough preparation, where the surface is cleaned, inspected, and repaired to remove any imperfections. This includes degreasing, sandblasting or scraping, and filling any gaps or damages. A primer is then applied to create a smooth base, enhancing adhesion and providing an extra layer of protection. The key lies in using high-quality wrap materials that are designed to withstand the unique demands of commercial vehicles, offering superior durability and resistance to fading, cracking, or peeling.
Expert installers use precision techniques to apply the wrap, ensuring even coverage and minimal air bubbles. This artful process involves carefully aligning the material with the vehicle’s contours while working quickly to maintain integrity. Once installed, the wrap forms a protective barrier, enhancing the vehicle’s aesthetics and providing significant benefits like heat rejection and UV protection. Additionally, ceramic coatings can be applied for extra durability, offering an extra layer of defense against road grime and environmental factors, thereby prolonging the life of the vehicle’s finish.
Maintaining and Removing Vehicle Wraps: Best Practices

Maintaining a vehicle wrap is essential to ensure its longevity and effectiveness as a marketing tool. Regular cleaning and inspection are crucial, especially for fleet managers overseeing numerous vehicles. Start by developing a consistent cleaning routine using mild soap, warm water, and soft cloths or brushes to avoid damaging the wrap. Remove any dirt, debris, or bird droppings promptly to prevent staining. Avoid harsh chemicals, abrasive materials, and high-pressure washers, as they can cause premature aging or damage to the wrap.
When it comes time to remove the vehicle wrap, professional installation practices make for easier and more successful outcomes. Begin by checking for any signs of damage, such as scratches or tears, and address these issues before starting the removal process. Heat is often used to loosen the adhesive, but be cautious with heat rejection window tinting, as it can affect the overall integrity of the wrap. A skilled technician will know how to navigate the intricate design while minimizing the risk of scuffing or tearing, ensuring a clean and complete removal ready for the next phase or reapplication.
Vehicle wraps have evolved from a simple marketing tool to a powerful asset for businesses, offering cost-effective brand exposure through fleet, truck, and van transformations. By understanding the materials, the installation process, and best practices for maintenance and removal, companies can maximize the benefits of vehicle wrap installation. This strategic approach ensures not only an attractive mobile advertisement but also a durable and professional representation of their brand on the road.