


Electronic exhaust cutouts are advanced systems that control gas flow, enhancing vehicle performance and sound customization. They offer real-time adjustments via electronic valves or doors, allowing drivers to select different exhaust notes for various driving styles without compromising muffler integrity. Installation requires tools, components, and sealing materials; proper assembly ensures seamless integration with existing systems like suspension and brakes.
“Unleash your vehicle’s performance and enhance its sound with this comprehensive guide on installing electronic exhaust cutouts. These advanced systems offer precise control over your car’s exhaust note, catering to both power enthusiasts and those seeking a refined drive. In this step-by-step tutorial, we’ll walk you through the process, from understanding the technology behind electronic exhaust cutouts to equipping yourself with the right tools. Get ready to transform your driving experience.”
- Understanding Electronic Exhaust Cutouts
- Gathering Necessary Tools and Materials
- Step-by-Step Installation Guide
Understanding Electronic Exhaust Cutouts
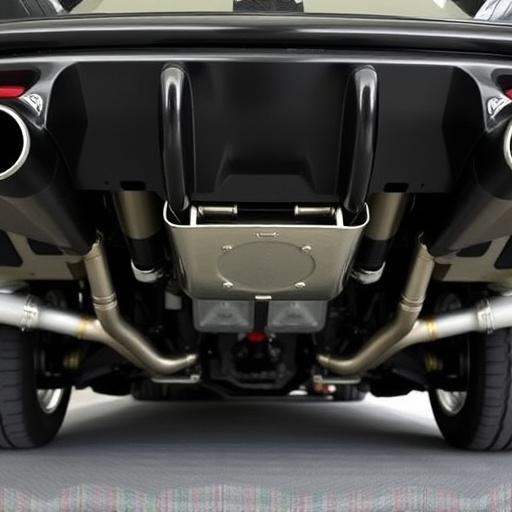
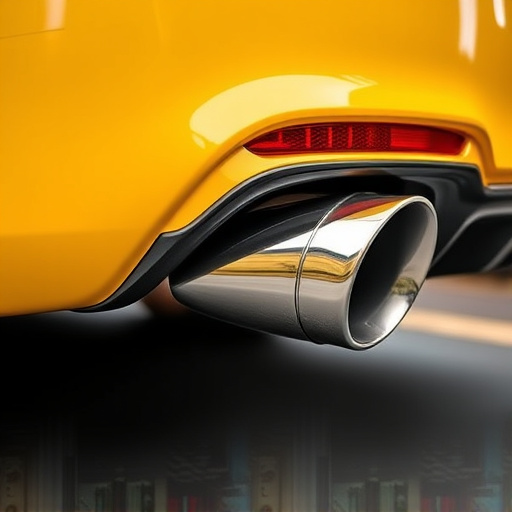
Electronic exhaust cutouts are advanced systems designed to enhance vehicle performance and tuning by providing precise control over exhaust gas flow. Unlike traditional mechanical cutouts, these electronic versions offer a more sophisticated approach to managing exhaust systems. They work by electronically controlling valves or doors within the exhaust system, allowing for customized adjustments in real-time. This technology is particularly useful for car enthusiasts who want to fine-tune their vehicles’ sound and performance characteristics.
These cutouts can be integrated into various components of the exhaust system, such as headers, downpipes, or even exhaust mufflers. By controlling the flow of gases, they can alter the sound and power output of the engine, catering to different driving styles and preferences. For instance, drivers may choose a more aggressive sound for racing or a quieter tone for daily commuting, all achieved through simple adjustments on a control unit. The versatility of electronic exhaust cutouts allows owners to customize their vehicles’ exhaust note without compromising brake rotors or exhaust mufflers’ integrity.
Gathering Necessary Tools and Materials
Before beginning the installation process for electronic exhaust cutouts, ensure you have all the required tools and materials at hand to make the job smoother and more efficient. The essentials include a set of wrenches (both open-end and socket), a ratchet with an extension, pliers, a drill with various bits, wire strippers, and a multimeter for testing connections. Additionally, you’ll need specific components tailored to your vehicle, such as electronic exhaust cutout valves, wiring harnesses, and mounting brackets, which can be purchased from automotive supply stores or online retailers specializing in electronic exhaust systems.
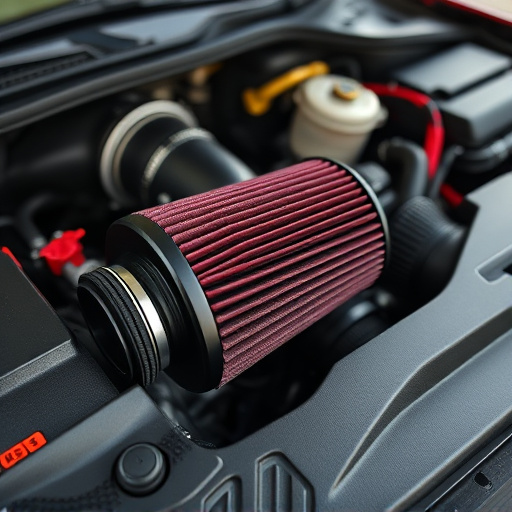
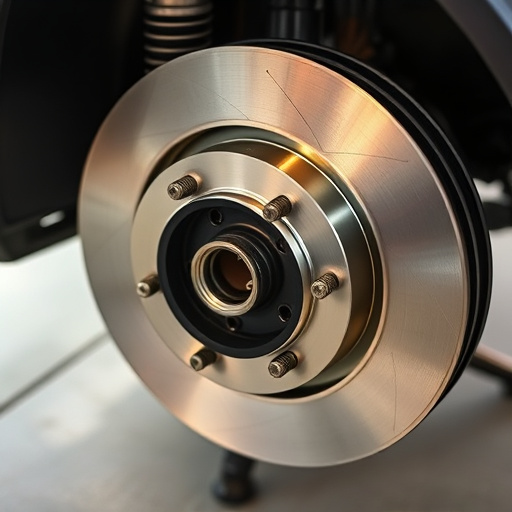
Don’t forget to gather the necessary gaskets, seals, and any other sealing materials recommended for your specific setup. Proper sealing is crucial to maintain the integrity of your air intake system and prevent leaks that could compromise engine performance. Some kits may also include air filter kits or even new brake rotors as part of their upgrade package, ensuring you have everything required for a comprehensive modification to your vehicle’s exhaust system.
Step-by-Step Installation Guide

Installing electronic exhaust cutouts is a straightforward process that can significantly enhance your vehicle’s performance and sound. Here’s a detailed step-by-step guide to ensure a smooth installation. Begin by gathering all necessary tools, including your electronic exhaust cutout kit, which typically includes sensors, wires, and mounting hardware. Next, locate the exhaust system near the engine bay. This is where you’ll be making the initial cuts to accommodate the new components.
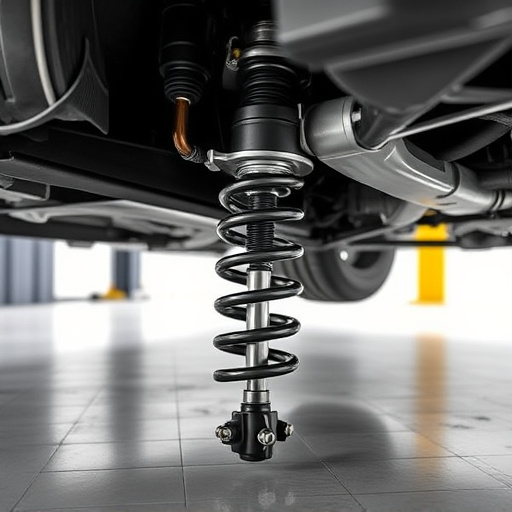
Using the provided instructions, identify the optimal placement for the cutouts, usually in strategic locations along the exhaust pipe. With safety precautions in place, such as wearing protective gear and ensuring adequate ventilation, carefully cut out the designated sections of your exhaust system using a suitable tool like a metal saw or plasma cutter. Once the cuts are made, attach the electronic exhaust cutouts according to the kit’s instructions, securing them firmly with the provided hardware. Connect the sensors and wires to the appropriate electrical ports, following the wiring diagram for accurate connectivity. After ensuring all components are properly secured and wired, test the system to verify its functionality and optimize performance with your suspension kits or performance brakes in mind.
Installing electronic exhaust cutouts can significantly enhance your vehicle’s performance while offering precise control over engine sound. By following these simple steps and gathering the right tools, you can easily customize your driving experience. Remember, proper installation ensures optimal functionality and safety. Now that you understand the process, it’s time to take the next step and transform your ride with cutting-edge electronic exhaust cutouts!