


Before upgrading your intake manifold, clear workspace, gather tools, and secure vehicle with chocks for safety. Remove old manifold carefully, detaching key components, and keep work area clean. Install new manifold, test for leaks, and conduct performance checks using soapy water and airflow kits. Follow manufacturer instructions and evaluate engine sound and response improvements.
Looking to boost your vehicle’s performance with a DIY intake manifold upgrade? This comprehensive guide walks you through the process safely and effectively. From preparing your workspace and gathering essential tools to removing the old manifold and installing the new one, we break down each step clearly. Learn how to test the system for optimal performance and enjoy the thrill of an enhanced engine response – all without professional help. Get ready to elevate your driving experience with this DIY intake manifold upgrade!
- Prepare Your Workspace and Gather Tools
- Remove the Old Intake Manifold Safely
- Install the New Upgrade and Test Performance
Prepare Your Workspace and Gather Tools
Before beginning your intake manifold upgrade, ensuring your workspace is prepared and all necessary tools are gathered is paramount. Clear a significant area around the engine bay to facilitate easy access and maneuverability. Gather your tools, including wrenches, sockets, screwdrivers, pliers, and any specialized tools required for your specific vehicle model. A jack, jack stands, and a wheel chock are essential safety measures to prevent accidents while working beneath the vehicle. Organize these tools logically to streamline the process and ensure everything is within reach.
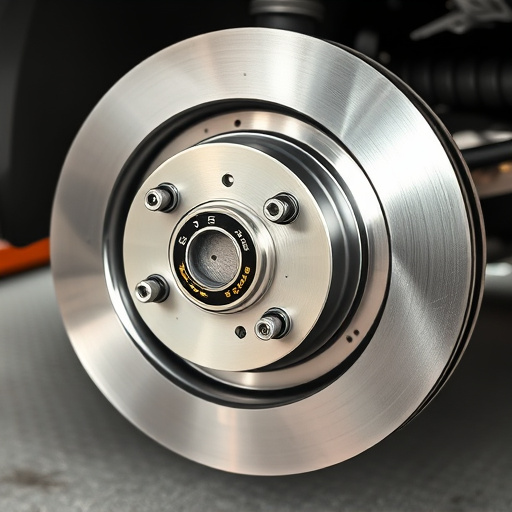
Additionally, have at hand any replacement parts, such as an upgraded intake manifold, gaskets, bolts, and potentially new brake components if your installation involves them. Ensure your vehicle is securely chocked and supported for safety while you work on it. This meticulous preparation will not only enhance the efficiency of the upgrade but also contribute to a smoother overall experience, allowing you to focus on achieving optimal vehicle performance through your intake manifold modification.
Remove the Old Intake Manifold Safely
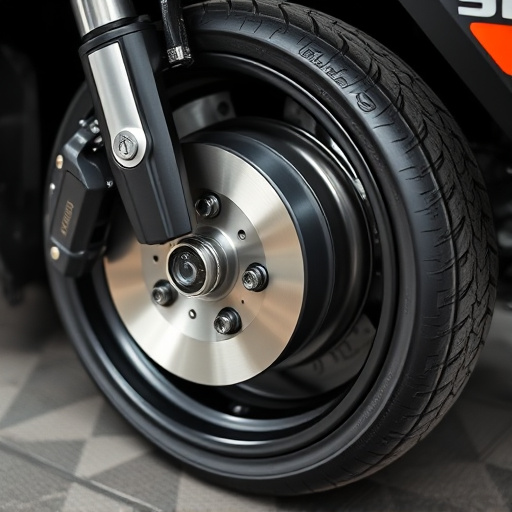
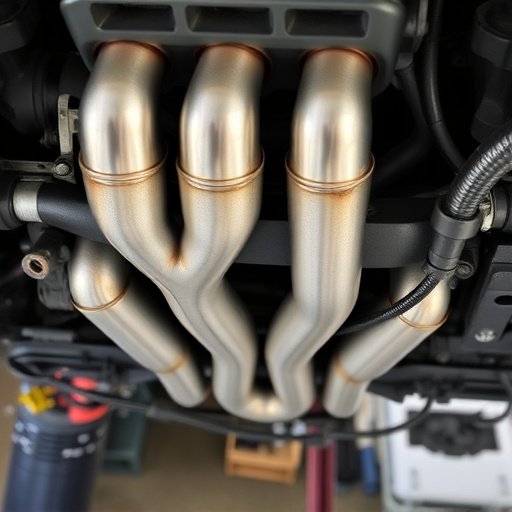
Before installing a new intake manifold, it’s crucial to safely remove the old one. Begin by ensuring your vehicle is parked on a level surface with all necessary safety gear at hand. Next, locate and identify key components such as the spark plugs, wires, and sensors connected to the old intake manifold. These need to be carefully detached and stored securely for future use.
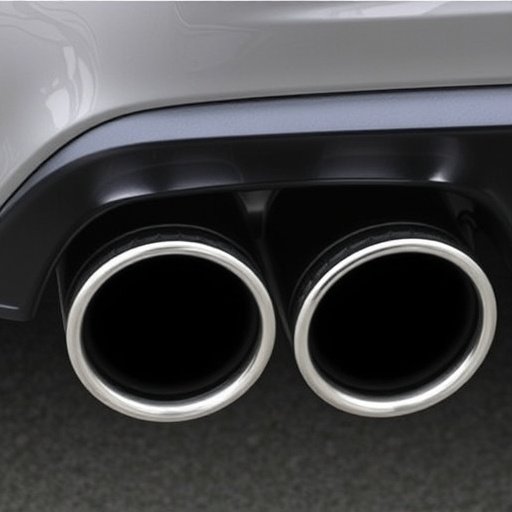
Once these are safely removed, you can proceed to dismantle the old intake manifold. This usually involves loosening and detaching bolts and clamps securing it in place. Pay close attention to where each component is attached to ensure proper reassembly later. As you work, keep an eye out for any debris or remnants from the previous system, particularly around the engine bay and muffler tips. This careful approach guarantees a smooth transition to your intake manifold upgrade.
Install the New Upgrade and Test Performance
After ensuring all parts are properly aligned and secured, it’s time to install your new intake manifold upgrade. Carefully follow the manufacturer’s instructions for any specific steps related to this process. Once installed, test the system thoroughly before taking it for a spin. Start the engine and check for any leaks using a soapy water solution around connections and gaskets. Verify that all sensors are functioning correctly by consulting your vehicle’s diagnostics or using an OBD-II scanner.
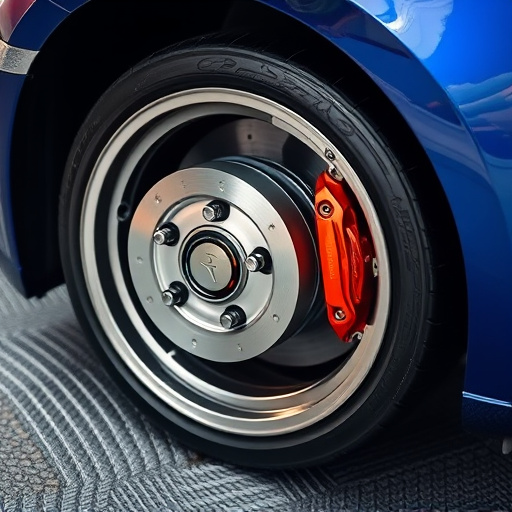
Before hitting the road, consider running a series of performance checks on your upgraded intake manifold. Test the air flow with a compatible air filter kit to ensure optimal airflow is maintained. Additionally, evaluate any changes in engine sound and response, keeping in mind that modifications like this often translate into improved performance, especially when coupled with high-quality suspension components and updated brakes for enhanced control.
Upgrading your vehicle’s intake manifold can significantly improve performance, but it requires careful preparation and execution. By following this DIY guide, you’ve learned the essential steps to ensure a safe installation process. Remember, proper tool selection and a well-prepared workspace are key to success. After removing the old intake manifold (a crucial step not to be overlooked), installing your new upgrade and testing performance will complete the process. This transformation is a game-changer for any car enthusiast seeking enhanced engine efficiency, ensuring a smoother ride with improved gas mileage and power output.