


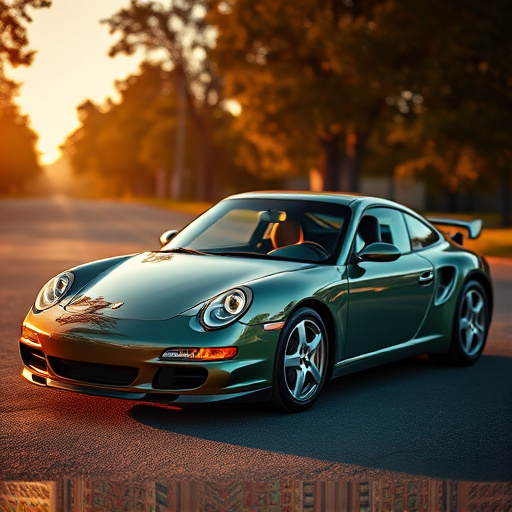
Color change wraps are DIY automotive modifications that transform vehicle exteriors with customizable colors and designs without altering factory finishes. They offer aesthetic benefits, enhance privacy, protect paint from sunlight, and preserve car value. To start a DIY project, gather high-quality wraps with scratch protection and heat rejection, essential tools, and consider transfer paper for custom graphics. Patience and precision are key to achieving a professional finish that dramatically enhances automotive detailing.
Can you transform your car’s look dramatically with a DIY color change wrap? This comprehensive guide explores if tackling this project yourself is feasible. Discover the basics and benefits of color change wraps, from enhancing aesthetics to offering cost-effective personalization. Learn about essential tools and materials required for success. Then, follow our detailed step-by-step guide to apply and install your wrap effectively, unlocking a fresh, vibrant exterior for your vehicle.
- Understanding Color Change Wraps: Basics and Benefits
- Gather the Right Tools and Materials for DIY
- Step-by-Step Guide: Applying and Installing Your Wrap
Understanding Color Change Wraps: Basics and Benefits
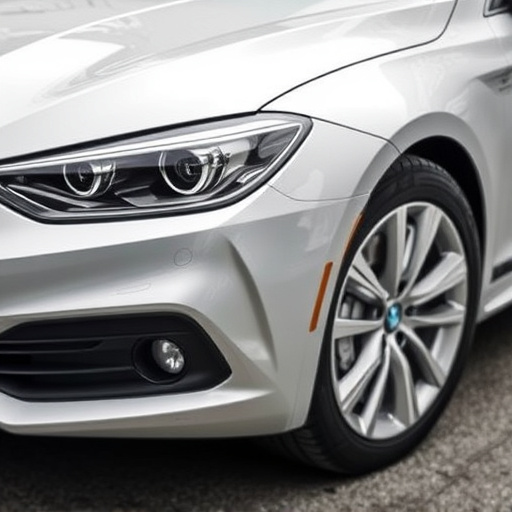
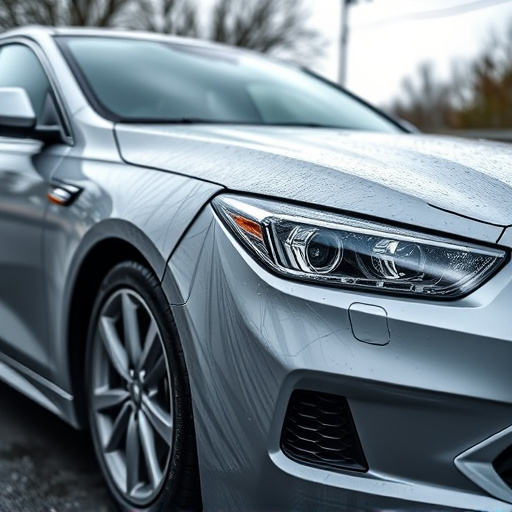
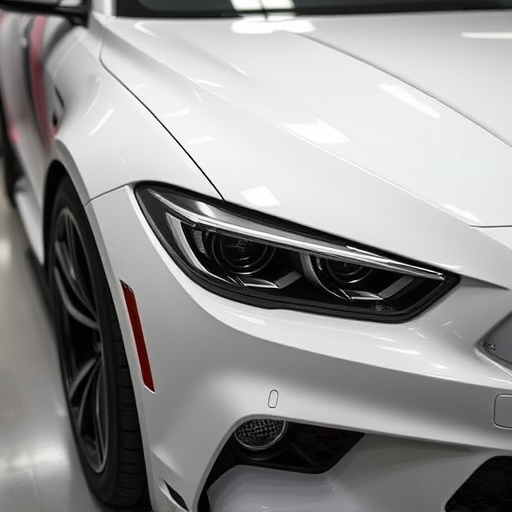
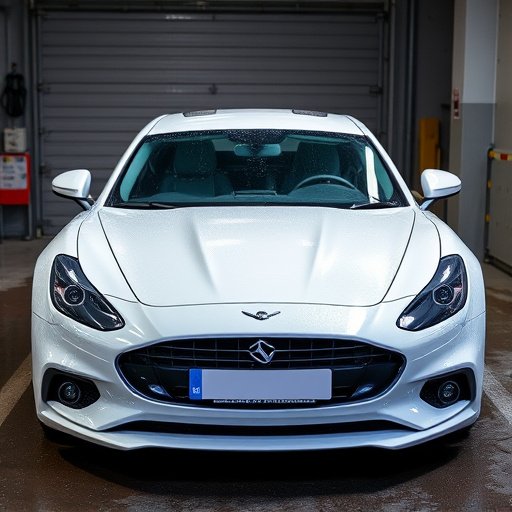
Color change wraps are a popular DIY automotive modification that offers both aesthetic and practical benefits. These wraps are designed to transform the look of a vehicle’s exterior by changing its color or adding custom designs. Unlike traditional painting, which can be costly and time-consuming, color change wraps provide a more affordable and less invasive solution. The wrap material is applied directly over the existing paint, creating a durable and long-lasting finish.
One of the key advantages of color change wraps is their versatility. They allow car owners to experiment with various colors and patterns without permanently altering the vehicle’s factory finish. Additionally, wraps can enhance privacy by reducing the transparency of windows, similar to ceramic window tinting or window tinting in general. Some advanced wraps also offer UV protection, acting as a ceramic coating that safeguards the underlying paint from harmful sunlight. This not only maintains the car’s appearance but also helps preserve its value over time.
Gather the Right Tools and Materials for DIY
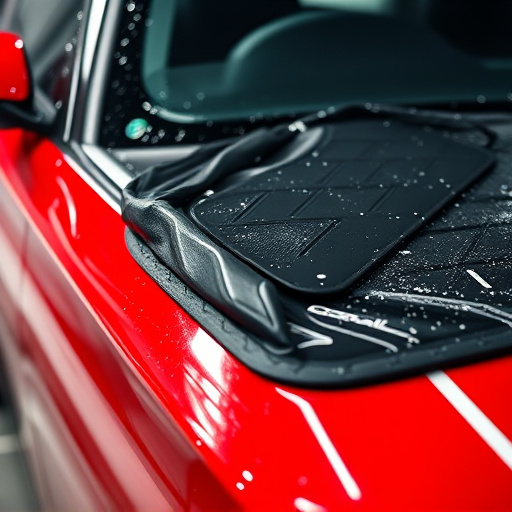
Before tackling a car’s color change wrap DIY project, it’s crucial to gather the right tools and materials. You’ll need high-quality color change wraps specifically designed for cars, which offer not just vibrant colors but also scratch protection and heat rejection properties. Additionally, prepare essential tools such as applicator knives, tape (for masking off areas you don’t want wrapped), a smooth surface cleaner, and possibly a heat gun or hair dryer for easing the wrap onto curves and tight spots. For custom graphics, consider printing your design on transfer paper to overlay on top of the wrap, ensuring a precise and clean application.
Remember that DIY color change wraps require patience and precision. Taking your time to lay out the wrap correctly and smoothing it out thoroughly will ensure a professional-looking finish. The right preparation and materials are key to achieving not just an eye-catching new car color but also preserving your vehicle’s paint job from environmental damage, enhancing its aesthetics, and showcasing your creativity through custom graphics.
Step-by-Step Guide: Applying and Installing Your Wrap
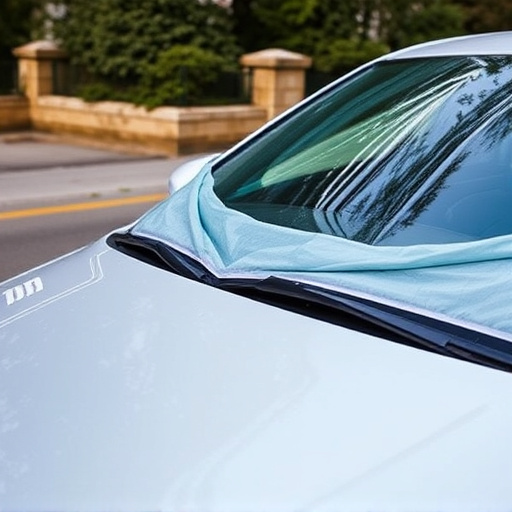
Applying a color change wrap is an art that, with the right tools and approach, can transform your car’s look successfully. Start by thoroughly washing and drying your vehicle to ensure a clean canvas for your new wrap. This initial step in the installation process is crucial for achieving a professional finish.
Next, carefully trim and cut the wrap material to match your car’s contours. Use sharp tools designed for this purpose to avoid mistakes. Once cut, apply a thin layer of adhesive to the car surface, following the manufacturer’s instructions. Carefully unroll and align the wrap, ensuring it adheres smoothly without bubbles or wrinkles. This meticulous process requires patience and precision, but the outcome—a seamless, vibrant color change—will be well worth your effort in achieving that stunning automotive detailing effect with high-quality finishes.
While DIYing a car’s color change wrap is tempting, successfully achieving a professional result requires careful preparation and adherence to each step. While it offers benefits like cost savings and customization, it’s crucial to recognize that precision and experience are key. Unless you’re confident in your skills and have the right tools, tools, and materials, consider seeking expert help for the best outcome with your color change wraps.