


Sway bar bushings are crucial for vehicle control and stability during cornering. Regular wear can impact handling and safety, so replacement is essential for better performance and safer driving. Before replacing them, ensure proper tools, a level surface, wheel blocking, and safety gear. This guide offers step-by-step instructions, emphasizing safety protocols, from parking to reassembly, and recommends professional help for significant suspension upgrades.
Are you ready to enhance your vehicle’s handling and stability? It’s time to explore the essential task of replacing sway bar bushings. This comprehensive guide will walk you through the process, ensuring a smooth and secure ride. From understanding the crucial role of sway bar bushings in your car’s suspension system to acquiring the necessary tools and safety precautions, we’ve got you covered. Let’s dive into the step-by-step installation of new bushings for optimal vehicle performance.
- Understanding Sway Bar Bushings and Their Function
- Tools and Safety Precautions for Replacement
- Step-by-Step Guide to Installing New Bushings
Understanding Sway Bar Bushings and Their Function

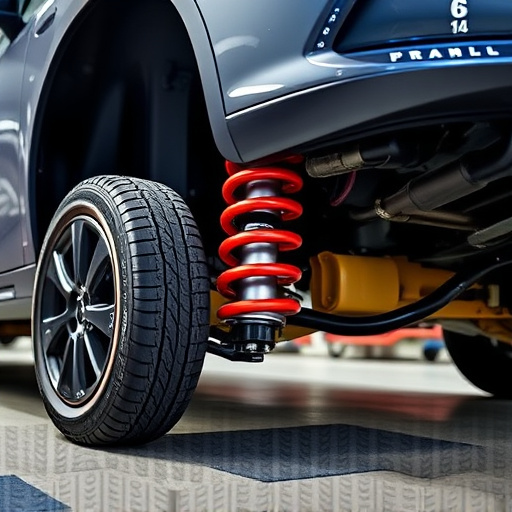
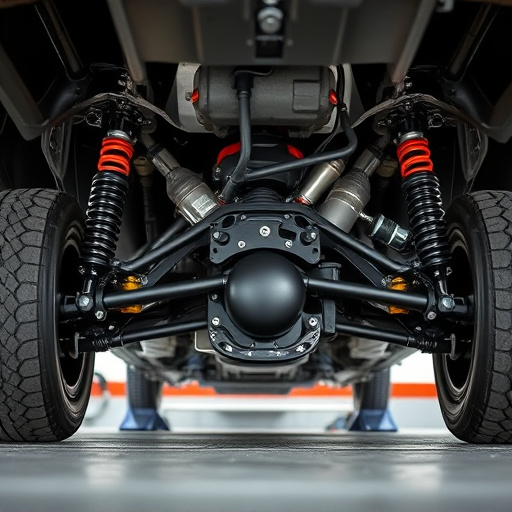
Sway bar bushings are a crucial component of your vehicle’s suspension system. They connect the sway bars to the chassis and serve as shock absorbers, allowing for smooth body roll during cornering. These bushings play a significant role in maintaining control and stability while enhancing driving dynamics. By dampening excessive movement, they contribute to better handling and reduced body lean, ensuring a more comfortable ride, especially on uneven roads.
Understanding the function of sway bar bushings is essential when preparing for their replacement. Regular wear and tear can cause these bushings to degrade over time, leading to increased play in the suspension. This, in turn, may affect the vehicle’s handling characteristics, particularly during critical maneuvers like turning or braking. In addition to maintaining optimal performance, replacing worn-out sway bar bushings can also complement other maintenance tasks such as upgrading air intake systems or ensuring proper alignment of exhaust tips, ultimately contributing to a safer and more responsive driving experience while keeping your brake pads in peak condition.
Tools and Safety Precautions for Replacement

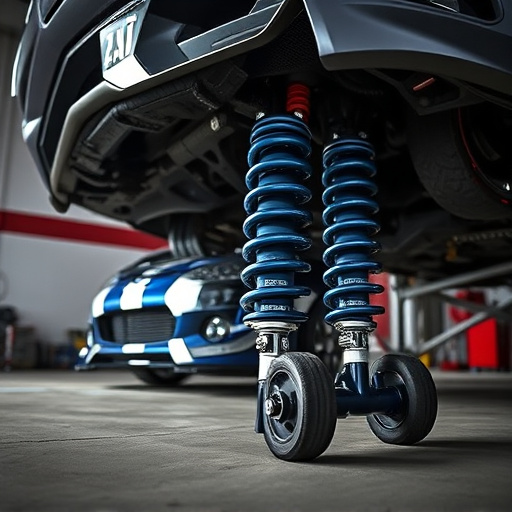
Before beginning the replacement process, gather all necessary tools to ensure a smooth and efficient job. You’ll need jack stands, a jack, socket sets with various sizes (including those suitable for your vehicle’s sway bar bolts), ratchets, wrenches, and a new set of sway bar bushings. Safety should always be a priority when working on vehicles. Make sure you park on a level surface, engage the parking brake, and block wheels to prevent any accidents or injuries. Wear appropriate protective gear, including gloves and safety glasses, to shield yourself from debris and potential hazards.
Additionally, it’s crucial to ensure that your vehicle is securely supported with jack stands before removing any parts, especially those involved in steering and suspension systems like sway bar bushings. Remember, proper tools and precautions will not only make the replacement task easier but also contribute to a safer working environment.
Step-by-Step Guide to Installing New Bushings

Step-by-Step Guide to Installing New Sway Bar Bushings
1. Safety First: Before beginning any repair work, ensure your vehicle is parked on a level surface and engage the parking brake. Place jack stands at the recommended locations for your vehicle to support it safely off the ground. Remember, safety is paramount when working under a car.
2. Remove the Old Bushings: Next, locate the sway bar end links or clamps, which are usually held in place by bolts. Remove these and carefully pull the old bushings out from the sway bar mounting points. Inspect them for damage; if they appear worn or damaged, take note as it may indicate other suspension issues.
3. Prepare New Bushings: Take the new sway bar bushings and ensure they are clean. Some kits come with grease or lubricant; apply this as per manufacturer instructions to facilitate smooth installation.
4. Install New Bushings: Align the new bushings with the sway bar and carefully push them into place. Ensure they fit snugly and securely. Reattach the end links or clamps, tightening the bolts in a star pattern for even pressure distribution.
5. Reassemble and Test: After installing the new sway bar bushings, lower your vehicle from the jack stands and tighten any loose bolts once more. Test drive your vehicle to ensure all suspension components are functioning correctly, especially during turns and at different speeds. If you’re planning a significant upgrade like coilover kits or complete suspension kits, consider consulting a professional mechanic for optimal results.
Replacing your vehicle’s sway bar bushings is an important task that can significantly enhance driving safety and stability. By understanding the crucial role of these components, you’ll be better equipped to navigate the process with ease. With the right tools, a bit of knowledge, and some safety precautions, you can successfully install new sway bar bushings and ensure your vehicle maintains optimal handling and performance on the road.