


Blow off valves (BOVs) are essential for high-performance vehicles, releasing pressure during acceleration to prevent engine damage. To replace a BOV safely, gather necessary tools and ensure proper vehicle stability. This guide outlines steps from preparation to installation, emphasizing caution and alignment for seamless integration with performance modifications.
Learning how to replace your car’s blow off valves (BOV) can be a rewarding DIY project. Blow off valves, crucial for engine performance and sound, regulate pressure release in turbocharged or supercharged engines. This guide equips you with the knowledge to tackle the task safely and effectively. From understanding BOV function to following a detailed step-by-step replacement process, you’ll gain the confidence to perform this vital maintenance without professional assistance.
- Understanding Blow Off Valves and Their Function
- Preparing for Replacement: Tools and Safety Measures
- Step-by-Step Guide to Replacing Blow Off Valves
Understanding Blow Off Valves and Their Function
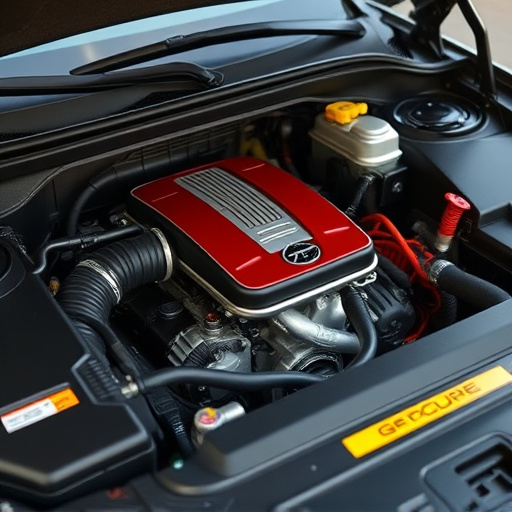
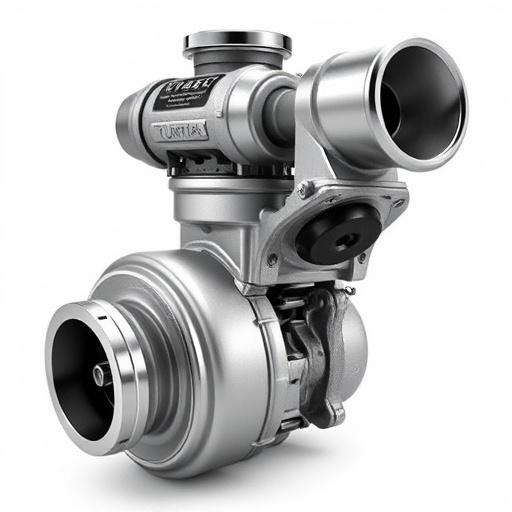
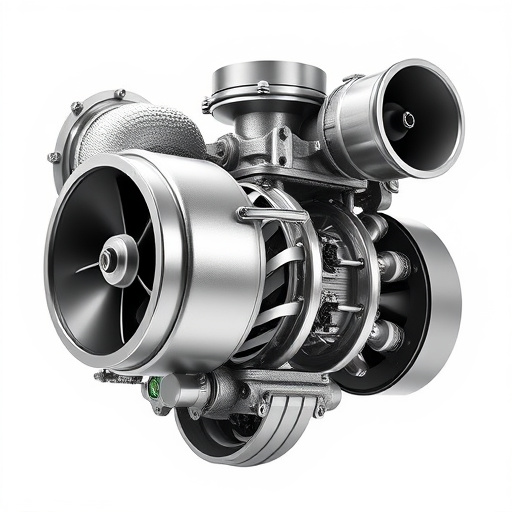
Blow off valves, often referred to as BOVs, are an integral component of high-performance vehicles’ exhaust systems. Their primary function is to provide a safe and controlled release of pressure from the engine, particularly during rapid acceleration or when the turbocharger or supercharger is spining at high speeds. By allowing a burst of air or exhaust gases to escape, these valves prevent excessive backpressure in the engine, which could potentially cause damage. This is especially crucial for vehicles equipped with forced induction systems, such as those found in many performance cars and off-road suspension kits.
Understanding how blow off valves work is key to their effective replacement. When the engine’s intake vacuum drops below a certain threshold, typically during hard acceleration, the valve opens, releasing pressure from the manifold into the atmosphere. This quick release of pressure not only protects the engine but also enhances the overall performance and sound of the vehicle, often contributing to the distinctive “blow-off” noise that enthusiasts appreciate. With proper care and regular maintenance, these valves can last for years, ensuring your high-performance exhaust system functions optimally.
Preparing for Replacement: Tools and Safety Measures
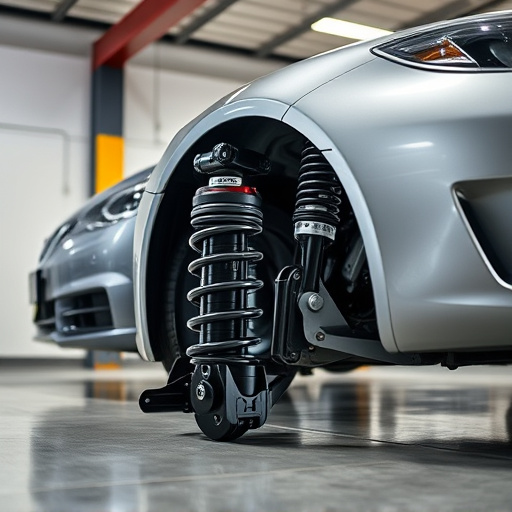
Before you begin replacing your blow off valves, it’s essential to prepare with the right tools and safety measures in place. Gather a set of high-quality replacement valves suitable for your vehicle model, along with any necessary gaskets or seals. A jack, jack stands, and wheel chocks are crucial for safely lifting and supporting your car. Don’t forget protective gear, including gloves, eye protection, and long pants to avoid injuries from debris or tools. Ensure good lighting in the workspace for optimal visibility. Familiarize yourself with the vehicle’s exhaust system, specifically around the blow off valves, before you start. This knowledge will help you navigate any intricate connections between the valves, exhaust mufflers, and other components.
Remember, working on your car requires caution. Make sure to park on a level surface, engage the parking brake, and chock the wheels to prevent unexpected movement. Understanding the basics of automotive systems is beneficial, but if you’re unsure about any step, consult a guide or seek advice from an experienced mechanic. Safety should always be your priority when conducting car maintenance tasks like replacing blow off valves.
Step-by-Step Guide to Replacing Blow Off Valves
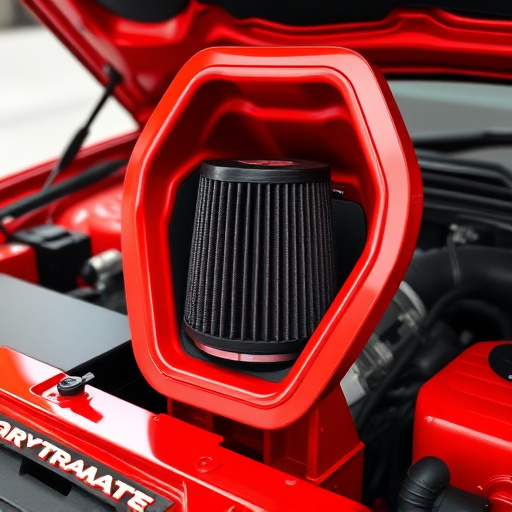
Replacing your car’s blow off valves (BOVs) can be a straightforward process if approached with caution and the right tools. Here’s a step-by-step guide to help you navigate this task independently. Begin by locating the BOV, typically found near the intake manifold or cylinder head. This involves identifying the specific components within your engine bay, which may require consulting your vehicle’s service manual for precise reference points. Once located, disconnect any electrical connectors and vacuum lines associated with the old valve to ensure safe removal.
Next, using a socket wrench or similar tool, loosen and remove the mounting bolts securing the BOV in place. Take note of how these components are attached, as reinstallation will require a similar approach. With the valve freed, carefully extract it from its housing. Inspect the area for any debris or signs of damage. Clean the housing thoroughly to ensure optimal performance with your new BOV. After preparing the space, install the replacement valve, tightening the bolts securely but with caution to avoid over-tightening. Reconnect all electrical and vacuum connections before testing the system. This includes ensuring proper alignment of sensors and wires for seamless operation alongside your existing performance air filters, coilover kits, or suspension components.
Replacing your car’s blow off valves can be a do-it-yourself project with the right preparation and understanding. By grasping the fundamental role of these components in engine performance and safety, and following a structured approach outlined in this guide, you can confidently tackle this task without professional assistance. Remember to prioritize safety and utilize proper tools for a successful replacement. Now, armed with knowledge, take control of your vehicle’s maintenance and keep your engine running smoothly.