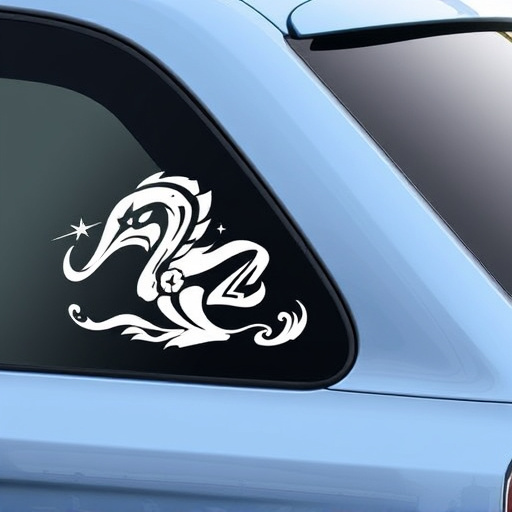


Prepare car surface with wash and inspect for imperfections. Consider vehicle wrap for protection. Clean surface with soap or adhesive remover. Apply decal starting from a corner, avoiding force. Pop out air bubbles with plastic card and smooth creases. Heat to remove bubbles after setting. Use touch-up materials or PPF for misalignments. Apply protective coatings for durability in vehicle decal installation.
After installing vehicle decals, wrinkles can mar their crispness. This guide helps you fix those unsightly creases and achieve a flawless finish. We cover three crucial steps: preparing your car surface before application, correctly applying and smoothing the decal for minimal wrinkles, and removing air bubbles and making final touches. Follow these tips to ensure your vehicle decals look vibrant and professional after installation.
- Prepare Your Car Surface Before Application
- Correctly Apply and Smooth Decal for Minimal Wrinkles
- Remove Air Bubbles and Adjust For Final Touches
Prepare Your Car Surface Before Application
Before applying any vehicle decals or wraps, it’s crucial to prepare your car’s surface properly. This step is often overlooked but can significantly impact the final result and longevity of your custom graphics. Start by washing and drying your car thoroughly to remove any dirt, dust, or debris that could compromise the adhesion of the decal. Next, inspect the surface for any imperfections like scratches, dents, or existing wraps. Minor scratches can usually be buffed out with a dedicated compound and polish, ensuring a smooth base for your new vehicle decal installation.
For an extra layer of protection and to enhance the look of your custom graphics, consider using a high-quality vehicle wrap. This not only adds a glossy finish but also provides scratch resistance and UV protection. A well-prepared surface will make the installation process smoother and ensure that your decals remain intact and vibrant for longer periods, showcasing your design with pride.
Correctly Apply and Smooth Decal for Minimal Wrinkles
When installing vehicle decals, proper application and smoothing techniques are key to minimizing wrinkles and achieving a professional look. Before applying the decal, ensure the surface is clean, dry, and free from any contaminants. Use a soft cloth or sponge to apply a thin layer of water-based soap or adhesive remover to prepare the paintwork. This step helps in achieving better adhesion and prevents bubbles or creases.
While placing the decal, start from one corner and work your way across the surface, using a smooth, even pressure. Avoid pulling or pushing too hard, which can cause wrinkles or damage the decal material. Use a plastic card or spatula to gently remove any air bubbles that get trapped under the film. Once the decal is in place, use a clean microfiber cloth to smoothly rub out any remaining wrinkles or marks, ensuring the high-quality finishes of your vehicle are intact and protected with paint protection film, should you choose to apply it afterwards.
Remove Air Bubbles and Adjust For Final Touches
After allowing the vehicle decal to set for a few hours, it’s time to inspect your work and make any necessary adjustments. One common issue to look out for is air bubbles, which can appear as small pockets or bumps under the decal material. To remove these, gently heat the affected area with a heat gun or hair dryer, allowing the air to escape. Be cautious not to overheat, as this could damage the vehicle’s paintwork. As you work on smoothing out the bubbles, pay close attention to the edges of the decal to ensure they are properly adhered and aligned.
This fine-tuning stage is also an opportunity to assess your overall installation for any minor imperfections or misalignments. Minor scratches or gaps can be addressed with touch-up materials designed for vehicle decals, offering a seamless finish once applied. For more extensive issues, consider the benefits of professional PPF (Paint Protection Film) installation, which provides superior scratch protection and enhances the vehicle’s appearance. Applying protective coatings can also reinforce the decal’s durability against environmental factors.
After meticulously preparing your car surface, correctly applying and smoothing your vehicle decal, and addressing any air bubbles, you’ve taken significant steps towards a professional-looking vehicle decal installation. With final touches in place, your car is now adorned with a crisp, wrinkle-free decal that enhances its overall aesthetics. Remember, proper preparation and attention to detail are key to achieving a flawless result.