


Swirl marks on car finishes are addressed through understanding their causes (environmental factors, improper washing, bird droppings), identifying sources, and using suitable methods like gentle washing with specialized car care products. Effective swirl mark removal requires specific tools (microfiber cloth, remover/compound, water bucket) and safety precautions. Surface preparation involves careful washing, drying, and assessing scratch severity for choosing the right compound and polish system. Following manufacturer guidelines and exercising patience ensures a professional finish that preserves vehicle wraps and details.
Looking to rid your surface of annoying swirl marks? This comprehensive guide provides a detailed step-by-step process for effective swirl mark removal. First, we’ll explore the causes behind these unsightly marks and understand why they occur. Then, we’ll equip you with the essential tools and materials needed for successful removal. Learn how to prepare your surface optimally, ensuring swift and lasting results in our easy-to-follow tutorial focused exclusively on swirl mark removal.
- Understanding Swirl Marks and Their Causes
- Gathering the Necessary Tools and Materials
- Step-by-Step Guide to Effective Swirl Mark Removal
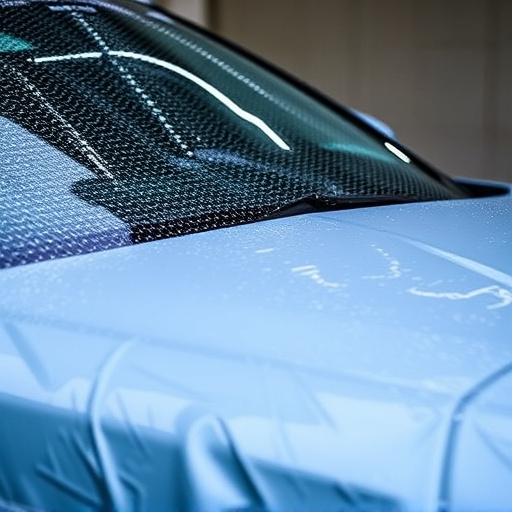
Understanding Swirl Marks and Their Causes
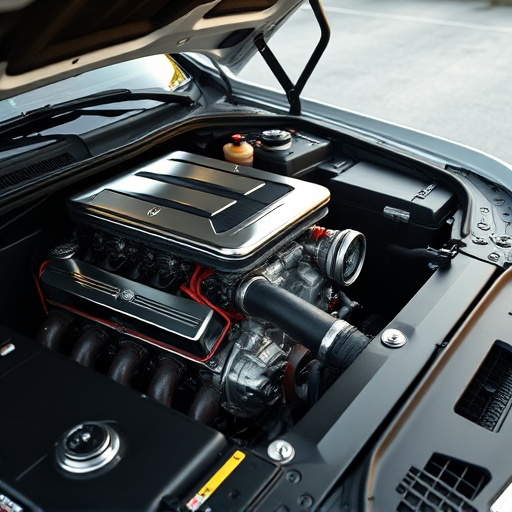
Swirl marks, also known as scratch-like patterns, are a common issue that can affect any vehicle’s finish. They are caused by various factors, often related to the surface’s exposure to environmental elements and poor cleaning or storage practices. One of the main culprits is improper washing techniques, such as using hard brushes or aggressive detergents, which can lead to these microscopic marring. Additionally, bird droppings, tree sap, and other residue left unattended can cause swirl marks over time.
Understanding how these marks form is crucial for effective swirl mark removal. The key lies in identifying the source of damage and employing suitable methods to rectify it. For instance, gentle washing with specialized car care products and microfiber towels can help prevent further swirling. Moreover, proper vehicle protection measures like wax or sealant application create a barrier between the paint and potential contaminants, thus minimizing the risk of swirl mark formation and enhancing the overall look of custom graphics or other intricate designs on premium automotive services.
Gathering the Necessary Tools and Materials
To tackle swirl mark removal effectively, you’ll need a few key tools and materials. Start by gathering a high-quality microfiber cloth, which is essential for gentle yet effective cleaning. Next, invest in a suitable swirl mark remover or compound, designed to break down and eliminate these stubborn imperfections. For best results, opt for products specifically formulated for paint correction, as they offer the right balance of strength and safety. Additionally, prepare a bucket filled with clean water to rinse your tools and surface regularly throughout the process.
Don’t forget the importance of proper protection. Wear gloves to safeguard your hands and ensure you have adequate ventilation in the work area. If planning to apply a vehicle wrap or professional PPF installation afterward, ensure your surface is thoroughly cleaned and free from any residue to achieve a flawless finish.
Step-by-Step Guide to Effective Swirl Mark Removal
Preparing a surface for swirl mark removal involves several meticulous steps to ensure optimal results and protect your vehicle’s high-quality finishes. Start by thoroughly washing and drying the affected area, removing any dirt or debris that could hinder the process. This initial step is crucial as it allows for a clean canvas upon which you can focus on correcting the swirl marks.
Next, assess the severity of the swirl marks. For shallow swirls, a simple compound and polish system will suffice to achieve a smooth, reflective surface. However, for deeper scratches, consider using a more robust cutting compound followed by finer abrasives to restore the vinyl wraps or custom vehicle wraps to their original condition. Always follow the manufacturer’s guidelines when using any removal products, and remember that patience is key to achieving a professional-looking finish that highlights your vehicle’s exquisite details and ensures its longevity.
Preparing a surface for swirl mark removal involves understanding the cause, gathering the right tools, and following a systematic approach. By addressing these steps, you can effectively eliminate swirl marks and restore your surface to its original condition. Remember, proper preparation is key to achieving the best results in swirl mark removal.