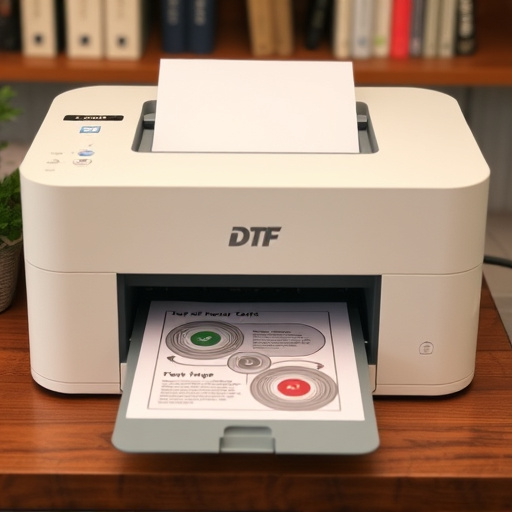


Racing stripes enhance vehicle aesthetics, offering various types suitable for different users and skill levels. Adhesive vinyl stripes are easy to apply while paint-on stripes provide a seamless look but require more skill. Choosing the right type based on make and model is crucial for compatibility. Installation ranges from DIY kits to complex processes, with professional services like PPF, window tinting, and protective coatings complementing application. To successfully install racing stripes yourself, gather essential tools, clean the car's surface, use a paint correction kit if needed, and follow proper application techniques, including heat activation and smoothing.
Are you a car enthusiast looking to enhance your vehicle’s look without breaking the bank? Installing racing stripes can be a DIY project! This comprehensive guide will walk you through the process, from understanding different stripe types and their compatibility with your car model, to gathering the necessary tools and materials. By following our step-by-step instructions, you’ll learn how to apply racing stripes yourself, achieving a professional finish without professional help.
- Understanding Racing Stripes: Types and Compatibility
- The Tools and Materials Required for Installation
- Step-by-Step Guide: Applying Racing Stripes Yourself
Understanding Racing Stripes: Types and Compatibility
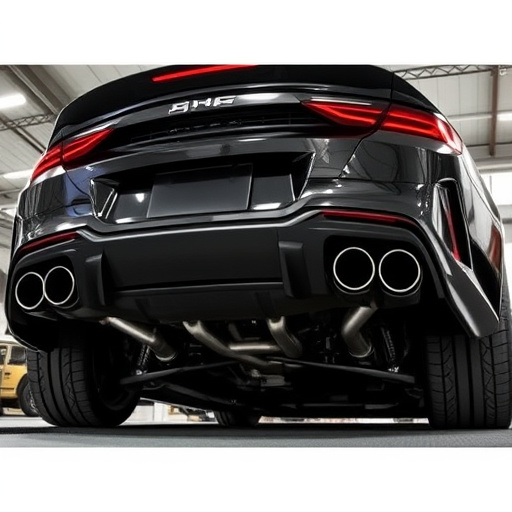
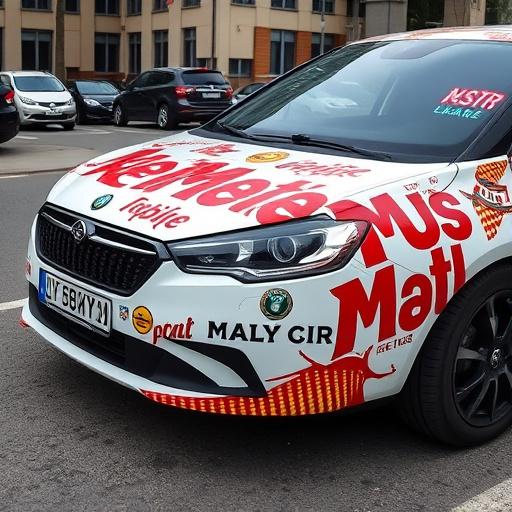
Racing stripes are a popular way to enhance the look of a vehicle, adding both style and performance appeal. Understanding what they are and how they work is essential before tackling their installation yourself. Racing stripes come in various types, each serving a specific purpose. Adhesive vinyl stripes are common due to their ease of application; these can be cut to fit different car models and often offer a range of colors and designs. For more advanced enthusiasts, there are paint-on stripes that create a seamless look but require skill and precision for a professional finish.
When considering racing stripe installation, it’s crucial to match the type with your vehicle’s make and model. In terms of compatibility, not all stripes are universal; they need to fit seamlessly along the car’s curves and edges. While some kits come with detailed instructions, others may require knowledge of automotive detailing or body work. As for professional PPF installation (Paint Protection Film), window tinting, and protective coatings, these can enhance your vehicle’s aesthetics and protection but are typically separate considerations from racing stripe application, though they often go hand in hand in achieving a high-quality finish.
The Tools and Materials Required for Installation
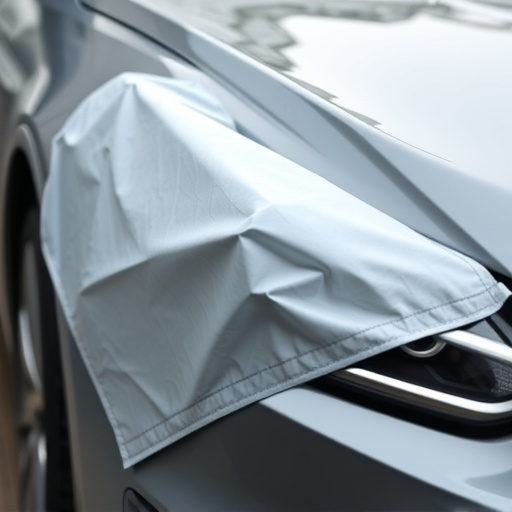
Installing racing stripes yourself can be a rewarding project for car enthusiasts looking to enhance their vehicle’s appearance. Before you begin, there are several tools and materials you’ll need to gather. For a successful installation, you’ll require specific items such as high-quality racing stripe kits, which typically include pre-cut strips, adhesive, and sometimes application tools like rollers or brushes. Additionally, a set of protective gear, including gloves and safety glasses, is essential for your safety during the process.
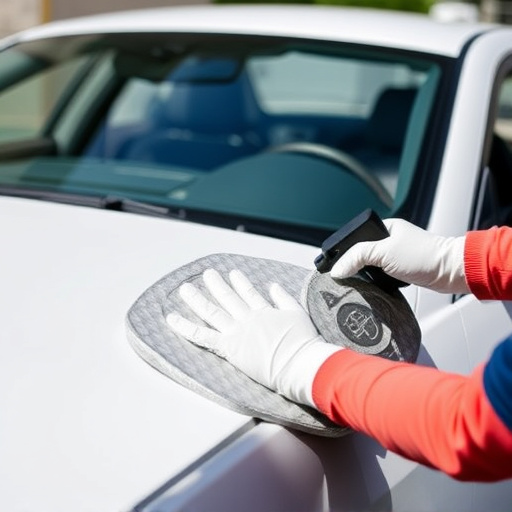
A crucial aspect of the preparation phase is ensuring your car’s surface is clean and free from debris. This step involves washing and decontaminating the paintwork to achieve a smooth base. You might also consider using a paint correction kit to remove minor scratches or imperfections, as having a pristine surface will ensure the stripes adhere properly. Other helpful tools could include a roller for even adhesive application and a fine-toothed sponge for cleaning up any mistakes. With the right supplies, you’re well on your way to achieving professional-looking racing stripes without needing premium automotive services.
Step-by-Step Guide: Applying Racing Stripes Yourself

Applying racing stripes yourself can be a rewarding DIY project for car enthusiasts. Before you begin, gather all the necessary materials including high-quality vinyl racing stripes, a heat gun or hair dryer, a roller or brush, and a clean, dust-free surface. Start by cleaning your vehicle thoroughly to ensure optimal adhesion. Remove any existing wax or ceramic coating with a suitable solvent to prepare the paintwork.
Next, lay out the racing stripes, aligning them carefully with your car’s contour. Use a straight edge or tape to guide the placement. Once positioned, secure the stripes with masking tape to keep them in place. Apply heat from the heat gun or hair dryer along the length of each stripe to activate the adhesive backing. Gently peel back one end of the stripe while applying pressure, then smooth it out firmly against the car’s surface. Repeat this process for each stripe, ensuring they are laid flat and smoothly. After installation, allow the stripes to cool down completely before adding a protective layer like UV protection or ceramic coating for enhanced durability and extra shine.
While it’s possible to install racing stripes yourself, it requires careful planning, the right tools, and a steady hand. If you’re not comfortable with DIY projects or lack experience with vehicle modifications, considering professional assistance might be the safer bet for ensuring a clean, durable application. Either way, understanding your car’s compatibility and choosing the right stripe type is key to achieving a stylish and effective look.