


Brake caliper rebuild kits offer a cost-effective way to improve vehicle braking performance. These kits include parts, tools, and instructions for repairing and reassembling calipers, enhancing stopping power and modulation. After installation, proper bleeding of the brakes is essential for optimal results. Common mistakes in rebuilding calipers include inadequate lubrication, improper cleaning, low-quality components, or incorrect torque, which can compromise safety. Following manufacturer guidelines ensures reliable and safe braking.
After successfully installing your brake caliper rebuild kit, it’s crucial to properly bleed your brakes for optimal performance and safety. This guide provides a comprehensive step-by-step process to ensure a successful bleeding procedure, utilizing brake caliper rebuild kits effectively. We’ll also highlight common mistakes to avoid, offering valuable insights to help you navigate this essential maintenance task with confidence.
- Understanding Brake Caliper Rebuild Kits: A Comprehensive Guide
- Step-by-Step Process for Successful Bleed After Caliper Rebuild
- Common Mistakes to Avoid During and After Brake Caliper Rebuilding
Understanding Brake Caliper Rebuild Kits: A Comprehensive Guide
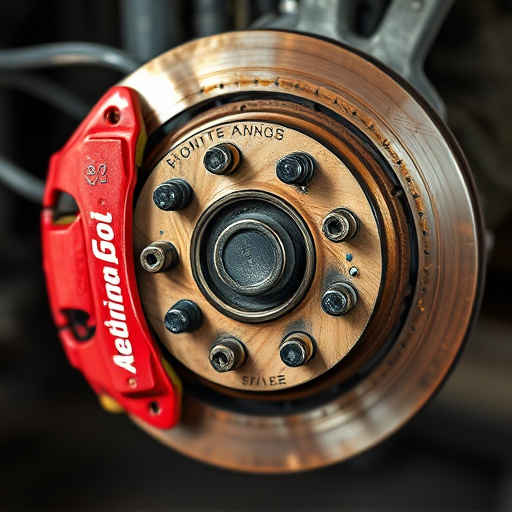
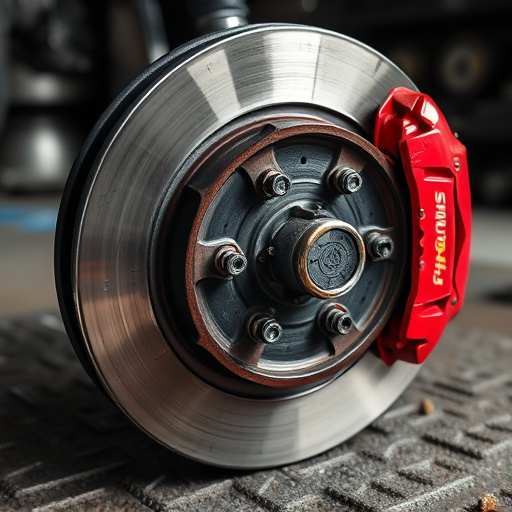
Brake caliper rebuild kits are a cost-effective solution for those looking to enhance their vehicle’s braking performance without breaking the bank. These kits include all the necessary components to disassemble, repair, and reassemble your car’s brake calipers, ensuring they function at peak efficiency. The process involves replacing worn-out parts like piston seals, pads, and hardware, which can significantly improve stopping power and modulation.
Understanding how these kits work is crucial for a successful rebuild. Most kits come with detailed instructions and all the needed tools to guide you through the disassembly and reassembly process. In contrast to buying new calipers, which can be expensive, rebuilding offers a more sustainable option, extending the life of your existing hardware while upgrading its performance. This DIY approach is popular among car enthusiasts who want to optimize their vehicle’s dynamics, often in conjunction with other upgrades like coilover kits or high-performance brakes, ultimately enhancing both safety and driving pleasure.
Step-by-Step Process for Successful Bleed After Caliper Rebuild
After successfully installing your brake caliper rebuild kits, the next crucial step is to bleed the brakes effectively. This process ensures that any trapped air in the system is removed, allowing for optimal braking performance. Here’s a straightforward, step-by-step guide for a hassle-free bleeding experience.
Start by ensuring all components are correctly assembled and secured. Next, locate the bleeder screw on each caliper—usually at the top or bottom. Gather your tools: a brake bleed kit, including a bleeder screw wrench or pliers, and a container to catch any residual fluid. Loosen the bleeder screw slightly, just enough for a few drops of liquid to emerge. This step helps purge the air bubbles from the line. Once the initial flow stops, fully tighten the screw. Now, slowly open the bleed valve on your brake fluid reservoir, allowing fluid to flow through each caliper one by one. Keep an eye on the level in your container; you might need to top up with fresh brake fluid if it gets low. Continue this process until no air bubbles are seen rising to the surface of the liquid. Repeat for each wheel, ensuring a thorough bleed across the entire system, especially after installing new components like cold air intakes or exhaust systems that can introduce air into the lines.
Common Mistakes to Avoid During and After Brake Caliper Rebuilding
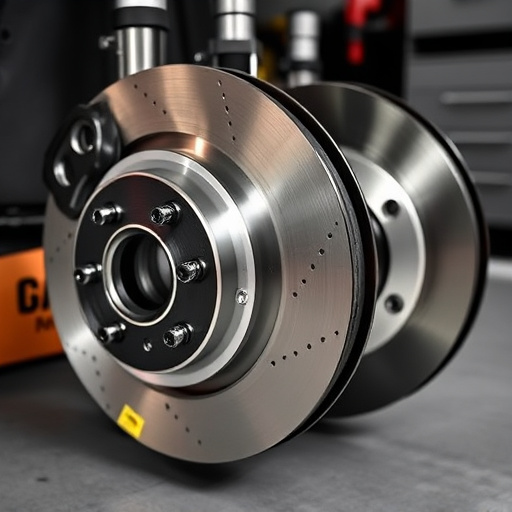
During and after rebuilding your brake calipers, there are several common mistakes that can lead to suboptimal results or even safety hazards. One of the most frequent errors is overlooking the importance of proper lubrication. Insufficient or incorrect lubrication can cause rust and debris buildup, affecting braking performance. Always use the recommended lubricants as per the manufacturer’s guidelines for your specific brake caliper rebuild kits.
Another mistake to avoid is not thoroughly cleaning the brake components before reassembly. Dirt, grease, and old brake pads can contaminate the system, leading to reduced efficiency and increased wear. Ensure that all parts are clean and free from debris. Additionally, using low-quality or incompatible brake components or neglecting to torque fasteners correctly can compromise the integrity of your newly rebuilt calipers. Remember, attention to detail is crucial for reliable and safe braking after a brake caliper rebuild.
After successfully rebuilding your brake calipers using dedicated kits, proper bleeding is crucial for safe and effective braking. By following the step-by-step guide provided and avoiding common mistakes, you ensure your brakes operate at peak performance, enhancing both driving safety and vehicle control. Remember, a meticulous approach to brake caliper rebuilding and subsequent bleeding pays off in the long run, ensuring peace of mind on the road. For anyone considering a DIY brake caliper rebuild, this comprehensive article serves as an invaluable resource.