


A resonator delete is a car modification that removes a noise-reducing component in the exhaust system, potentially improving engine sound and gas flow but may affect vehicle dynamics. Before attempting this, thoroughly research your vehicle's exhaust layout, locate and assess the resonator, gather necessary tools, and inspect related components for compatibility and good condition. A resonator delete kit installation guide includes checking parts compatibility, disassembling, replacing the resonator with a performance air filter, modifying the air intake system, and making final adjustments to ensure stability.
“Enhance your vehicle’s performance with a resonator delete—a popular modification among car enthusiasts. This guide will walk you through the process, from understanding the resonator’s role in your exhaust system to installing a resonator delete kit. Learn how this simple tweak can reduce backpressure, improve engine sound, and boost overall power. By following these steps, you’ll be able to make informed decisions and successfully perform a resonator delete on your own vehicle.”
- Understanding the Resonator and Its Function
- Preparing for a Resonator Delete Mod
- Step-by-Step Guide to Installing a Resonator Delete Kit
Understanding the Resonator and Its Function
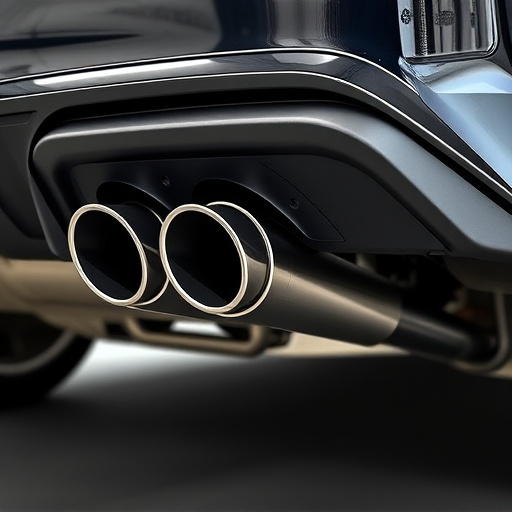
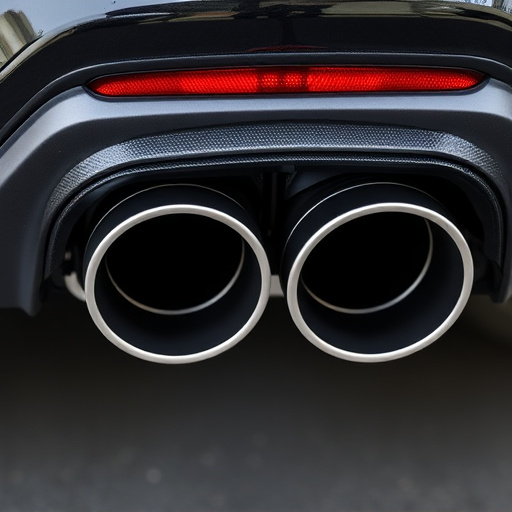
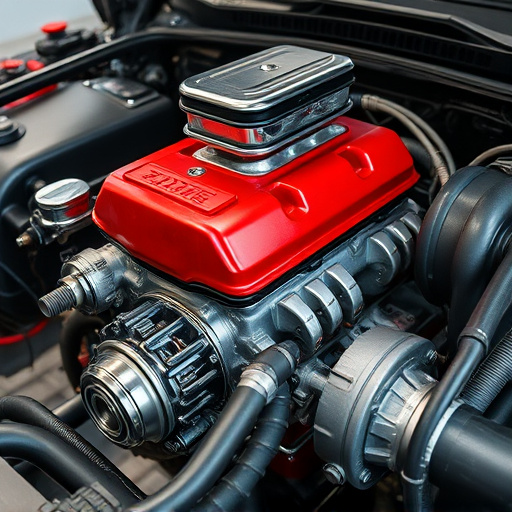
The resonator is a component within your vehicle’s exhaust system designed to reduce noise and vibrations that occur during engine operation. Situated between the muffler and the exhaust pipe, it acts as a sort of filter for sound waves, minimizing the low-frequency rumble often associated with internal combustion engines. A resonator delete involves removing this part, which can lead to several changes in your vehicle’s performance and sound profile.
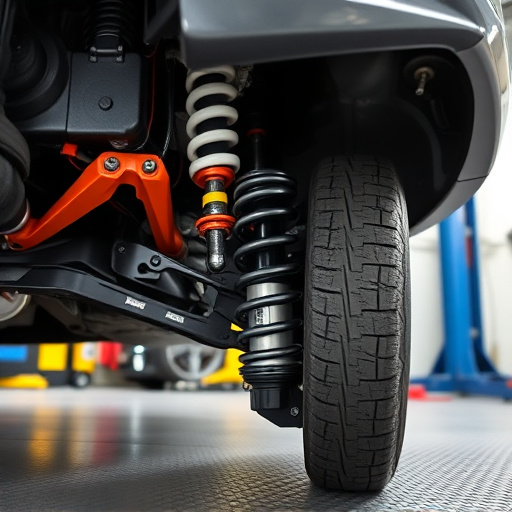
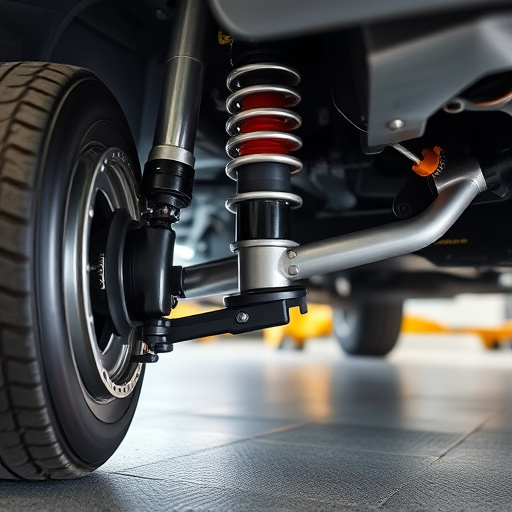
While its primary function is noise reduction, the resonator also plays a minor role in optimizing gas flow within the exhaust system. Removing it can potentially enhance engine sound, making it more audible and aggressive—a desired effect for many car enthusiasts who seek an improved driving experience. Additionally, this modification may complement other upgrades like air filter kits and performance exhaust, enhancing overall vehicle performance and the driver’s connection to the road, as well as affecting the suspension components due to altered dynamics.
Preparing for a Resonator Delete Mod
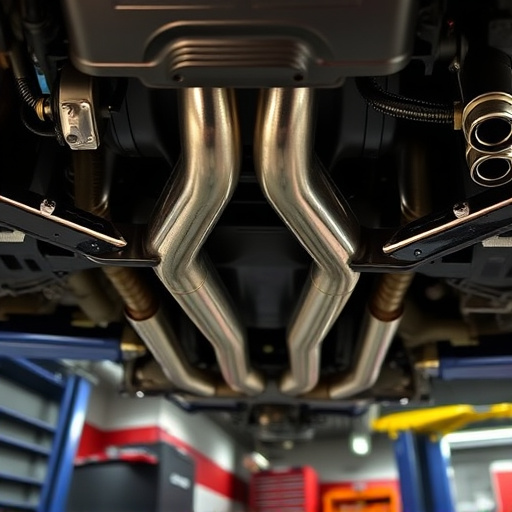
Before diving into a resonator delete modification on your vehicle, it’s crucial to prepare and gather all necessary tools and parts. This process involves removing a component from your car’s exhaust system, which can impact overall performance and sound. Begin by consulting your vehicle’s service manual or an online guide specific to your make and model to understand the layout of your exhaust system. Identify the resonator, usually located between the catalytic converter and muffler, and assess its condition. Make sure to have a replacement resonator on hand that is compatible with your vehicle.
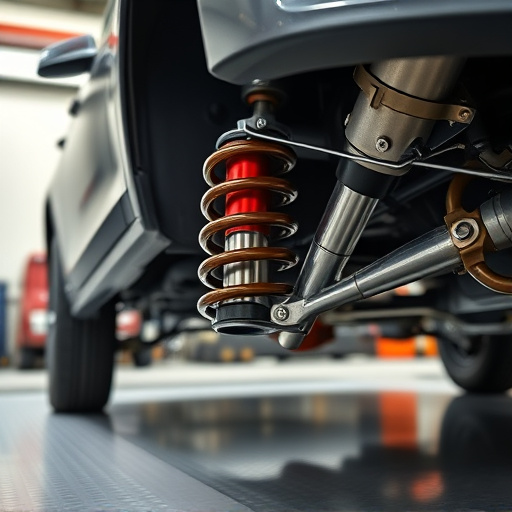
Additionally, ensure you have the right tools for the job, including jack stands, socket sets, wrenches, and safety gear like gloves and eye protection. Consider disassembling and inspecting related components, such as brake rotors and air intake systems, to ensure they are in good condition and won’t interfere with your modifications. Proper preparation will make the resonator delete process smoother and safer, allowing you to focus on achieving the desired results without unexpected complications.
Step-by-Step Guide to Installing a Resonator Delete Kit

Performing a resonator delete is a popular modification among car enthusiasts looking to enhance their vehicle’s performance and sound. Here’s a step-by-step guide to installing a resonator delete kit, which can be done with the right tools and some basic automotive knowledge.
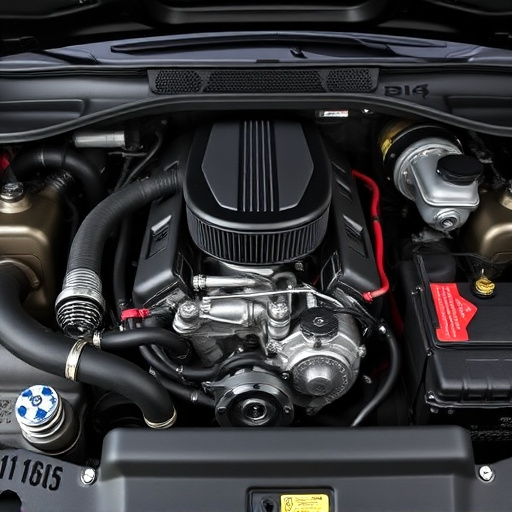
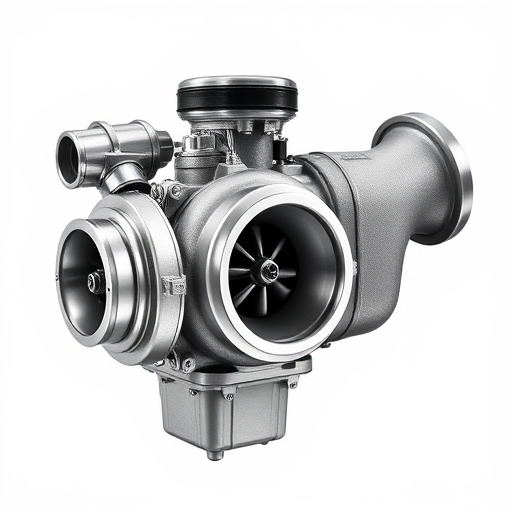
First, gather all the necessary components of your resonator delete kit, including the replacement parts specifically designed to fit your vehicle model. Ensure compatibility by checking the instructions or consulting your vehicle’s manual. Next, locate the resonator in your exhaust system, typically near the engine bay. Disconnect any electrical connections and vacuum lines associated with the resonator to prevent interference during the installation process. With the old resonator removed, install the new performance air filter, ensuring it seals tightly for optimal airflow. Attach the modified air intake systems according to the kit’s instructions, enhancing airflow directly to the engine. Finally, secure the suspension kits if required, aligning them correctly to maintain stability and handling.
Performing a resonator delete on your vehicle can enhance both its sound and performance. By removing the resonator, you reduce backpressure in the exhaust system, allowing for smoother gas flow and potentially increasing horsepower. However, be aware that this modification may also result in a louder exhaust note, so ensure it aligns with your preferences and local noise regulations. With proper preparation and the right tools, a resonator delete can be a straightforward DIY project that offers significant benefits to your vehicle’s sound and dynamics.