


Boost controllers are key tools for DIY enthusiasts seeking to enhance vehicle performance, especially after exhaust system modifications. They regulate compressed air into the engine, boosting power and torque, and offer improved throttle response, increased top speed, and customizable performance. Installation requires proper preparation, safety measures, and understanding of the controller's role in exhaust systems. Following manufacturer instructions for wiring and grounding ensures a safe and successful installation, which can be complemented by high-performance air filters and suspension upgrades for optimal results.
Looking to upgrade your vehicle’s performance? Boost controllers are a game-changer for DIY enthusiasts, offering precise control over turbocharger output. This article equips you with everything you need to know about installing a boost controller, from understanding its basics and benefits to crucial preparation tips and a detailed step-by-step guide. Master the art of optimizing engine power safely and effectively with these expert insights.
- Understanding Boost Controllers: Basics and Benefits
- Preparation and Safety Measures for Installation
- Step-by-Step Guide to Installing a Boost Controller
Understanding Boost Controllers: Basics and Benefits
Boost controllers are a crucial component for DIY enthusiasts looking to enhance their vehicle’s performance, especially when modifying exhaust systems or installing cat-back exhausts. They act as a regulatory valve, controlling the amount of compressed air entering the engine, thereby boosting power and torque. This simple yet powerful tool offers several advantages, including improved throttle response, increased top end speed, and enhanced overall vehicle performance.
For DIY enthusiasts, understanding boost controllers is key to unlocking the full potential of their modified vehicles. By regulating boost levels, they can tailor the car’s performance to their preferences, whether it’s for daily driving or track days. This customization, coupled with advancements in technology, allows for precise control over exhaust systems and cat-back exhaust modifications, ultimately leading to a more satisfying and responsive driving experience.
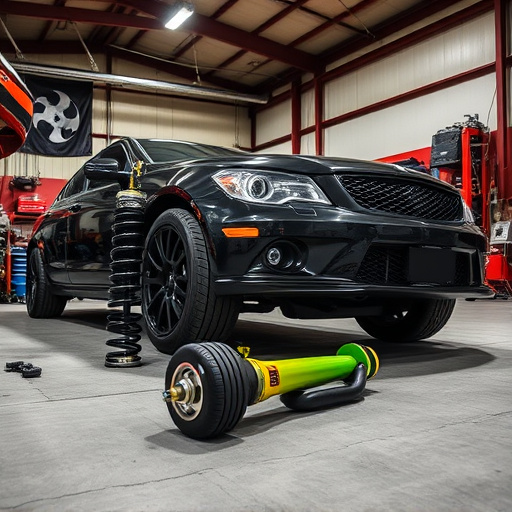
Preparation and Safety Measures for Installation
Before tackling any DIY project, especially one involving automotive components, proper preparation and safety precautions are paramount. When installing a boost controller, also known as a turbocharger or supercharger, it’s crucial to understand that this process can significantly impact your vehicle’s performance exhaust system and overall vehicle performance. Begin by gathering all necessary tools and ensuring the work area is clean and well-lit. Put on protective gear, including gloves, safety goggles, and hearing protection, as many boost controller installation procedures involve handling small parts and using power tools.
Additionally, check that your vehicle’s battery is fully charged to prevent any issues during the installation process. Disconnecting the negative terminal first, follow manufacturer guidelines for wiring connections, being mindful of proper grounding techniques. Safety should be at the forefront of your mind, especially when dealing with high-pressure systems and potential leaks. Ensure you have a good understanding of the boost controller’s role in enhancing exhaust systems and the associated risks if not installed correctly.
Step-by-Step Guide to Installing a Boost Controller

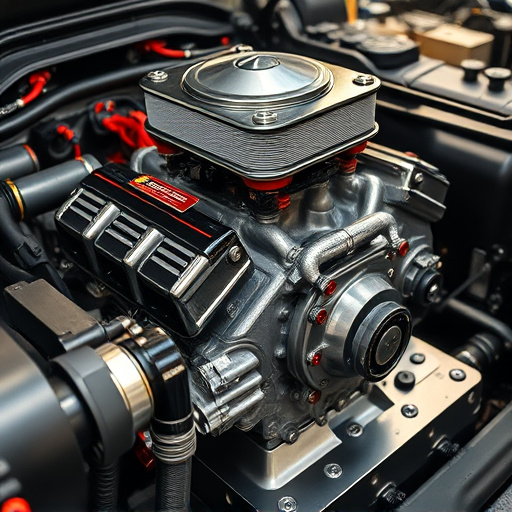
Installing a boost controller is a great way to enhance your vehicle’s performance and fine-tune its engine power. Here’s a straightforward guide for DIY enthusiasts looking to take on this task. Begin by locating the boost controller module, typically found near the engine bay. Ensure all connections from the old setup are carefully removed, especially those related to the turbocharger or supercharger.
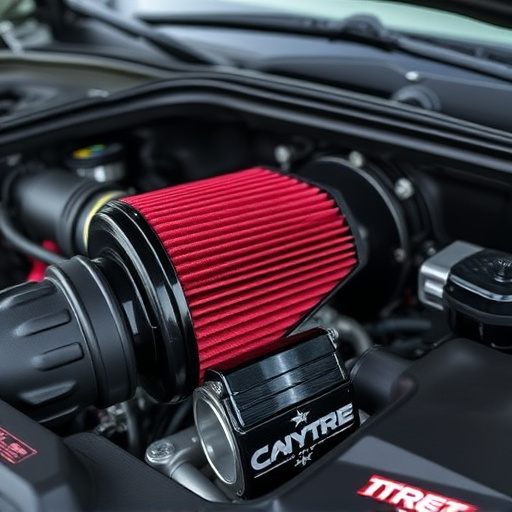
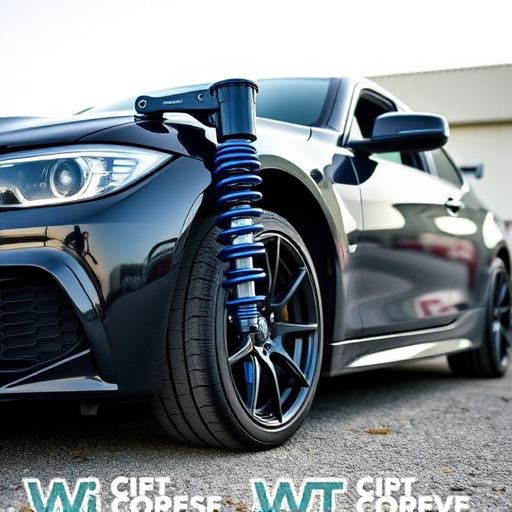
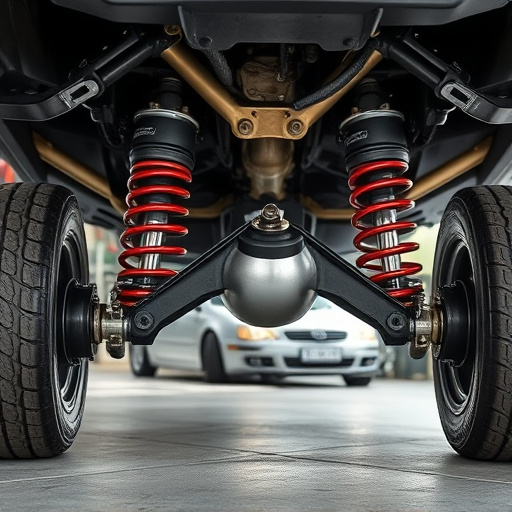
Next, mount the new boost controller securely in an accessible location. Connect the input sensors to the appropriate ports, usually linked to the vehicle’s manifold absolute pressure (MAP) sensor and temperature gauge. Attach the output wires to the turbocharger or supercharger according to the manufacturer’s instructions. For best results, consider pairing your boost controller with high-quality performance air filters and suspension kits for a holistic improvement in vehicle performance.
For DIY enthusiasts looking to enhance their vehicle’s performance, installing a boost controller is a game-changer. By understanding the basics and benefits of boost controllers, and following the step-by-step installation guide with safety precautions in mind, you can unlock your engine’s potential. With these expert tips, navigating the process becomes straightforward, allowing you to enjoy a smoother, more powerful driving experience – all thanks to your newly installed boost controller!