


DTF (Direct to Film) T-shirt printing delivers high-quality designs on various fabrics using heat press machines, requiring specific file formats (SVG, PNG, JPEG), resolutions (300 DPI or higher), and color modes (CMYK). Preprocessing involves saving designs at high DPI in vector formats like SVG or EPS to ensure crispness across sizes. For accurate printing, artwork should cover the entire design area with no white spaces, and custom heat pressing sheets can enhance quality. Finalizing an order includes setting print settings, preparing designs with bleeding areas, and saving files in PDF or PNG formats for error-free uploads to the printer's platform.
Are you ready to dive into the world of DTF (Direct to Fabric) T-shirt printing? This innovative technique offers vibrant, long-lasting designs on a variety of fabrics. To ensure optimal results, proper file preparation is crucial. From understanding the specific file requirements to preprocessing your design for maximum clarity and resolution, this guide will equip you with the knowledge needed to seamlessly manage DTF T-shirt printing orders. Let’s get started!
- Understanding DTF T-Shirt Printing and File Requirements
- Preprocessing Your Design Files for Optimal Results
- Finalizing and Sending Your Order: A Step-by-Step Guide
Understanding DTF T-Shirt Printing and File Requirements
Understanding DTF T-Shirt Printing and File Requirements
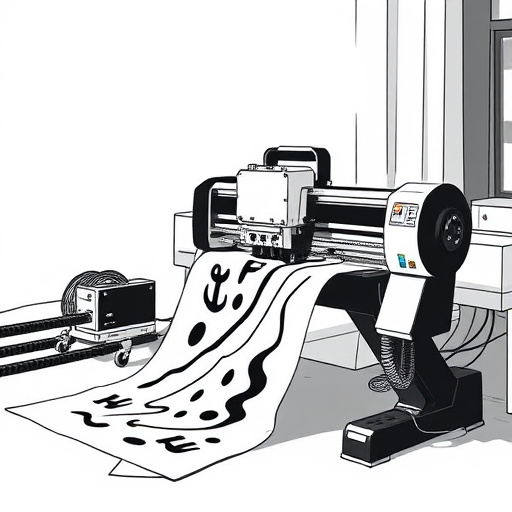
DTF (Direct to Film) T-Shirt printing is a cutting-edge technique that allows for precise, high-quality designs on a variety of fabrics. This method uses heat press machines to transfer ink directly from a digital film onto the fabric, resulting in vibrant colors and detailed imagery. When preparing files for DTF T-Shirt Printing orders, it’s crucial to meet specific requirements. These include file format (usually SVG, PNG, or JPEG), resolution (300 DPI or higher), and color mode (CMYK). Using the correct file type ensures a smooth printing process and minimizes potential issues like pixelation or smudging.
For best results with DTF heat transfer paper, files should be designed with the final print size in mind. This means that for a 12″ x 18″ print area, your design should be at least 300 DPI and 1200 x 1800 pixels in resolution. Additionally, when printing on dark fabrics, ensure your designs have sufficient contrast to avoid blending into the background. Direct to film personalized hoodies require careful attention to detail, so using vector graphics (like SVG) is highly recommended for clean lines and intricate details.
Preprocessing Your Design Files for Optimal Results
When preparing files for DTF T-shirt printing orders, preprocessing your design files is a crucial step to ensure optimal results. Start by ensuring your design is in high resolution—300 DPI or higher—and saved in a vector format like SVG or EPS. This guarantees that your images will be crisp and sharp when printed at various sizes. Next, check for any potential issues like overlapping elements, missing fonts, or low-resolution images, as these can lead to poor print quality.
Additionally, consider the layout of your design on the T-shirt. For DTF heat transfer paper, it’s essential that your artwork covers the desired area evenly without any white spaces or unnecessary borders. Keep in mind that the printing process involves applying heat and pressure to transfer the design onto the garment, so proper file preparation will help prevent blurring, smudging, or other print defects. Using custom sheets for heat pressing designs further enhances the accuracy and quality of your DTF prints.
Finalizing and Sending Your Order: A Step-by-Step Guide
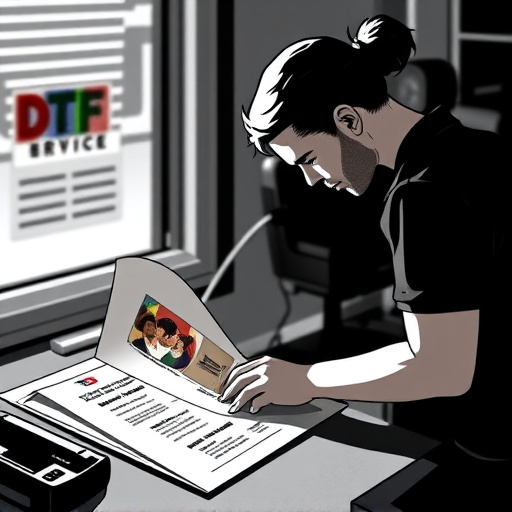
After perfecting your design, it’s time to finalize and send your DTF T-shirt printing order. Here’s a step-by-step guide to ensure a smooth process:
1. Choose Your Print Settings: Ensure your file is set to the correct print resolution (300 DPI or higher) and color mode (CMYK). This guarantees sharp, vibrant prints. Adjust any other settings specific to your DTF transfer film to achieve the desired outcome.
2. Prepare Your Design for Cutting: For logos or designs with intricate details, use vector graphics (.AI or .EPS) whenever possible. These files allow for precise cutting and scaling without losing quality. If using raster images, make sure they are high-resolution (at least 300 DPI) to avoid pixelation.
3. Check for Bleed: Include a small bleed area around your design (typically 1/8 inch or 3 mm). This ensures that any slight misalignment during printing won’t leave white borders on your final product.
4. Save and Export: Save your file in a format compatible with DTF transfer software, such as PDF or PNG. Ensure you have all the necessary layers and elements included for easy import. Exporting your design correctly will make the transfer process much easier.
5. Verify and Proofread: Double-check your file for any errors, typos, or missing elements. A thorough review can prevent costly mistakes and ensure customer satisfaction.
6. Upload and Submit: Finally, upload your finalized design to the printing platform or software used by your DTF T-shirt printer. Follow the provider’s instructions for submitting orders, ensuring all required information and file attachments are included.
Preparing files for DTF T-shirt printing is a straightforward process once you understand the requirements. By preprocessing your design files, ensuring they meet the specifications, and following the step-by-step guide to finalizing and sending your order, you can achieve exceptional results. Remember, attention to detail during the preparation stage is key to achieving vibrant, high-quality prints that will stand out in today’s digital era. So, whether you’re a seasoned designer or just starting, take the time to master these steps for optimal DTF T-shirt printing outcomes.