


Evaluating and preparing your wall surface is crucial for successful wall graphics installation. Different materials require tailored methods, and protecting against UV rays with suitable coatings is vital for vibrancy and longevity. Surface preparation involves thorough cleaning, repairing imperfections, and addressing moisture levels. Using the right primer for areas exposed to varying temperatures and UV rays ensures graphics remain intact for years.
“Preparing your walls is a crucial step in achieving stunning results with wall graphics installation. This comprehensive guide will walk you through the essential processes, from evaluating your wall surface to ensuring the longevity of your graphics. We’ll cover cleaning and treating your walls properly, offering best practices to make your wall graphics installation project a success. Get ready to transform your space!”
- Evaluating Your Wall Surface and Preparing for Graphics Installation
- Steps to Clean and Treat the Wall Before Applying Graphics
- Best Practices for Ensuring Longevity of Wall Graphics Installation
Evaluating Your Wall Surface and Preparing for Graphics Installation
Evaluating your wall surface is a crucial step in preparing for wall graphics installation. Different wall materials require distinct preparation methods to ensure long-lasting adhesion and durability. For instance, smooth surfaces like plaster or drywall may need a light sanding to roughen the texture slightly, enhancing paint adherence. Meanwhile, textured walls, common in older homes, might require a more meticulous approach; applying an appropriate primer specifically designed for such surfaces can significantly improve graphics installation success.
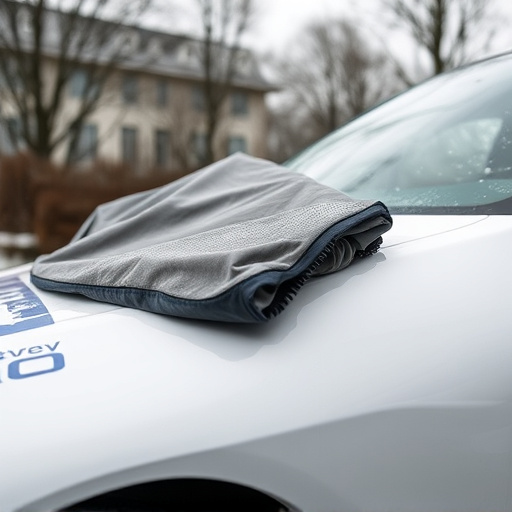
Before proceeding with wall graphics installation, consider potential environmental factors that could impact your project. Protecting against UV rays with suitable coatings or films is essential for preserving the vibrancy and longevity of your graphics, especially in high-sunlight areas. Additionally, applying protective coatings during preparation can offer a barrier against moisture, dirt, and other elements, ensuring your wall graphics remain intact and unharmed by everyday wear and tear, much like how automotive detailing products protect vehicles from the elements.
Steps to Clean and Treat the Wall Before Applying Graphics
Before applying any graphics to walls, it’s crucial to start with a clean and properly treated surface. Begin by thoroughly cleaning the wall using a soft cloth and a mild detergent or a dedicated wall cleaner. This removes dust, grease, and other contaminants that can impede adhesion. Pay special attention to areas around windows, doors, and light switches, ensuring these are also free from debris.
Once cleaned, evaluate the wall’s condition. If there are any imperfections like minor cracks, holes, or bumps, consider filling them with a suitable spackling compound and allowing it to dry completely. For older walls or those with paint issues, a process known as paint correction can help achieve a smooth finish. After these steps, the wall is ready for the next phase of preparation, ensuring optimal results in your final wall graphics installation.
Best Practices for Ensuring Longevity of Wall Graphics Installation
To ensure the longevity of your wall graphics installation, start by preparing the wall surface meticulously. This involves cleaning the wall to remove dust, grease, and any loose paint or debris. A smooth, clean surface is crucial for a successful and long-lasting application. Consider using a mild detergent and a microfiber cloth for this process, avoiding harsh chemicals that could damage the wall or the graphics.
Additionally, it’s essential to check for proper moisture levels in the wall. High humidity can cause the graphics to peel or bubble over time. If necessary, address any moisture issues before proceeding. For areas prone to automotive detailing or window tinting, which often involve exposure to varying temperatures and UV rays, using a primer designed for such conditions can significantly extend the life of your wall graphics, protecting them from fading and damage.
Preparing your walls properly is the foundation for a successful wall graphics installation. By thoroughly evaluating your wall surface, cleaning and treating it appropriately, and implementing best practices for longevity, you’ll achieve a high-quality finish that lasts. Remember, the right preparation ensures your wall graphics look vibrant and remain intact for years to come, enhancing your space aesthetically and effectively.