


The racing stripes installation process is an art that enhances both the aesthetics and performance of a vehicle. It starts with meticulous preparation like cleaning, de-greasing, and sanding, followed by skilled technicians aligning and applying high-quality vinyl stripes using specialized tools and adhesives. Post-application treatments ensure durability. Custom graphics design, ceramic coating, and window tinting can be added for a complete transformation. Installation time varies based on vehicle complexity, stripe design, and optional extras.
“Intrigued by the transformation a simple addition of racing stripes can bring to your vehicle? Wondering how long this process typically takes? This article demystifies the ‘how long’ question, offering insights into the racing stripes installation timeline. From understanding the multi-stage installation process, including preparation, measurement, material cutting, and application, to exploring factors like car complexity, stripe detail, and applicator skill that can alter duration, this guide covers it all. We also break down average timeframes for various vehicle types, from sleek sedans to robust trucks.”
- Understanding the Racing Stripes Installation Process
- – Break down the steps involved in a typical installation
- – Mention preparation, measurement, material cutting, and application stages
Understanding the Racing Stripes Installation Process

The racing stripes installation process involves several steps that contribute to the final aesthetic and performance of your vehicle. It begins with meticulous preparation to ensure the surface is clean, smooth, and free from any contaminants. This often includes washing, de-greasing, and sanding the designated areas where the stripes will be applied. The application itself requires skilled technicians who carefully align and adhere the racing stripes using specialized adhesives and tools.
Once the stripes are in place, they might undergo additional treatments like curing or sealing to enhance their durability and protect them from environmental factors. Some shops also offer complementary services such as custom graphics design, ceramic coating for added protection, or window tinting to complete the transformation. The entire process can range from a few hours for basic installations to several days for more complex jobs, depending on vehicle complexity, stripe design, and desired add-ons like these.
– Break down the steps involved in a typical installation
A racing stripes installation involves several meticulous steps that transform a vehicle into a standout on the road. The process typically begins with preparation, where the surface of the car is thoroughly cleaned and decontaminated to ensure optimal adhesion for the vinyl strips. This critical step includes a paint correction process, which removes minor scratches and imperfections, enhancing the overall finish.
Next, the installation itself takes place, requiring skilled hands to precisely cut and apply the racing stripes. Professionals use high-quality vinyl materials, often designed to resist fading and cracking, ensuring long-lasting results. The stripes are meticulously positioned, aligning them perfectly along the car’s body, from front to back or side to side, depending on the desired design. After careful placement, a top coat is applied to safeguard the strips and seal them against environmental factors, enhancing their durability and vibrancy. This meticulous attention to detail is what sets apart a standard installation from premium automotive services, ultimately delivering an eye-catching car customization that stands the test of time.
– Mention preparation, measurement, material cutting, and application stages
The process of installing racing stripes on a vehicle involves several stages that require meticulous preparation and skill to ensure a professional finish. First, thorough preparation is key; this includes washing and decontaminating the car’s surface to create a clean canvas for the new stripes. Precise measurement is then crucial to cut the vinyl strips to the exact dimensions required, ensuring they fit seamlessly along the vehicle’s curves and contours.
Once measured, the material is carefully cut using precision tools. This stage demands accuracy to maintain the aesthetic integrity of the racing stripes. After cutting, the application process begins. This involves meticulously aligning and adhering the vinyl pieces to the car body, often with the aid of special adhesives and applications techniques. The result of these stages is a stunning visual enhancement that transforms the vehicle’s appearance, rivaling even the most vibrant ceramic window tinting or striking car customization jobs, while also providing some level of vehicle protection.
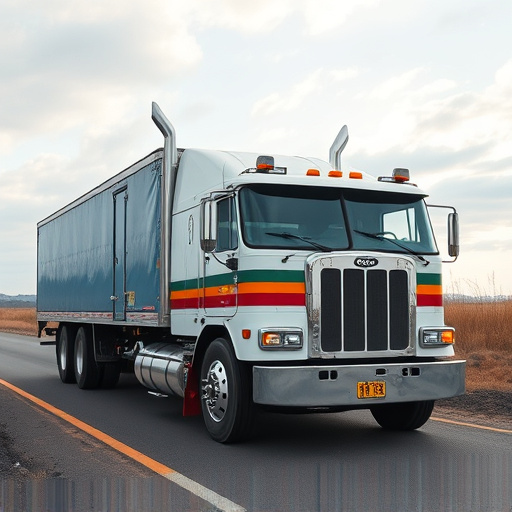
The duration of a racing stripes installation varies based on the vehicle’s make and model, as well as the complexity of the design. However, a typical installation process can be completed within 3-5 hours for most cars. This includes preparation, meticulous measurement, material cutting, and careful application to ensure a sleek finish. Professional installers often use high-quality materials and precise techniques, resulting in durable racing stripes that enhance the vehicle’s aesthetics without compromising its performance.