


DTF Custom Transfers (Direct-to-Fabric) offer a versatile method for creating high-quality, durable prints on various fabrics at home or in small businesses. Using a heat press machine and special transfer paper, users can achieve vibrant colors on items like t-shirts, hats, mugs, and phone cases. This guide highlights the ease of use and creative potential, empowering individuals and businesses to unlock design possibilities while delivering exceptional products. When establishing a custom transfer business, selecting the right heat press is key; manual presses for small-scale operations and automated industrial-grade presses for higher demand. Each step, from design preparation to precise heat press application, ensures flawless results.
Learn the art of creating custom designs with DTF (Direct to Fabric) transfers using a heat press. This comprehensive guide is tailored for beginners, offering insights into the world of DTF printing. From understanding the fundamentals of DTF transfers to selecting the perfect heat press for your needs, we’ve got you covered. Discover a step-by-step process that simplifies the creation and application of high-quality DTF prints, empowering you to bring your creative visions to life effortlessly.
- Understanding DTF Custom Transfers: A Beginner's Guide
- Choosing the Right Heat Press for Your Needs
- Step-by-Step Process: Creating and Applying DTF Transfers Effortlessly
Understanding DTF Custom Transfers: A Beginner's Guide
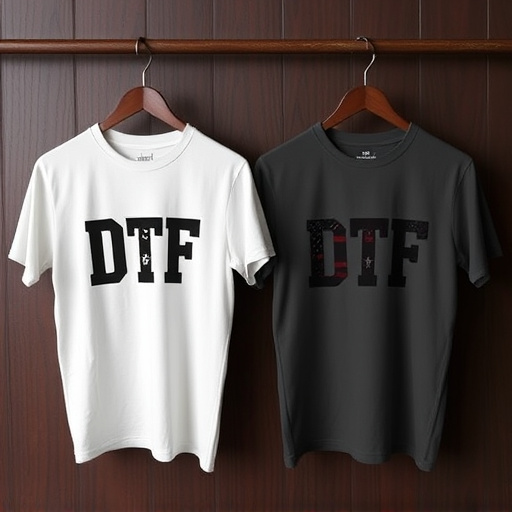
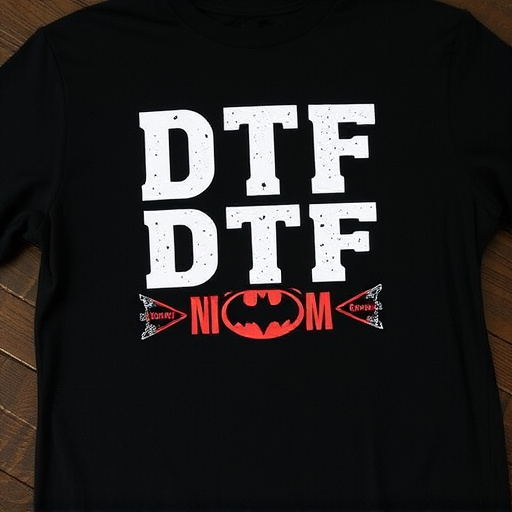
DTF Custom Transfers (Direct-to-Fabric) represent a cutting-edge method for creating high-quality, durable prints on various fabrics. This technique involves using a heat press machine to apply specially designed transfer paper directly onto fabric, ensuring vibrant colors and long-lasting results. For beginners, understanding the process starts with recognizing that DTF transfers offer a more versatile alternative to traditional printing methods, allowing you to decorate a wide range of items, from t-shirts and hats to mugs and phone cases.
The key advantage lies in the ease of use and the ability to achieve professional-grade outcomes at home or in a small business setting. With the right heat press machine, such as one of the best DTF printers available, and high-quality transfer papers (including cold peel DTF transfers for easy removal), you can create custom designs with precision and efficiency. This beginner’s guide emphasizes that, by mastering the DTF Custom Transfer process, individuals and businesses alike can unlock endless creative possibilities while delivering exceptional products to their customers.
Choosing the Right Heat Press for Your Needs
When setting up your custom transfer business, choosing the right heat press is a pivotal decision. The ideal machine should align with your production volume and desired DTF Custom Transfers applications. For small-scale operations focusing primarily on personalizing t-shirts, a compact, manual heat press might suffice. These units are user-friendly, easy to operate, and suitable for occasional use or smaller batch productions.
However, for businesses aiming to cater to higher demand with consistent quality, investing in an automated, industrial-grade heat press is more beneficial. These advanced machines can handle larger orders featuring intricate DTF printing for t-shirts designs while ensuring fast turnaround times. Consider factors like heat press size, temperature control capabilities, and pressure settings to select the most suitable equipment for your direct to film printer needs.
Step-by-Step Process: Creating and Applying DTF Transfers Effortlessly
Creating DTF (Direct-to-Fabric) custom transfers with a heat press is an efficient and precise method for designing unique garments. Here’s a step-by-step guide to help you achieve effortless results:
1. Design Preparation: Start by creating or sourcing your desired design, ensuring it’s in a high-resolution format suitable for printing. Use graphic design software to prepare the artwork, allowing for adequate bleed and trim lines if necessary. This ensures accurate placement on the fabric.
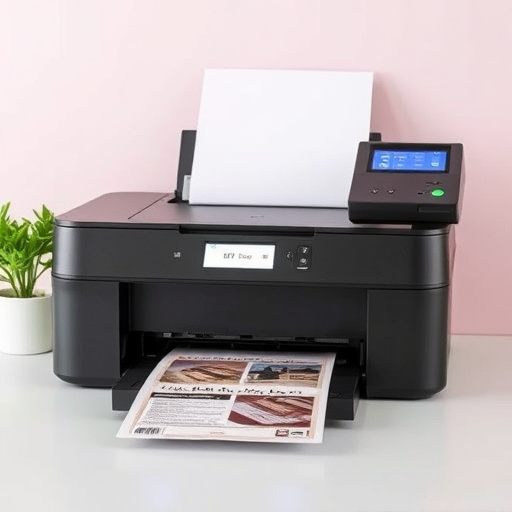
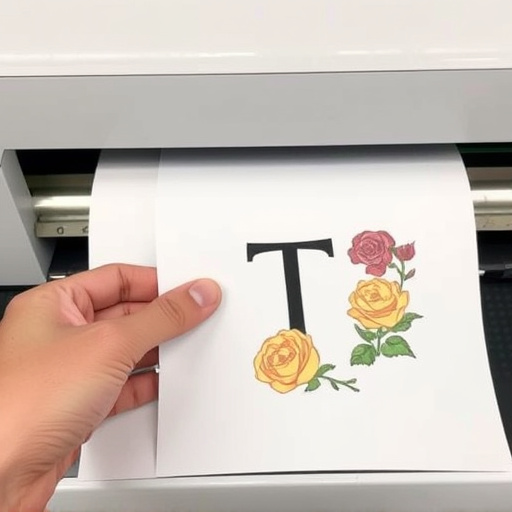
2. Print the Transfer: Utilize a reliable DTF printer to print your design onto special transfer paper. Ensure the printer settings are optimized for DTF printing, especially when dealing with dark fabrics, as this may require specific configurations. The printed transfer should be crisp and clear, ready for application.
3. Heat Press Setup: Preheat your heat press machine to the recommended temperature for DTF transfers. This varies based on the fabric type but typically ranges between 275°F – 350°F (135°C – 177°C). Prepare your work surface by laying out the transfer paper and the target fabric, ensuring they align perfectly.
4. Apply Heat: Place the heated platens of the heat press onto the transfer paper, then carefully lower it onto the fabric. The pressure should be even to ensure a smooth application. Time the process according to the printer’s instructions or manufacturer recommendations for optimal results.
5. Curing and Removal: After the suggested time, turn off the heat press and remove the platens. Carefully lift the transfer paper, revealing the applied design on the fabric. Allow it to cool slightly before peeling away any excess transfer paper. The DTF transfer should now be securely bonded to the fabric.
DTF (Direct-To-Fabric) Custom Transfers offer a versatile and efficient method for creating unique designs on various materials. By combining this technique with a suitable heat press, you can effortlessly bring your artistic visions to life. This article has guided you through the process, from understanding DTF transfers to selecting the right equipment and mastering the application. With these steps, you’re now equipped to create stunning, personalized products using DTF Custom Transfers and a heat press.