


DTF (Direct to Fabric) Transfer Gang Sheets are game-changers in apparel printing, offering efficient, cost-effective production of unique, high-quality garments. To utilize these sheets, prepare essential materials like DTF heat transfer paper and a compatible printer, then calibrate design software for accurate size and format. This process ensures precise alignment, critical for professional design transfers onto various fabrics.
“Mastering the art of aligning graphics on DTF (Direct to Film) Transfer Gang Sheets is a game-changer for print professionals. This guide delves into the intricacies of DTF Transfer Gang Sheets, equipping you with the knowledge to ensure precise and vibrant results. From understanding the sheet’s structure to selecting the right tools, we’ll walk you through a step-by-step process for aligning graphics seamlessly. Optimize your printing workflow and elevate the quality of your projects with these expert tips.”
- Understanding DTF Transfer Gang Sheets
- Preparation and Tools Required
- Aligning Graphics Step-by-Step
Understanding DTF Transfer Gang Sheets
DTF (Direct to Fabric) Transfer Gang Sheets are a game-changer in the apparel industry, revolutionizing the way we produce custom designs on textiles. These specialized sheets are designed for bulk DTF shirt production, offering an efficient and cost-effective solution for creating unique, high-quality garments. Each sheet contains multiple printing areas, allowing for the simultaneous transfer of designs to several fabrics, significantly enhancing productivity.
Understanding how DTF Transfer Gang Sheets work is crucial for those looking to integrate this technology into their apparel manufacturing process. The sheets are optimized for use with DTF printers, which precisely apply ink onto fabric, creating intricate and vibrant patterns. This method, unlike traditional printing techniques, ensures that each design element is accurately transferred, resulting in exceptional print quality. Whether you’re a professional or an enthusiast, leveraging the capabilities of DTF Transfer Gang Sheets can transform your fabric printing journey, making it faster, more accessible, and incredibly versatile for DTF for apparel applications.
Preparation and Tools Required
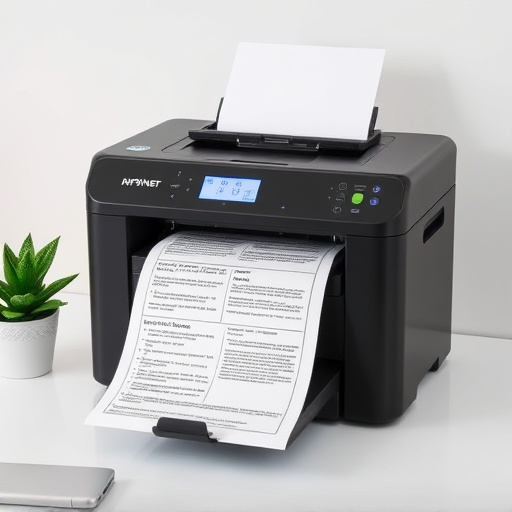
Before diving into aligning graphics on DTF Transfer Gang Sheets, ensure you have the right preparation and tools at hand. This process requires precision and attention to detail, so having the proper setup is key. First, gather your materials, including DTF heat transfer paper, a printer compatible with this media, and a cutting plotter or sharp craft knives for precise trimming. Additionally, obtain a flat work surface suitable for handling gang sheets, such as a clean table or workstation.
For optimal results, consider the specific requirements of DTG for apparel printing. Prepare your design software to accommodate the size and format of the DTF transfer, ensuring all graphics are correctly sized and positioned. Calibrate your printer settings according to the manufacturer’s guidelines for DTF heat transfer paper. This includes setting the correct temperature and pressure for successful transfers onto various fabrics.
Aligning Graphics Step-by-Step
Aligning graphics on DTF (Direct-to-Film) Transfer Gang Sheets is a precise process that ensures your designs look sharp and professional when applied to various materials. Here’s a step-by-step guide to help you achieve perfect alignment:
1. Prepare Your Design Software: Start by opening your graphic design software, ensuring your image or design is ready for printing. Make sure the resolution is set to 300 DPI (dots per inch) for optimal quality. Adjust the size of your design according to the dimensions of the DTF gang sheet you’re using.
2. Import and Position Graphics: Import your graphic elements into the software, ensuring they are in separate layers if you have multiple designs or elements. Carefully position each graphic element on a virtual template that mimics the layout of your DTF transfer gang sheet. Use grid lines within your design software to help with precise alignment.
3. Use Alignment Tools: Leverage the alignment tools in your design software. These often include features like “Center,” “Middle,” or “Top/Bottom” options, which make it easy to line up your graphics perfectly. Ensure each element is precisely where you want it before proceeding.
4. Double-Check and Adjust: Once all elements are positioned, take a step back and visually inspect the layout. Check for any misalignments by comparing the design with the virtual template. Make small adjustments as needed to achieve perfect alignment across all graphics on the DTF transfer gang sheet.
5. Save and Export: After achieving the desired alignment, save your work and export the file in a format compatible with your printing method, typically PDF or a vector format (AI, EPS). This ensures you have a high-quality digital file ready for production.
Aligning graphics on DTF Transfer Gang Sheets is a precise process that, when mastered, can significantly enhance print quality. By understanding the unique properties of DTF sheets and employing the right tools, you can achieve perfect alignment every time. The step-by-step guide provided offers a straightforward approach to ensure your designs transfer accurately, making it an invaluable resource for professionals and enthusiasts alike working with this innovative printing technology.