


Removing a resonator delete (a modification to enhance engine sound and response) can lead to louder noises and increased vibration. Before attempting this, be aware of potential consequences, especially with other performance upgrades. Reversing the process requires specialized tools, safety precautions, and knowledge of automotive systems. It involves locating the resonator, disassembling carefully, inspecting for damage, reassembling in reverse order, and double-checking seals to prevent leaks. This can improve fuel efficiency while restoring optimal vehicle performance.
Ever modified your vehicle with a resonator delete, only to realize you need it back? No worries! This guide walks you through reversing a resonator delete safely and effectively. We’ll cover everything from understanding the impact of these modifications to the tools you’ll need and a step-by-step process. By following these instructions, you’ll be able to restore your vehicle’s original sound and avoid potential issues caused by removing the resonator.
- Understanding Resonator Deletes and Their Impact
- Tools and Safety Precautions for Reversal
- Step-by-Step Guide to Reverse a Resonator Delete
Understanding Resonator Deletes and Their Impact

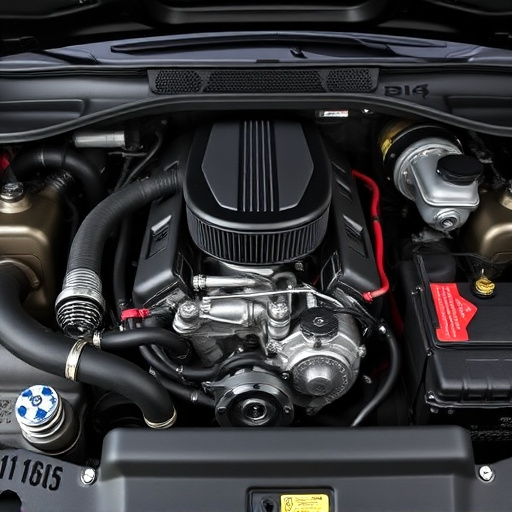
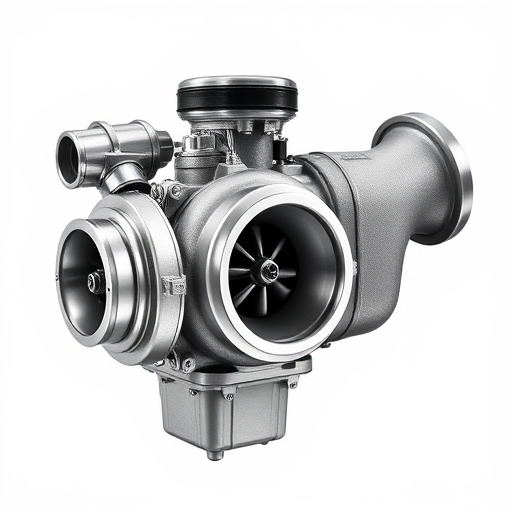
Resonator deletes are modifications made to a vehicle’s exhaust system, primarily targeting the resonators—components designed to reduce unwanted noise and vibrations. While they offer performance benefits by allowing more air flow, deleting these parts can have significant impacts on both engine sound and overall vehicle dynamics. Resonators play a crucial role in tuning the exhaust note, often contributing to a car’s distinctive and appealing sound, especially in high-performance vehicles.
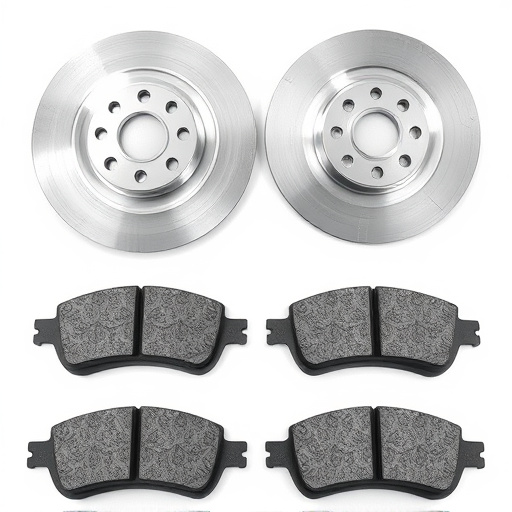
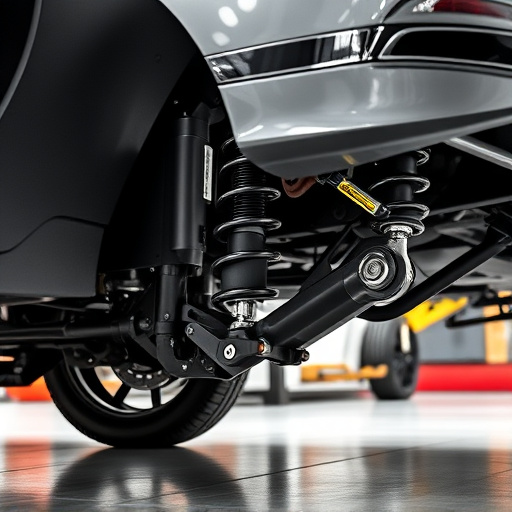
Removing resonators might enhance throttle response due to reduced backpressure, which can be beneficial for those seeking improved acceleration. However, it can also lead to louder engine noise, particularly at higher RPMs, and potentially affect the vehicle’s ride quality through increased vibration transmission. This is why understanding the potential consequences is essential before considering a resonator delete, especially when looking into upgrades like suspension kits or replacing brake pads to ensure optimal driving experience and safety.
Tools and Safety Precautions for Reversal

Reversing a resonator delete requires specific tools and knowledge to ensure safety and effectiveness. Before starting, gather essential tools like an impact wrench, socket sets, pliers, and a torque wrench. These are crucial for disassembling and reassembling the exhaust system components accurately. Additionally, wear protective gear such as gloves and safety goggles to shield yourself from debris and potential hazards during the reversal process.
Safety precautions are paramount when dealing with vehicle modifications. Ensure your work area is well-lit and organized to prevent accidental damage or injury. Never attempt this procedure without proper training or guidance, as incorrect reassembly can lead to leaks, reduced performance, or even legal issues related to resonator delete modifications. Remember that working with intake components and exhaust systems requires precision and an understanding of automotive systems to achieve a successful reversal.
Step-by-Step Guide to Reverse a Resonator Delete

Reversing a resonator delete is a process that can be accomplished with the right tools and knowledge. Here’s a step-by-step guide to help you navigate this task effectively. First, locate the resonator in your vehicle’s exhaust system, typically found between the engine and the cat back exhaust. Next, gather the necessary tools: wrenches, screwdrivers, and possibly a new resonator to replace any damaged or missing parts. Disassemble the affected area by removing any brackets or mounts securing the resonator in place. Be cautious when handling brake pads and rotors, as they are crucial components for safe braking. Once the resonator is exposed, inspect it for damage and take note of its original configuration. This step is vital to ensure a successful reversal. Reassemble the resonator by reversing the disassembly process, making sure all brackets and mounts are securely fastened. Double-check your work by verifying that the resonator is properly aligned and sealed to prevent any leaks in the exhaust system. By following these steps, you can effectively reverse a resonator delete, restoring optimal performance and potentially improving fuel efficiency.
If you’ve made the decision to reverse a resonator delete, whether due to changing preferences or encountering performance issues, this article has equipped you with the knowledge and steps needed to do so effectively. Remember, understanding the impact of resonator deletes and having the right tools are essential for any reversal process. Now, armed with this information, you can safely navigate reversing your decision, ensuring a positive outcome for your vehicle’s sound and performance.