


The DTF Wash Test is crucial for direct-to-fabric (DTF) printing, ensuring vibrant and durable prints on dark fabrics after washing. This seven-step guide covers workstation setup, software choice, printer calibration, fabric pre-treatment, printing, curing, and conducting various wash cycles to optimize print quality. Advanced strategies include using high-quality inks and substrates, multi-step testing, and simulating real-world laundry conditions for reliable results.
Unleash the full potential of your quality control process with advanced tips on the DTF Wash Test. This powerful technique goes beyond surface inspection, offering insights into material integrity and finish precision.
Our guide covers everything from deciphering the test’s purpose and reaping its benefits to a detailed step-by-step approach for consistent results. We then delve into advanced strategies to elevate your DTF Wash Test game, ensuring optimal accuracy and reliability.
- Understanding the DTF Wash Test: Its Purpose and Benefits
- Step-by-Step Guide to Mastering the DTF Wash Test Technique
- Advanced Strategies for Optimal DTF Wash Test Results
Understanding the DTF Wash Test: Its Purpose and Benefits
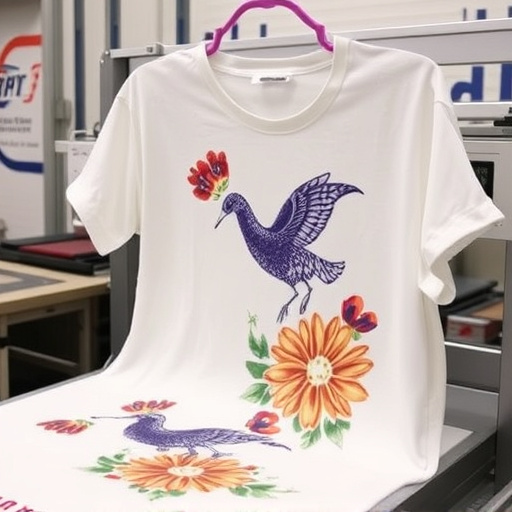
The DTF Wash Test is a pivotal process in the world of direct-to-fabric (DTF) printing, offering a range of benefits to both manufacturers and designers. Its primary purpose is to ensure that printed designs not only look vibrant on darker fabrics but also withstand rigorous washing processes without fading or damaging the print quality. This test is particularly crucial when it comes to dtf printer applications like printing for hoodies, T-shirts, and other dark garments.
By subjecting printed samples to controlled wash cycles, manufacturers can evaluate how well the inks adhere to the fabric and whether color bleeding occurs. This knowledge is invaluable in optimizing print settings and choosing suitable inks for different types of fabrics, especially when dealing with dtf printing for hoodies or other dark materials where achieving a rich, durable print is essential. Ultimately, the DTF Wash Test helps in delivering high-quality, long-lasting prints that meet customer expectations.
Step-by-Step Guide to Mastering the DTF Wash Test Technique
Mastering the DTF Wash Test technique is a game-changer for anyone looking to perfect their custom printing on textiles, especially when dealing with dark fabrics. Here’s a step-by-step guide to help you achieve exceptional results:
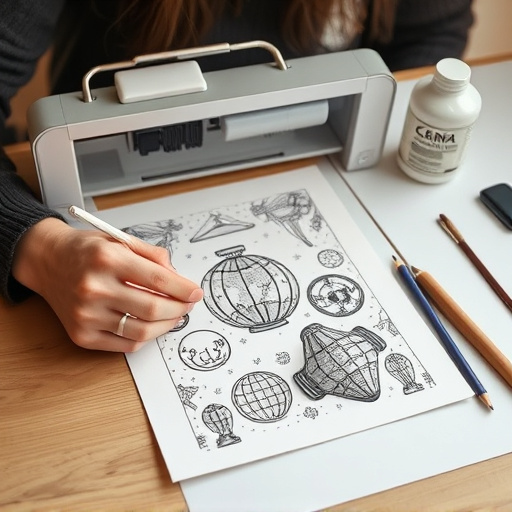
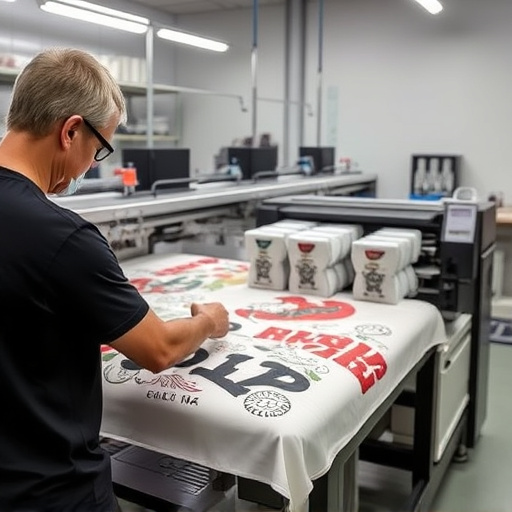
1. Prepare Your Workstation: Start by setting up your workspace with all the necessary tools: your DTF printer, high-quality printing materials, and a variety of dark fabric samples (ideally hoodies or similar items). Ensure your work area is well-lit and organized to facilitate smooth operation.
2. Select the Right Design Software: Choose a design software that supports DTF printing. This could be a vector graphics editor like Adobe Illustrator or specific DTF printing software provided by your printer manufacturer. Prepare or import your design, ensuring it’s optimized for dark fabrics with appropriate color profiles and resolutions.
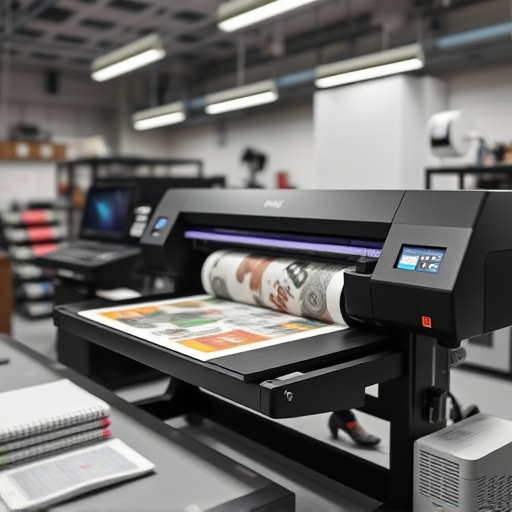
3. Calibrate Your Printer: Accurate calibration is crucial for consistent results. Refer to your printer’s manual for detailed calibration procedures. This step involves setting the right print settings, including temperature and pressure, tailored to DTF printing.
4. Load and Pre-treat Materials: Load your chosen fabric samples into the printer and pre-treat them as per the manufacturer’s instructions. Pre-treatment may involve cleaning the fabric surface or applying a release agent to ensure the design adheres well during washing.
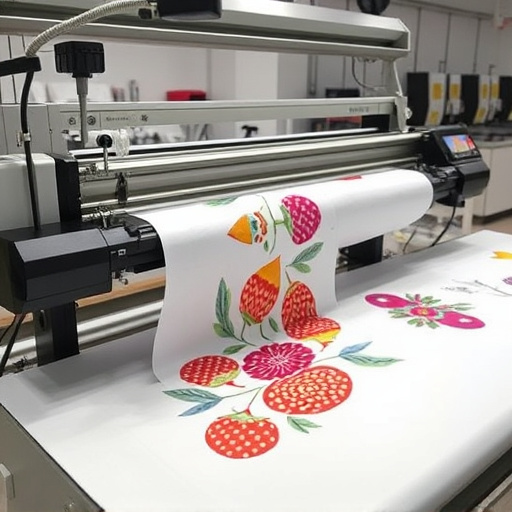
5. Print and Cure: Now, it’s time to print! Position your design accurately on the fabric using alignment tools provided by your software. Print with precision, ensuring all details are crisp. After printing, cure the design according to the printer’s guidelines. This step seals the inks, making them wash-resistant.
6. Test Wash: The DTF Wash Test is a critical step. Set up a washing machine with warm water and a mild detergent, then carefully place the printed fabric samples inside. Run a test cycle, simulating normal laundry conditions. Observe how the design holds up after washing—the ink should remain vibrant and intact on the fabric.
7. Evaluate and Adjust: Examine the washed fabric samples for any fading or smudging of the design. If issues are detected, adjust your printing settings, consider using different inks, or modify your design to improve wash durability. This iterative process ensures you achieve the best results.
Advanced Strategies for Optimal DTF Wash Test Results
To achieve optimal results with a DTF Wash Test, consider employing advanced strategies that go beyond the basics. First, DTF printing specialists recommend using high-quality inks and substrates to ensure vibrant colors and lasting durability after washing. For dtf printing for t-shirts, pre-treating fabrics with suitable prep solutions can significantly improve ink adhesion, leading to superior wash test outcomes.
Additionally, implementing a multi-step testing process can offer more comprehensive insights into the DTF Wash Test’s reliability. This includes performing tests at different washing cycles and temperatures, simulating real-world laundry conditions, especially for bulk DFT shirt production. By varying these parameters, you gain a deeper understanding of how your designs fare under various conditions, allowing for informed adjustments to your printing and material choices.
The DTF Wash Test is a game-changer in quality assurance, offering both precision and efficiency. By understanding its purpose, mastering the technique, and employing advanced strategies, you can ensure optimal results for your products. Incorporate these tips into your workflow to elevate your standards and stay ahead in the market, making the DTF Wash Test an indispensable tool in your arsenal.