


Understanding a boost controller is vital for successful turbocharging system installation, as it regulates boost pressure using sensors, actuators, and control modules for optimal engine performance. Before DIY modifications, prioritize safety by securing the controller with provided hardware, wearing protective gear, and double-checking electrical connections. Installing a boost controller involves mounting it near the engine, connecting the sensor to the intake manifold, and rigorously testing all connections before engine start-up to ensure reliability and peak performance, especially when paired with upgrades like coilover kits.
Looking to enhance your vehicle’s performance? DIY enthusiasts, this article is your guide to installing a boost controller. We’ll walk you through understanding the components of a boost controller and preparing for installation, ensuring safety every step of the way. Then, follow our detailed, step-by-step guide to successfully integrate this powerful tool. Mastering boost controller installation is just a read away, unlocking new levels of automotive optimization.
- Understanding Your Boost Controller and Its Components
- Preparation and Safety Measures for Installation
- Step-by-Step Guide to Boost Controller Installation
Understanding Your Boost Controller and Its Components
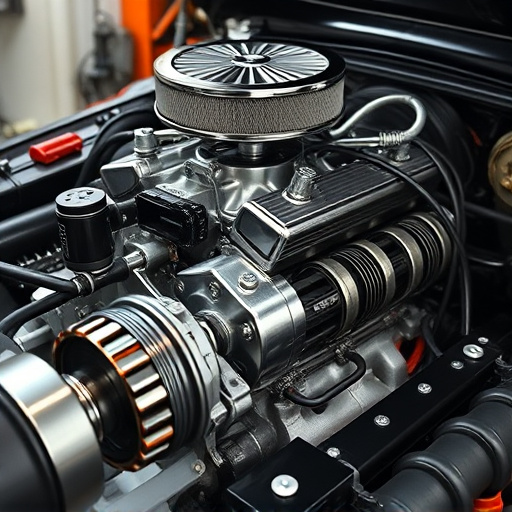
Understanding your boost controller is key to a successful installation, especially for DIY enthusiasts looking to enhance their vehicle’s performance. This device, often referred to as the brain of the turbocharging system, regulates and controls the amount of boost pressure delivered to the engine. It consists of various components like sensors, actuators, and control modules that work in harmony to ensure optimal performance. By learning about these parts, you can make informed decisions when installing or upgrading your boost controller.
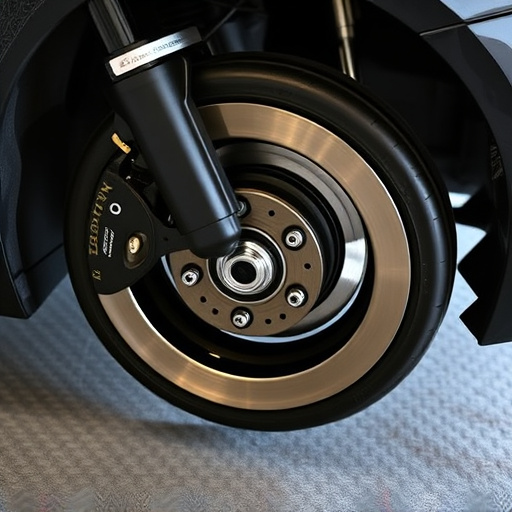
High-performance parts like coilover kits and advanced suspension components often rely on precise boost control for maximum efficiency. Your boost controller’s primary job is to monitor engine parameters such as manifold pressure and air temperature, using these sensors to adjust the turbocharger’s output accordingly. This ensures a smooth power delivery while maintaining engine stability, critical factors in achieving both performance and reliability when upgrading your vehicle.
Preparation and Safety Measures for Installation

Before tackling any DIY project, especially one involving vehicle modifications, preparation and safety should be your top priorities. Start by ensuring a well-ventilated work area to avoid inhaling harmful fumes from any chemicals or materials used during installation. Safety gear like gloves, eye protection, and a face mask are essential, particularly when handling components that might produce sparks.
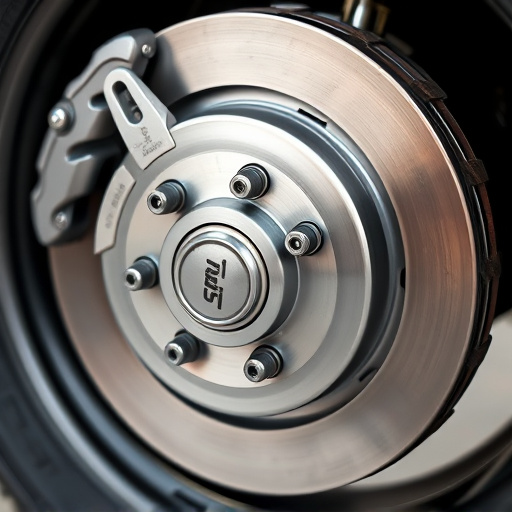
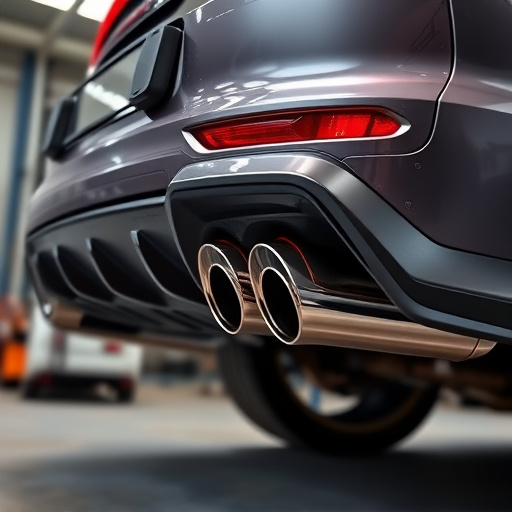
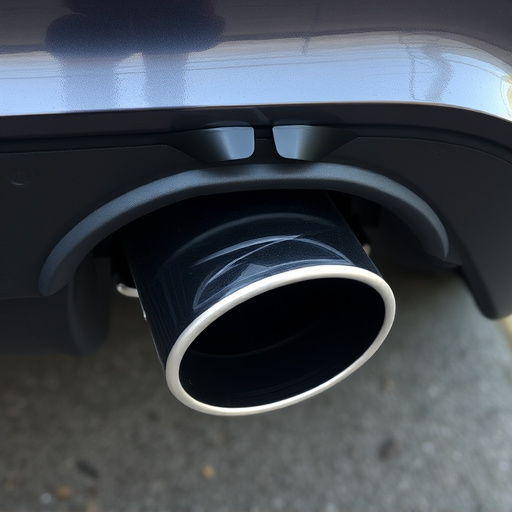
Properly securing the boost controller is crucial for optimal performance and safety. Ensure all hardware is provided with the kit and fits securely to prevent loose parts that could cause damage or injury. Double-check connections to the vehicle’s electrical system, focusing on exhaust tips, exhaust mufflers, and performance air filters if applicable, to guarantee a clean and efficient power transfer.
Step-by-Step Guide to Boost Controller Installation
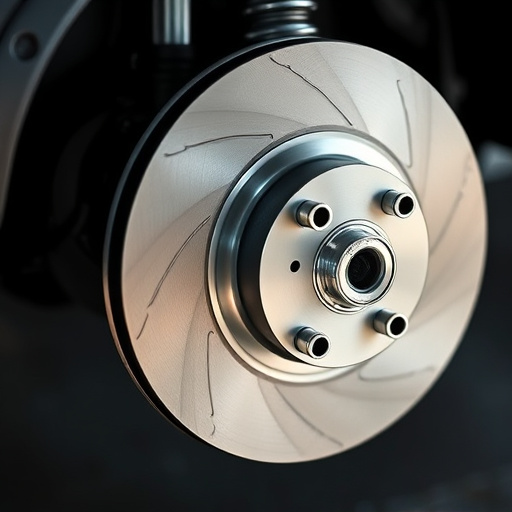
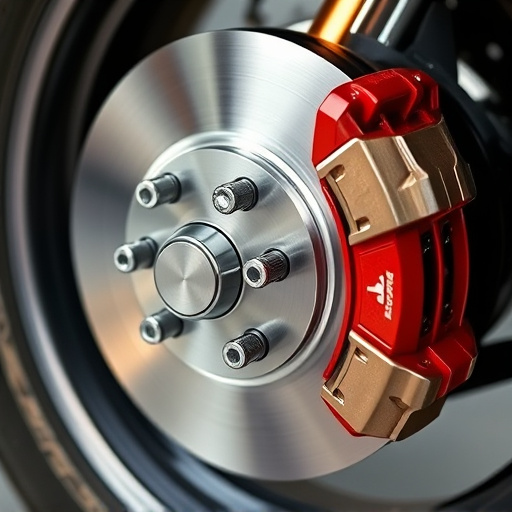
Installing a boost controller is an essential step for DIY enthusiasts looking to enhance their vehicle’s performance. Here’s a straightforward guide to help you through the process, focusing on the crucial elements and offering practical tips along the way. Start by ensuring your car is properly prepared; this includes having a basic understanding of automotive systems and ensuring all necessary components are in place, such as an enhanced exhaust system (performance exhaust) and high-performance brakes (performance brakes).
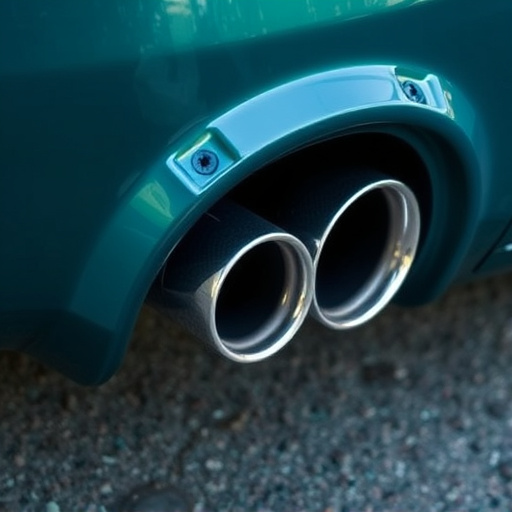
The boost controller installation begins with locating the appropriate mounting point, usually near the engine. Connect the boost sensor to the intake manifold, ensuring it’s securely fastened. Next, wire the controller according to your vehicle’s electrical schema, taking care to follow safety guidelines for proper grounding and voltage regulations. Test the system thoroughly before starting the engine, double-checking all connections and adjusting settings as needed based on your specific exhaust tips and other upgrades.
For DIY enthusiasts eager to enhance their vehicle’s performance, installing a boost controller is a game-changer. By understanding your controller’s components and following safety measures, you can seamlessly integrate this powerful tool. The step-by-step guide ensures a smooth installation process, allowing you to take control of your engine’s boost pressure and unlock hidden potential. With the right knowledge and preparation, DIY enthusiasts can now add a boost controller to their arsenal, revolutionizing their driving experience.